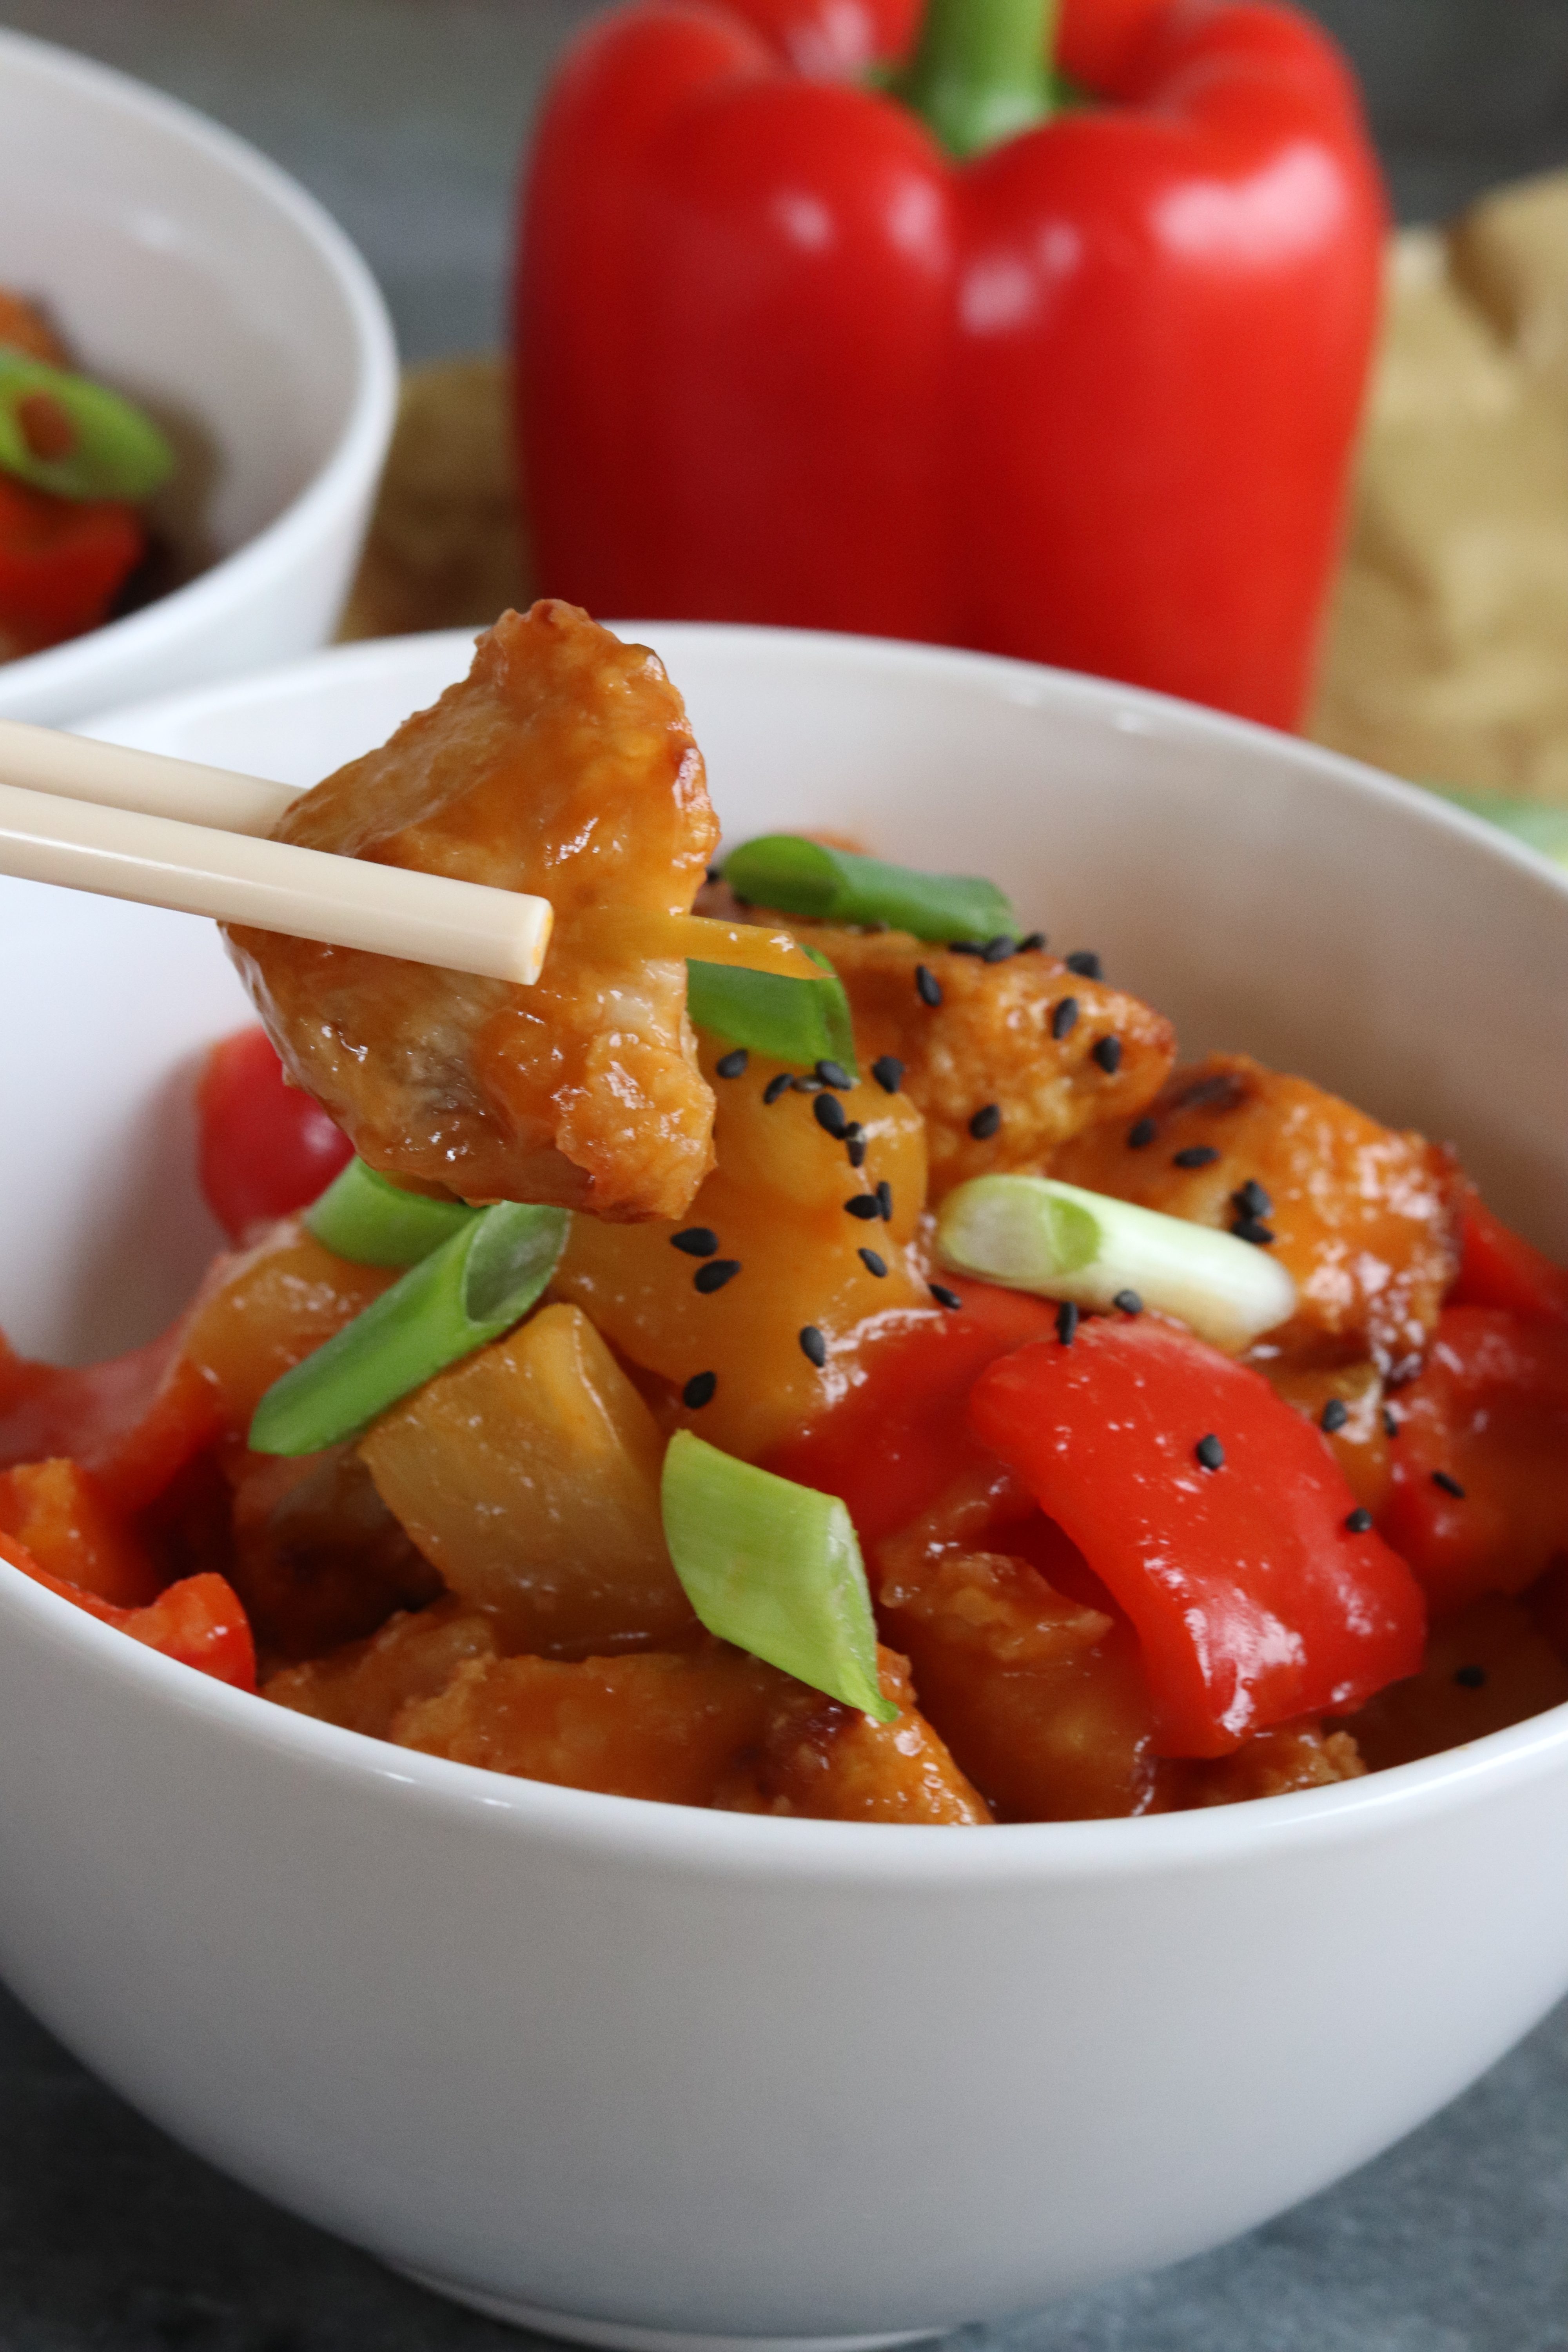
Once you’ve made my Baked Sweet & Sour Chicken you will never use a jar again! It is simple, delicious and you’ve probably got most of the ingredients in your cupboard already.

Making your own Sweet & Sour is much better than using a jar!
I’ve never been a fan of sweet and sour sauce from a jar. Apart from it tasting quite artificial in my opinion, I also don’t like the chunks of onion it has in it.
But I do really like sweet and sour, and my favourite is sweet and sour Hong Kong style. I can’t claim that sweet and sour Hong Kong Style is an authentic Chinese recipe, but it is what Chinese restaurants in the UK call meat that is fried in a crisp batter and then added to sweet and sour sauce. If you haven’t tried it you need to!
Once you have made my Baked Sweet & Sour Chicken, I don’t think you will reach for a jar of sauce again. You know what is going into this sauce, there are no nasty preservatives and it really doesn’t take much effort at all.
You could even skip the baked chicken stage and just brown the chicken in the pan before adding the sauce ingredients if you want to make it even quicker.
Baking instead of frying
I can’t order a takeaway every time I fancy sweet and sour so I had to come up with my own recipe. I first started making my own sweet and sour back in my first year of uni.
Zoe; my foodie friend that you’ll know if you’re a regular to my blog, and I used to make a big batch of sweet and sour to freeze for quick a quick meal.
Back at uni, we used a recipe that called for some deep frying action which although made the pork lovely and crisp, this effort seemed a little pointless because it softens when you add it to the sauce later.
It was also the most time consuming step of the recipe as well as making it a bit unhealthier. So in my version I skipped this step and instead bake the chicken.
Baking the chicken gives the chicken the crisp exterior but without the extra hassle and calories.
Tips for making Baked Sweet & Sour Chicken
I recommend adding the baked chicken just before you are ready to serve. This will help keep the chicken at its crispest. You can definitely freeze this dish, but bear in mind the chicken will loose it’s crispiness but still be tasty.
You don’t have to use chicken, pork also works really well and is actually what I used when I started making sweet and sour. I would recommend pork shoulder or leg as they have a bit of fat marbling to keep the meat moist while cooking.
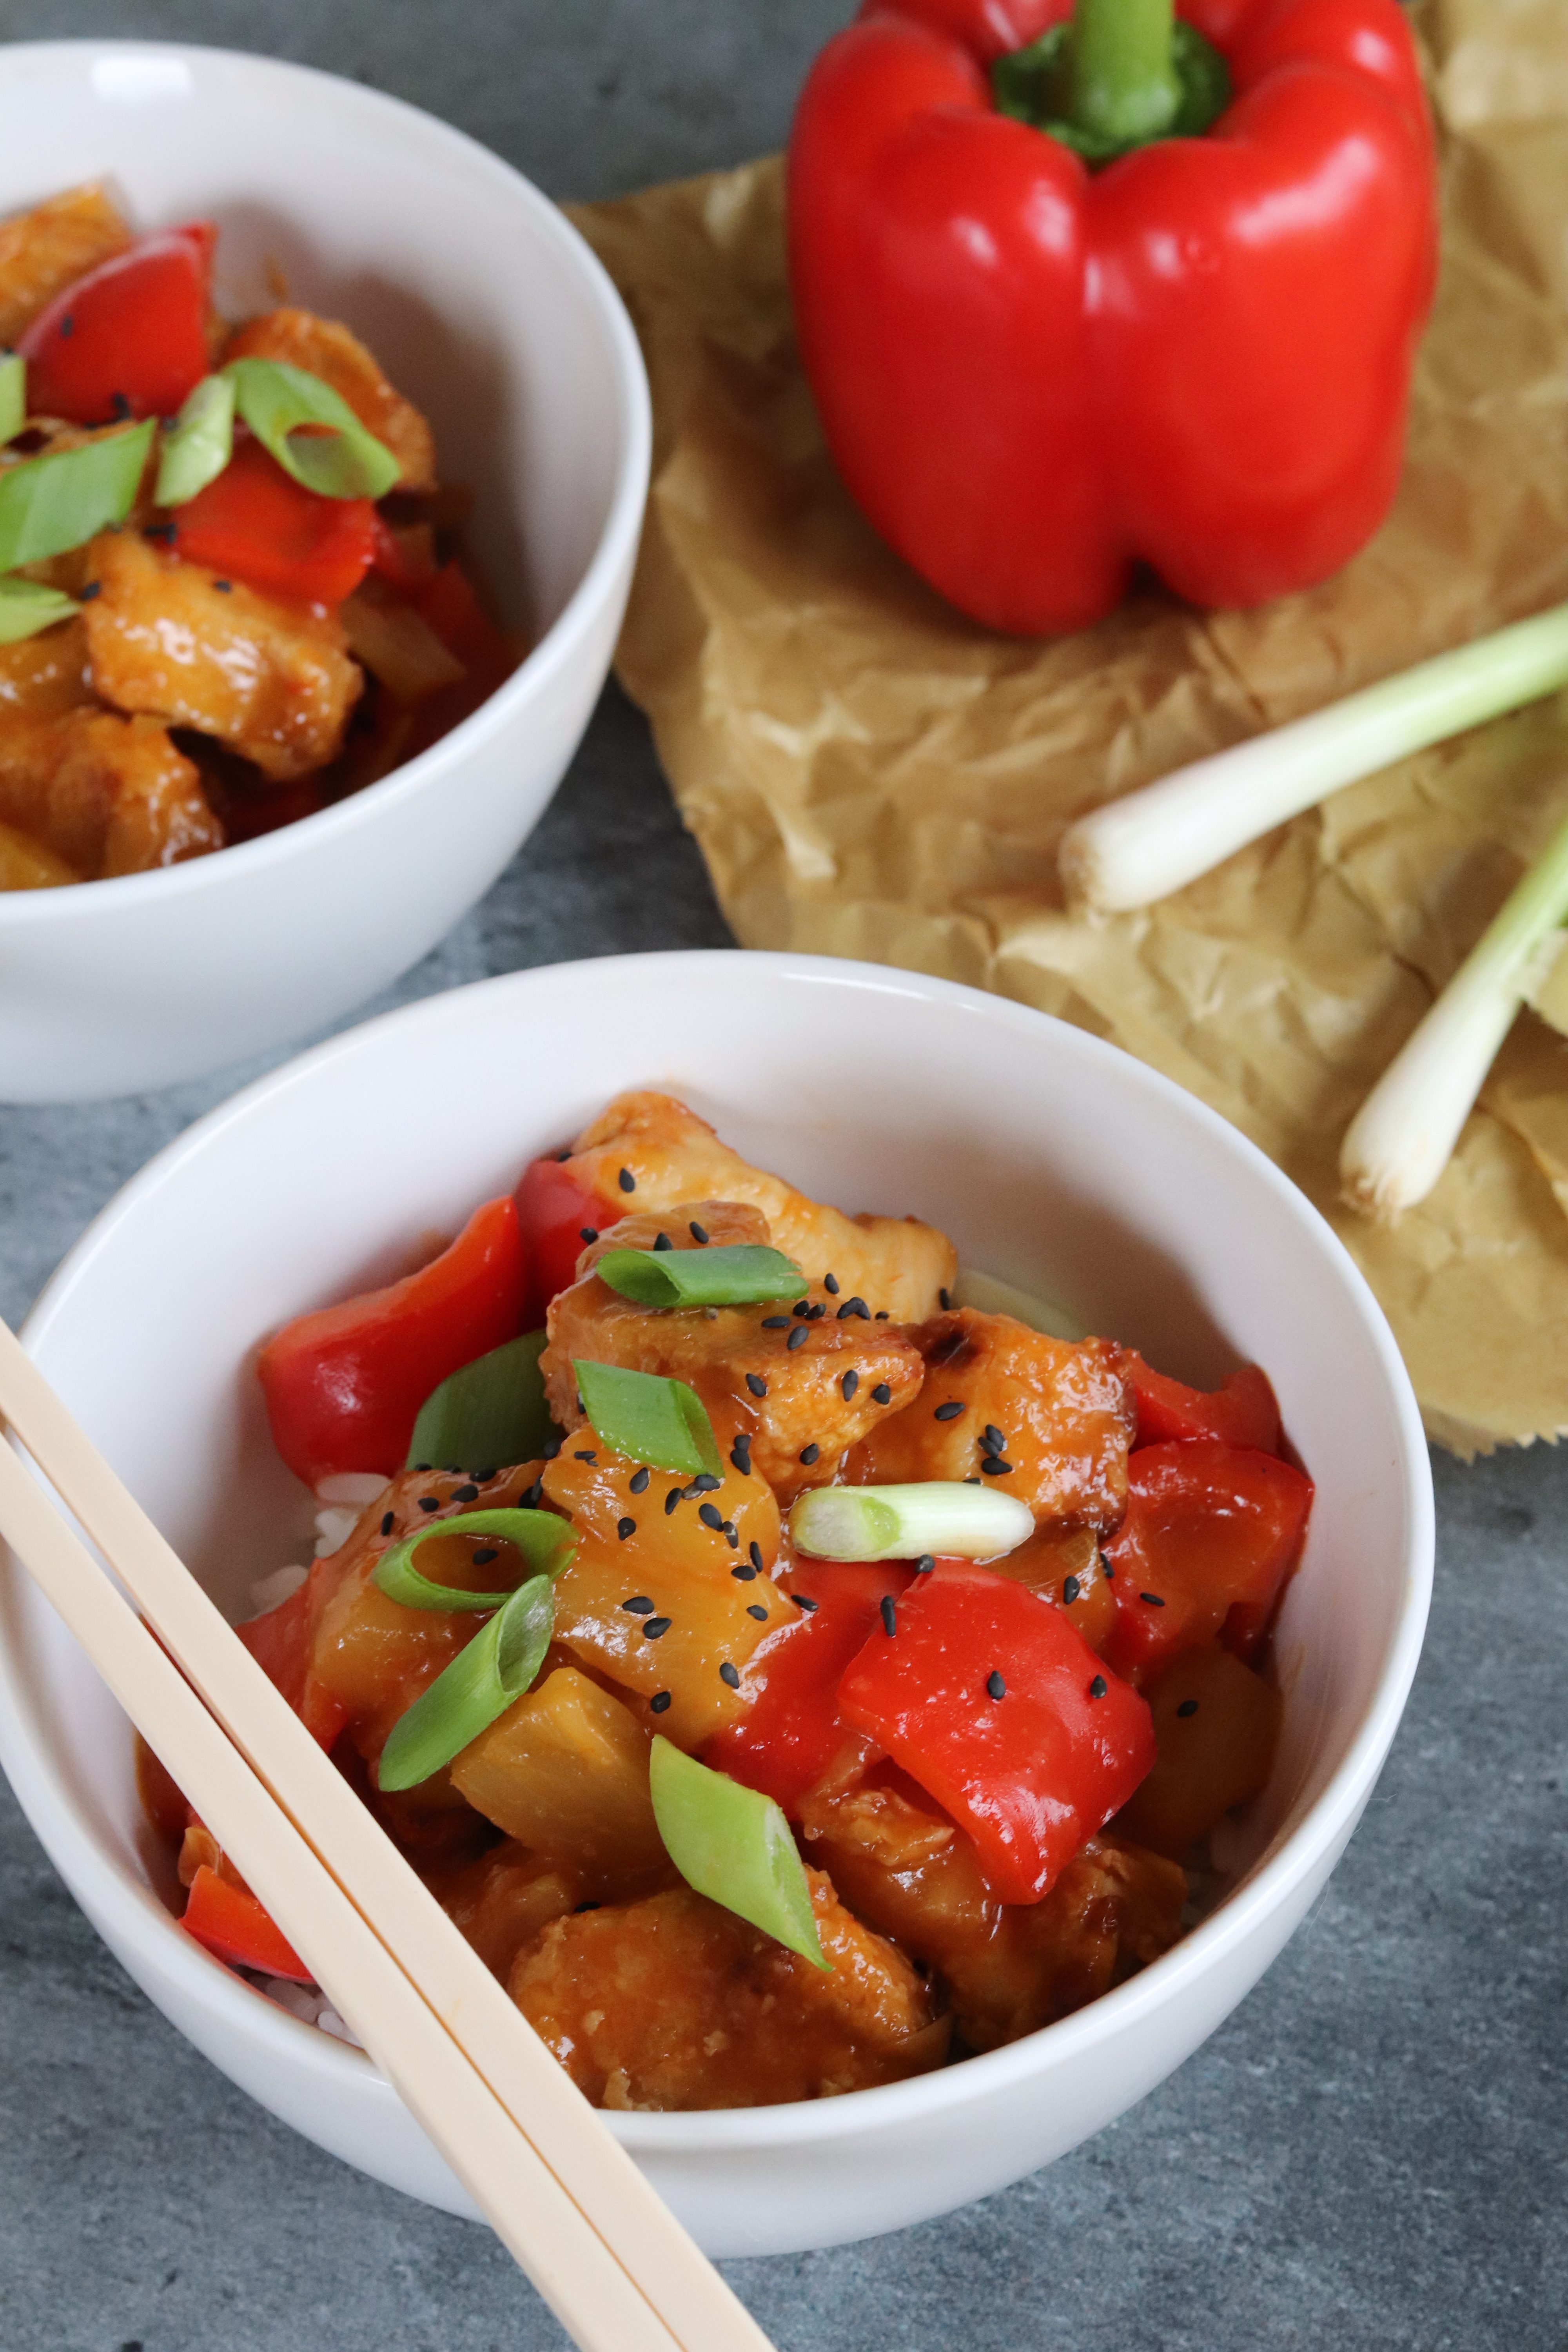
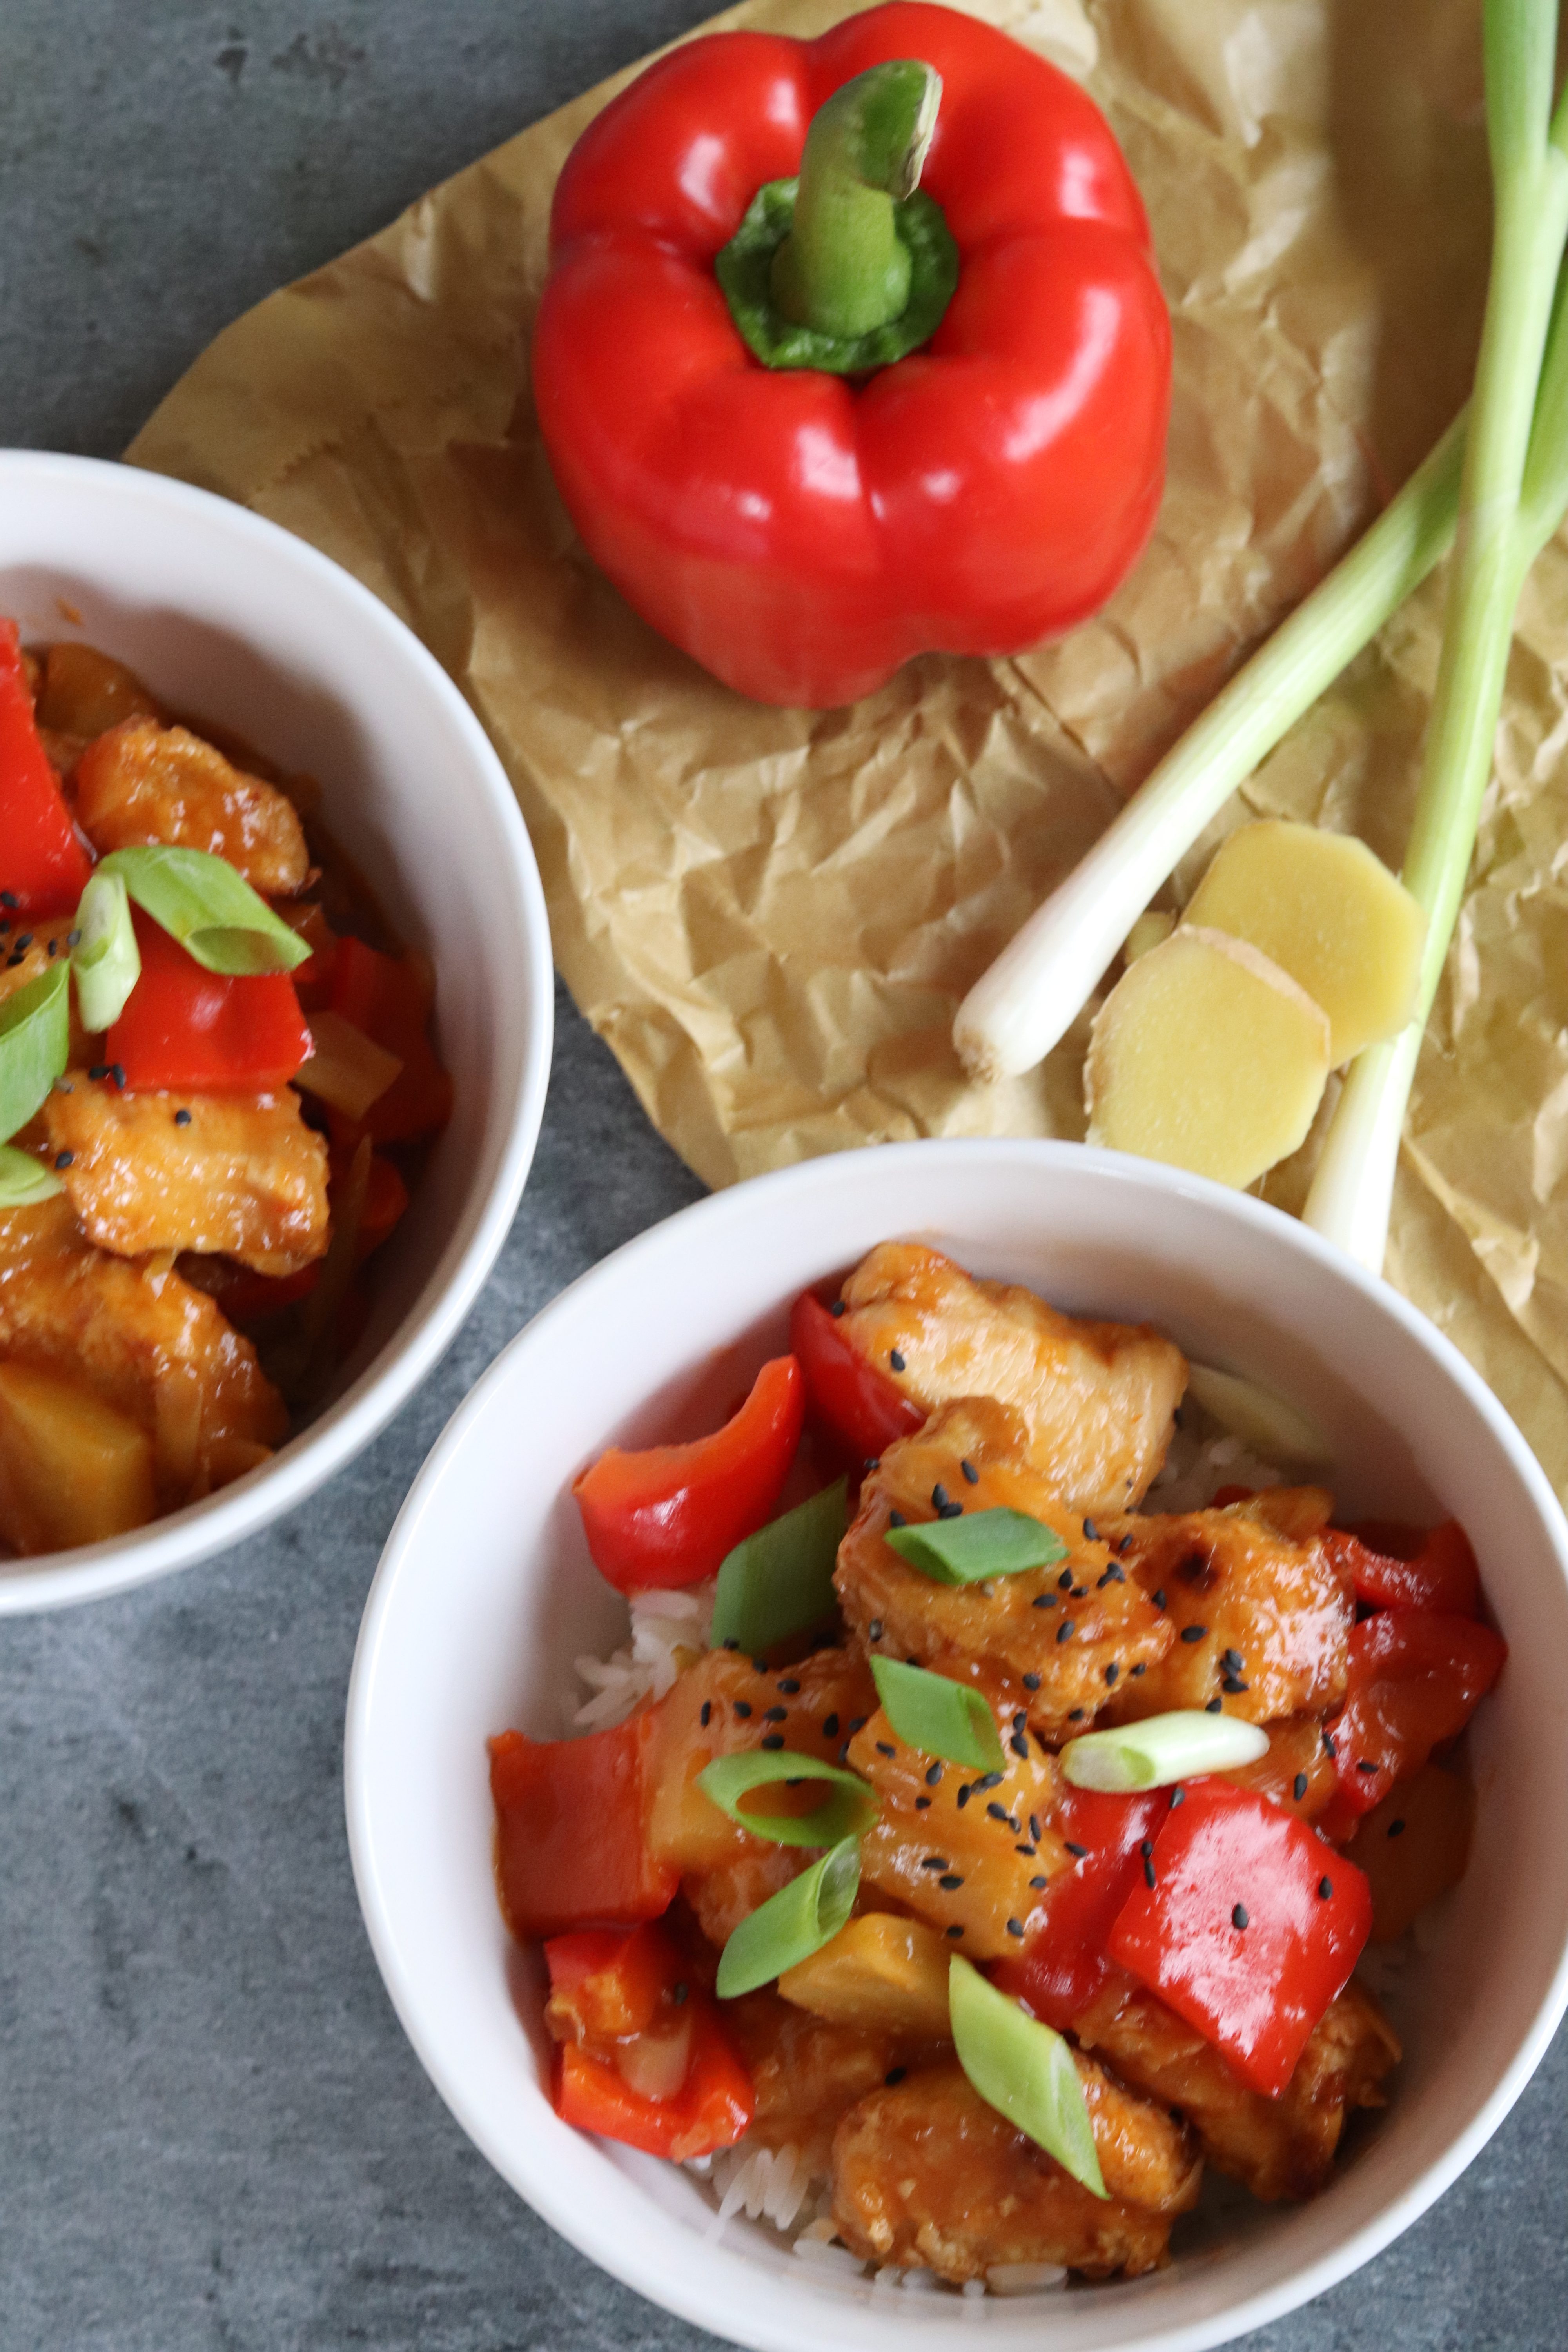
I’ve used spring onions because I much prefer these, but if you want to dice up some normal white onion then please do. You can also use whatever colour of peppers you like.
other recipes you might like
Pin for later


Baked Sweet & Sour Chicken
Once you've made my Baked Sweet & Sour Chicken you will never use a jar again! It is simple, delicious and you've probably got most of the ingredients in your cupboard already.
Ingredients
For the Marinade
- 450 g chicken breasts (3 breasts)
- 1 tbsp light soy sauce
- 2 tbsp shaoxing rice wine
- 1 clove garlic minced
- 1 tbsp ginger grated
- 50 g cornflour
For the sauce
- 2 tsp sunflower oil
- 2 cloves garlic minced
- 1 tbsp ginger grated
- 2 peppers
- 4 spring onions
- 2 tbsp ketchup
- 4 tbsp shaoxing rice wine
- 1 tsp sesame oil
- 2 tbsp light soy sauce
- 1 tbsp light brown sugar
- 230 g tinned pineapple chunks/ slices (keep the juice)
- 2 tbsp pineapple juice (from the tin)
- 1 tbsp cornflour mixed with 1 tbsp pineapple juice optional
To garnish
- Sprinkle of sesame seeds
- 1 spring onion chopped
Instructions
-
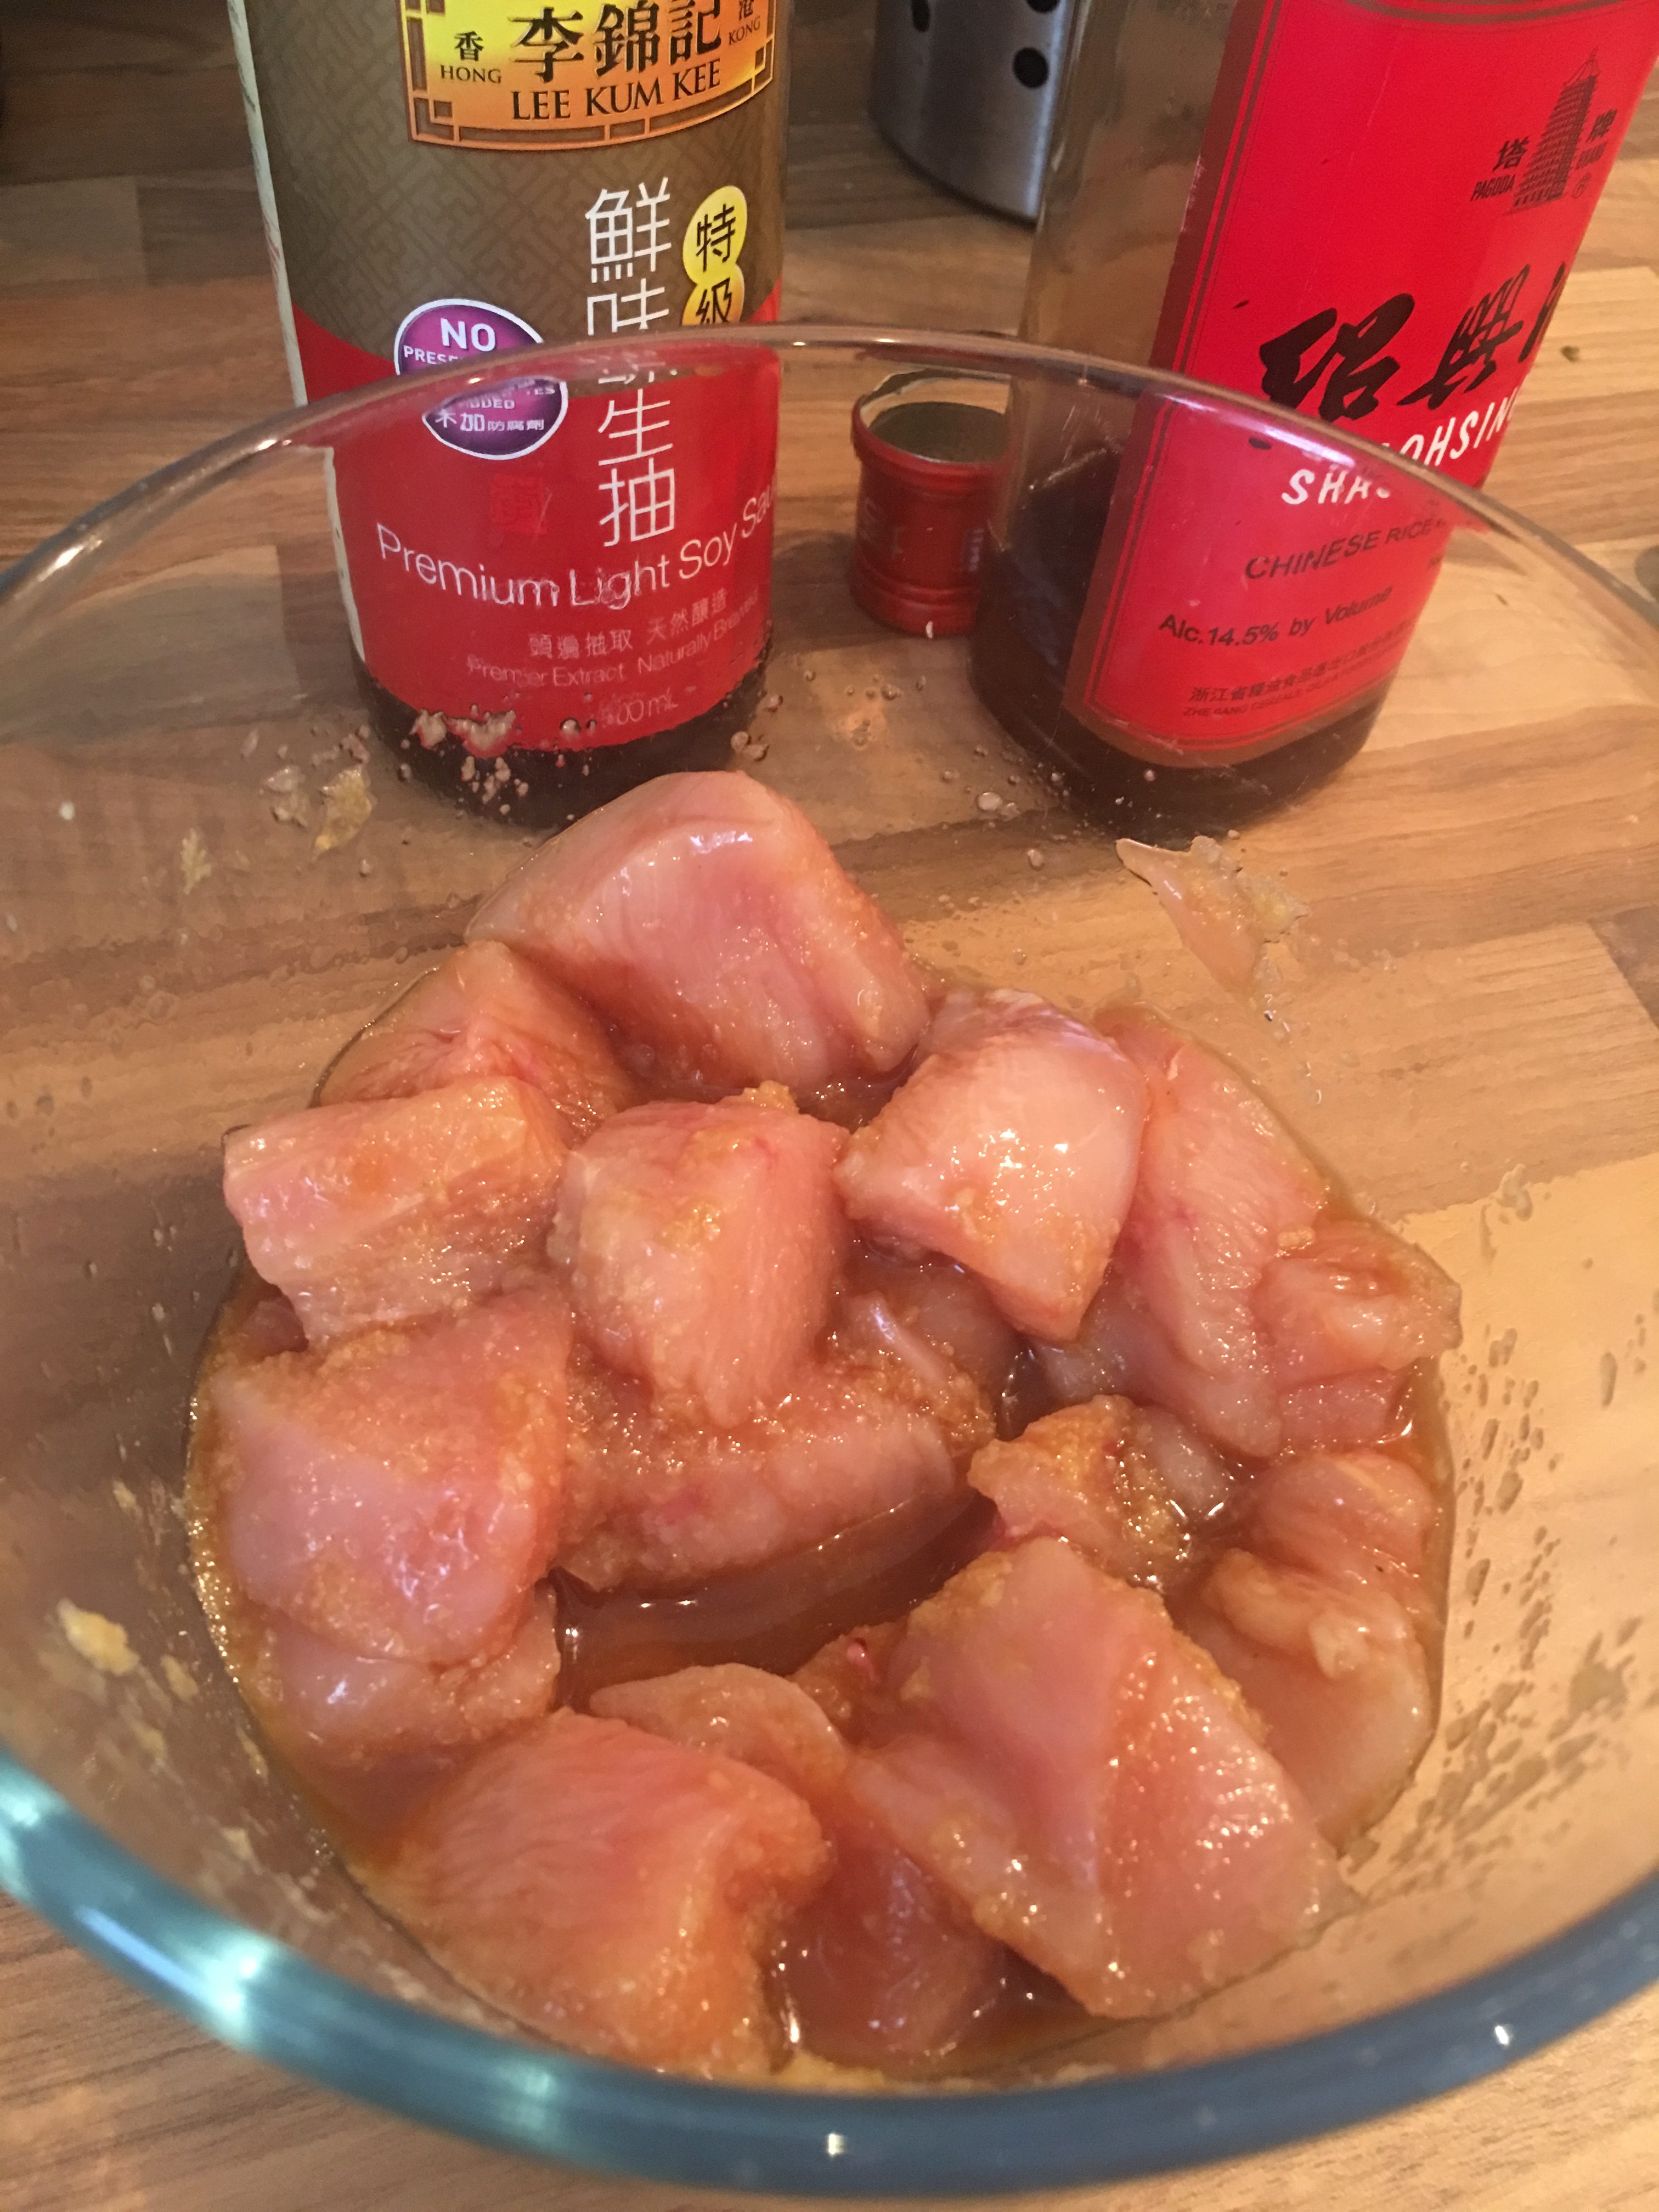
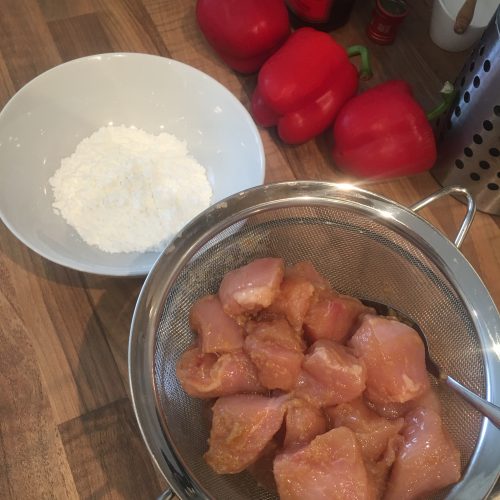
Dice the chicken breast into chunks and add to a bowl along with the light soy sauce, shaoxing rice wine, garlic and ginger. Leave to marinade for 15 minutes
-
After the chicken has marinated, drain it to remove any excess liquid
-
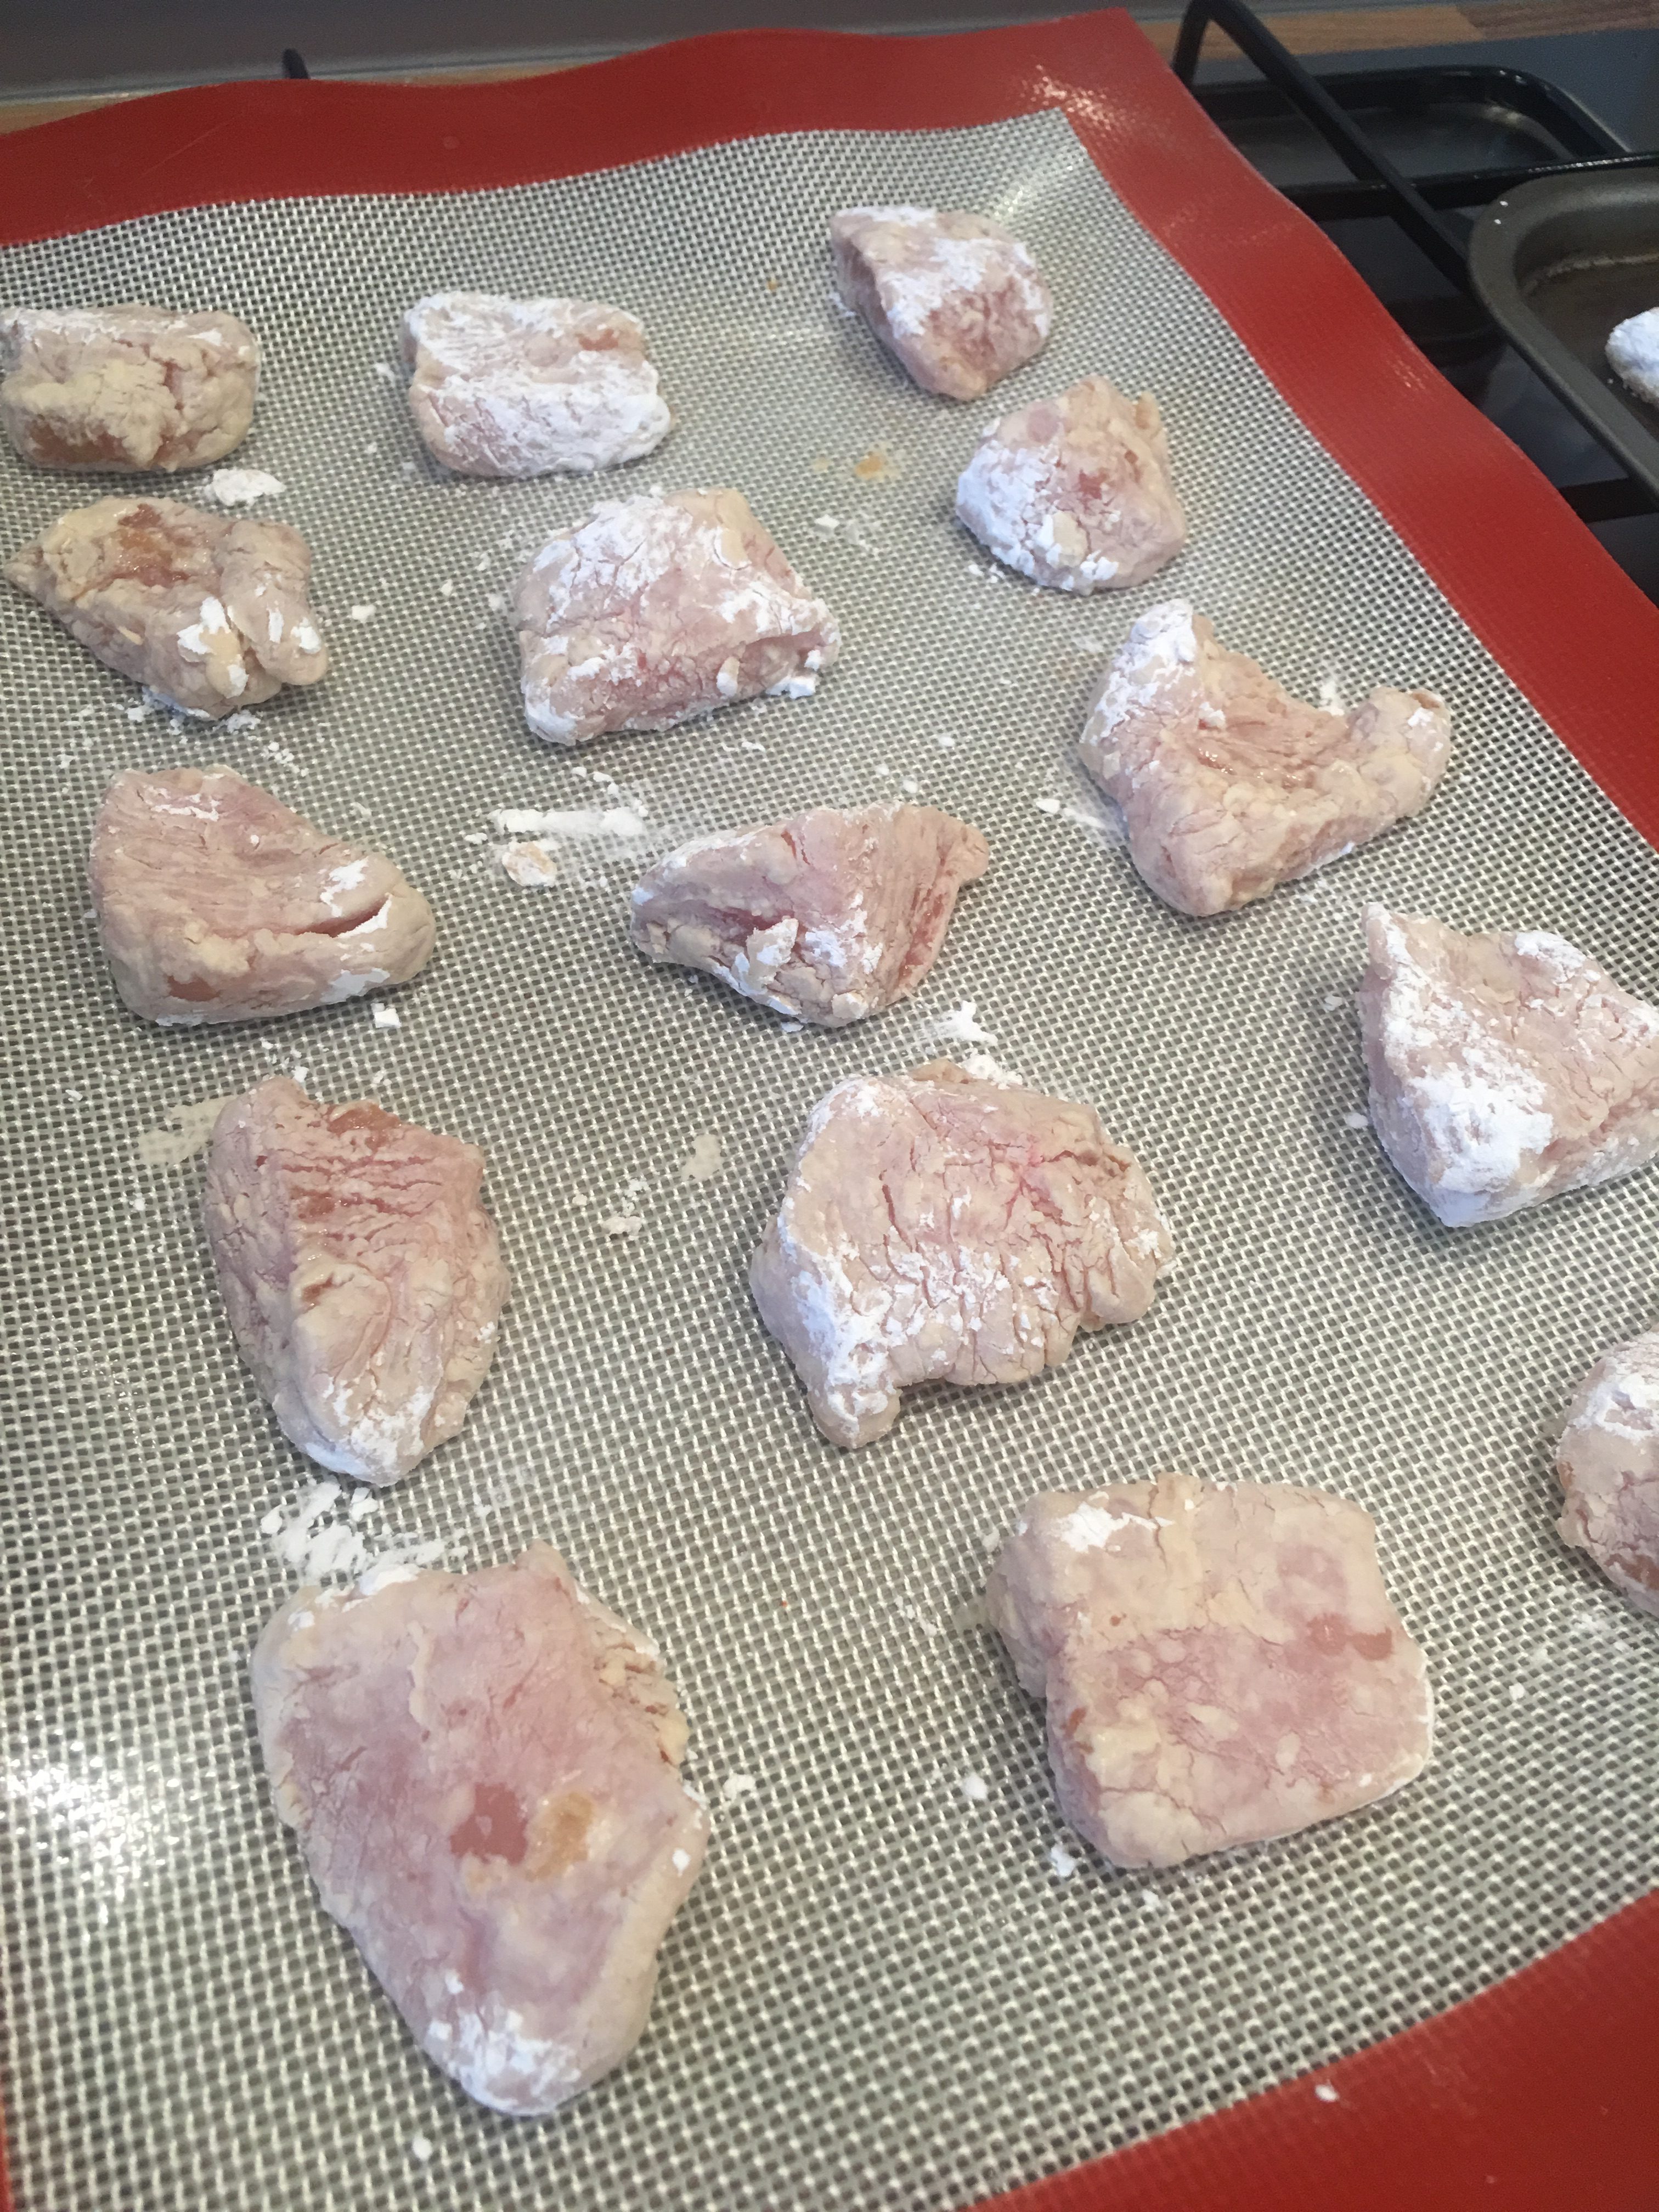
Preheat the oven to 180ºC (fan assisted, 200ºC non fan) and line a baking tray with a silicon mat or baking paper
-
Add the cornflour to a shallow dish and coat each chicken piece in the cornflour. Make sure each piece is completed coated, but tap off any excess cornflour. Place the chicken on the prepared baking tray
-
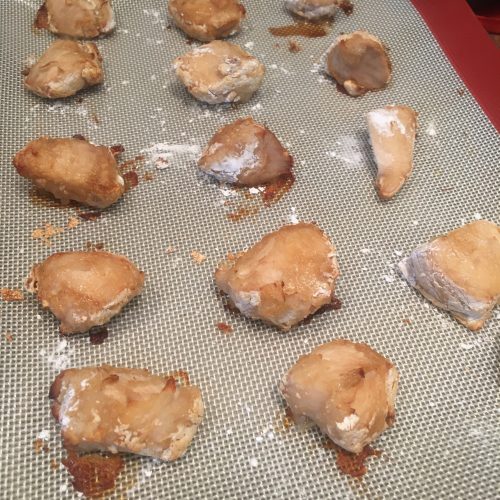
Bake the chicken in the oven for 10 minutes before turning the chicken and cooking for another 10 minutes
-
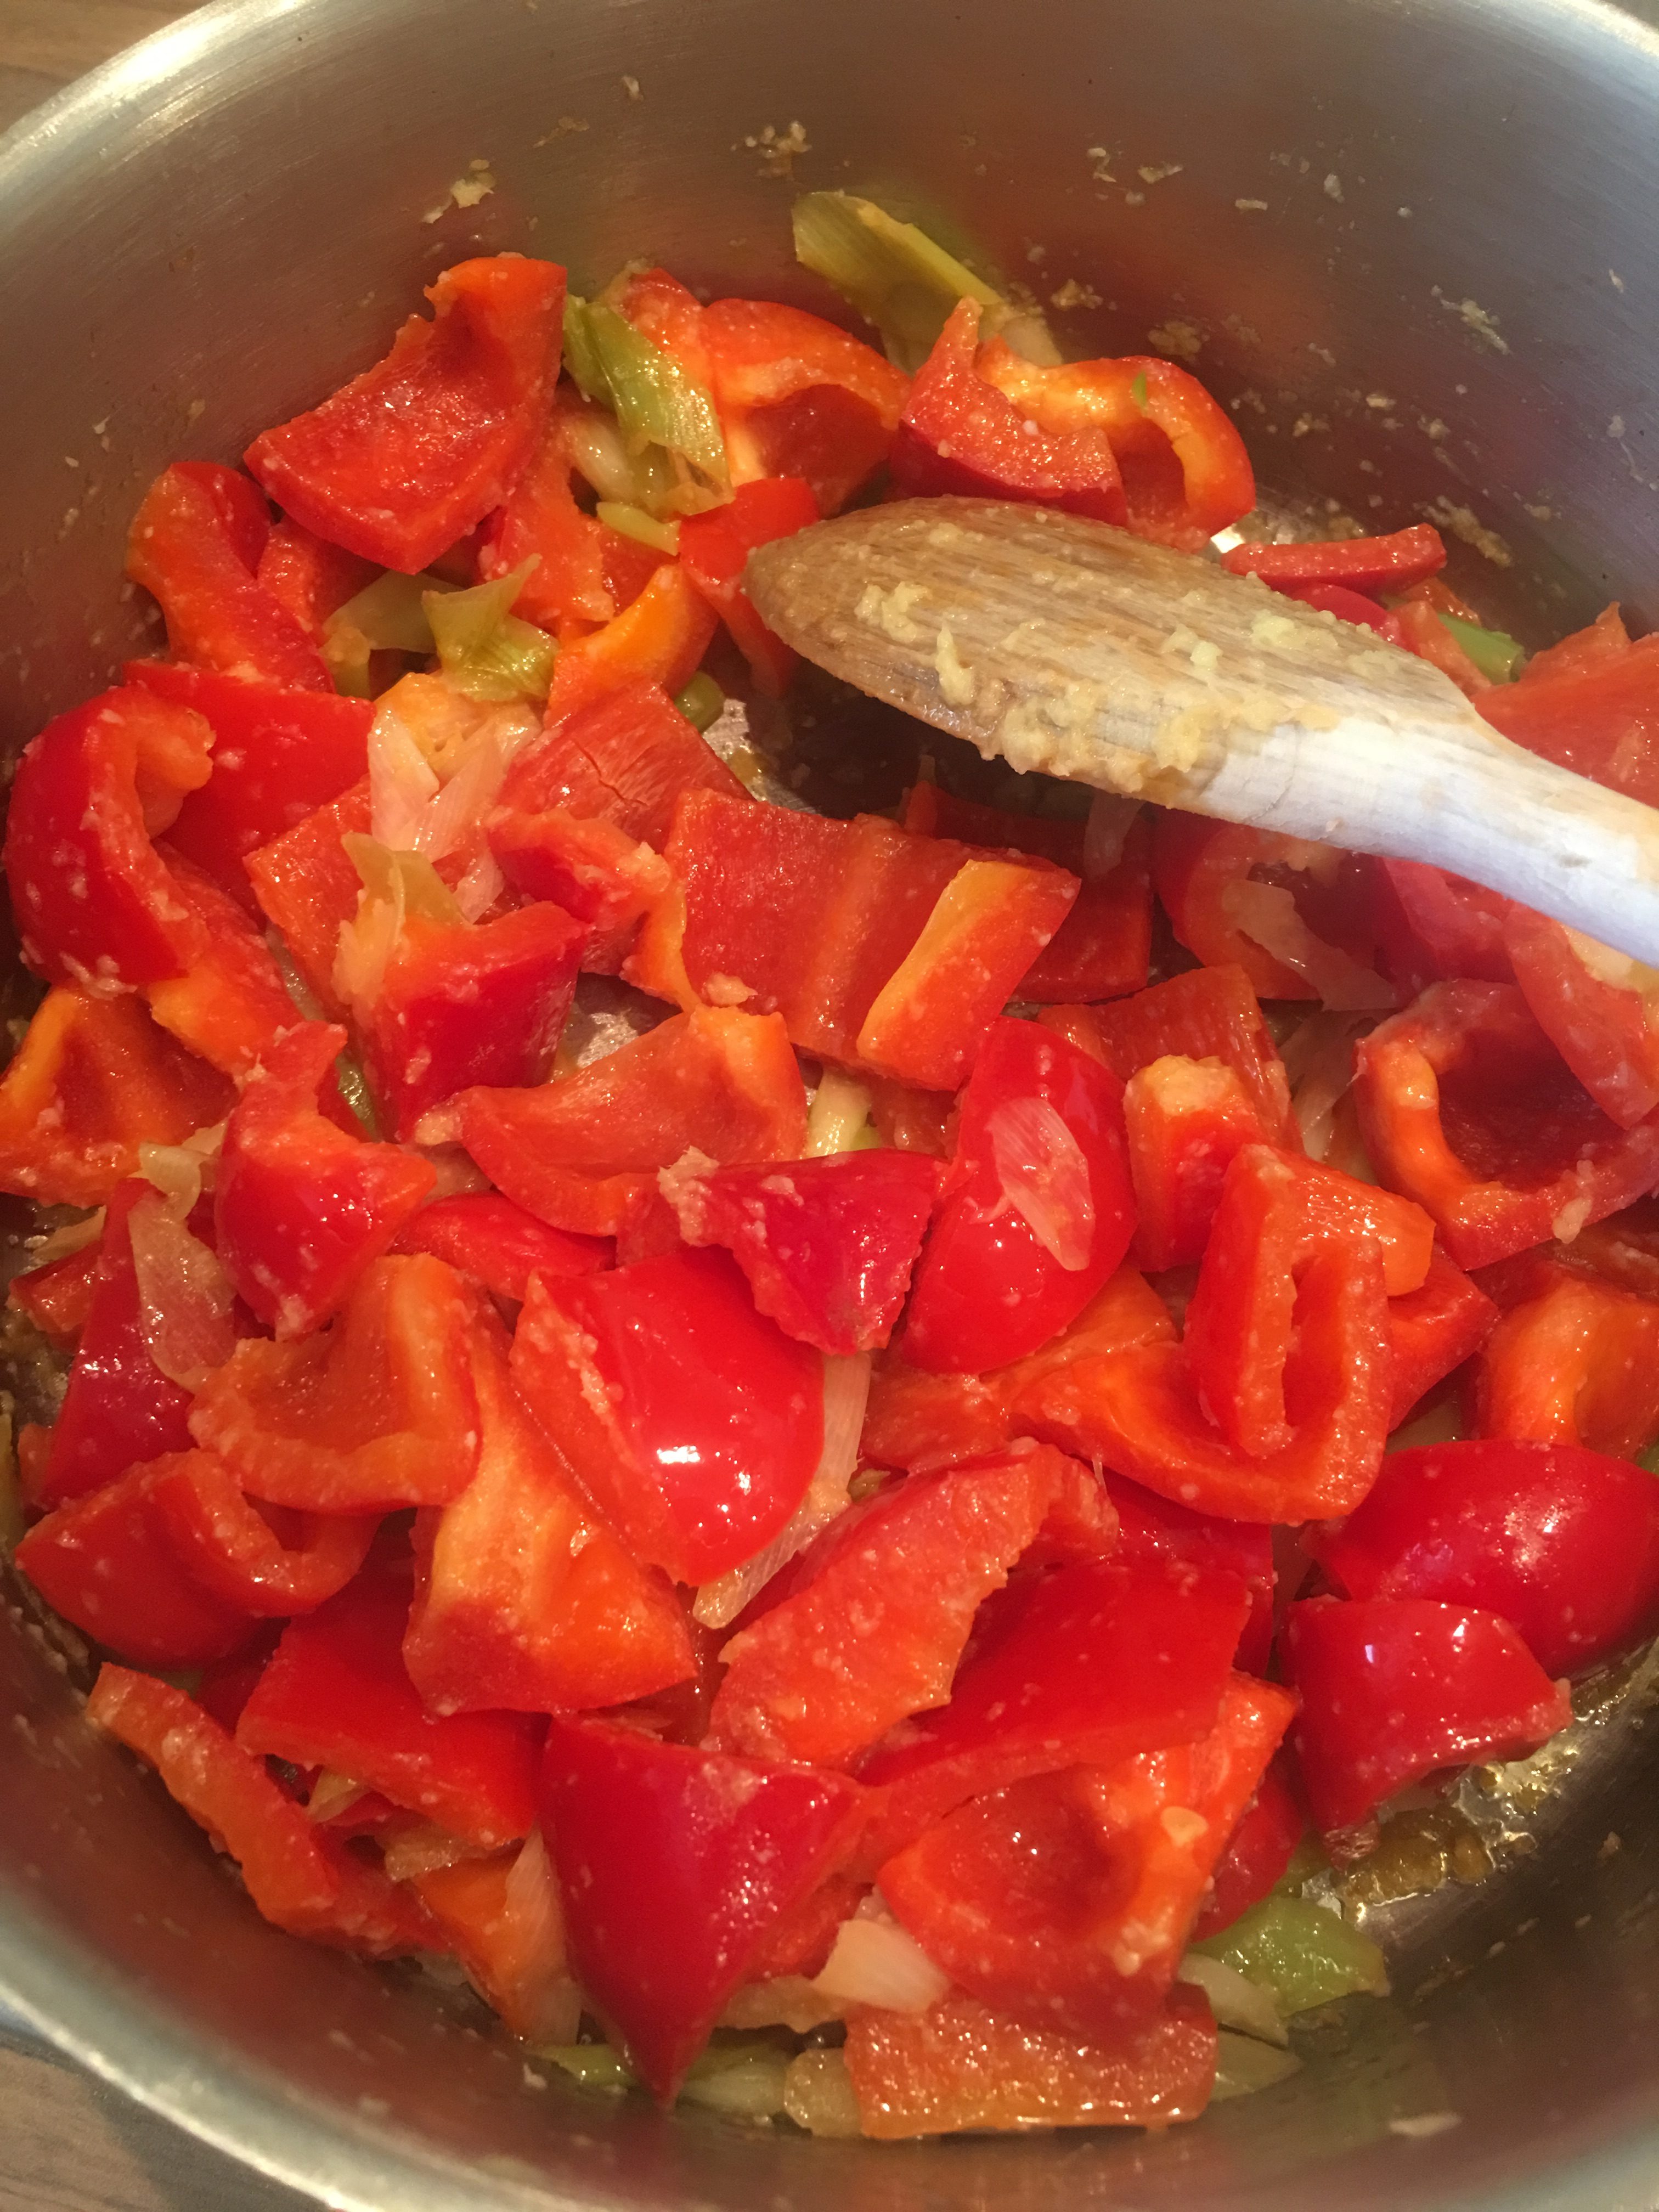
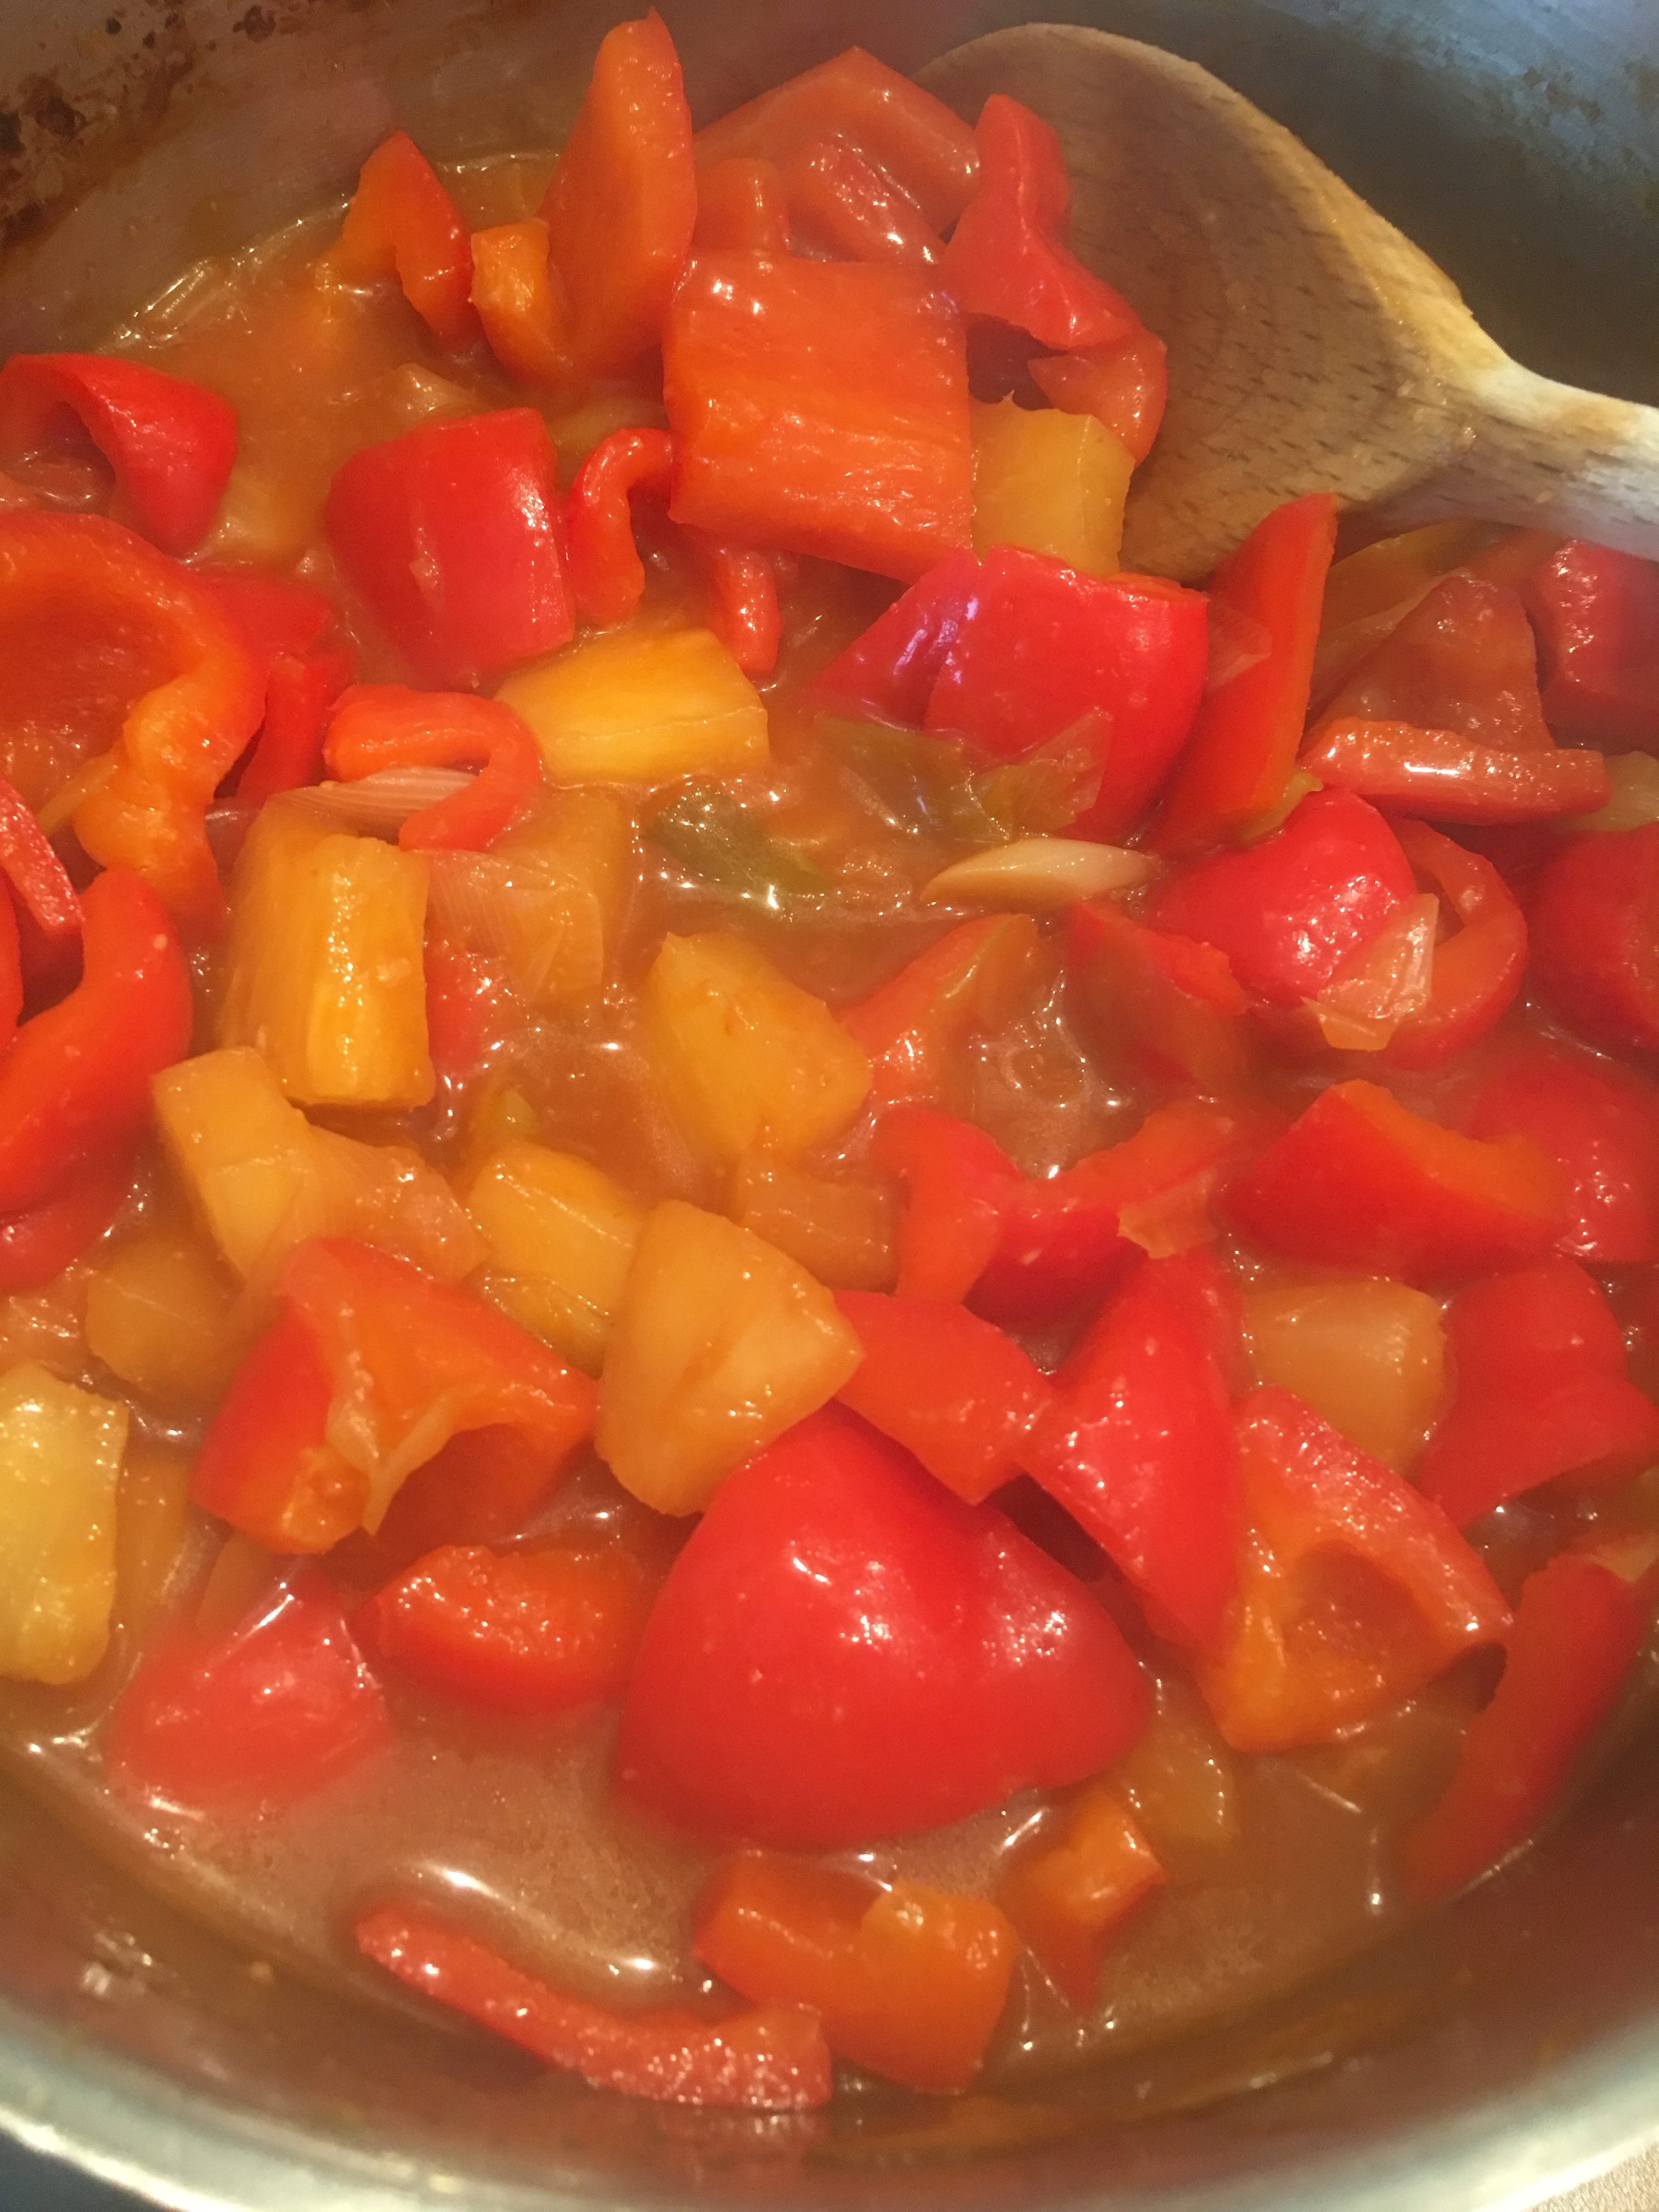
While the chicken is baking, make the sauce by chopping the peppers into a large dice and slicing spring onions and mincing the garlic and ginger
-
Add the oil to a pan on a medium heat before adding the peppers, spring onions, garlic and ginger. Let soften for around 10 minutes, stirring often before adding the rest of the ingredients
-
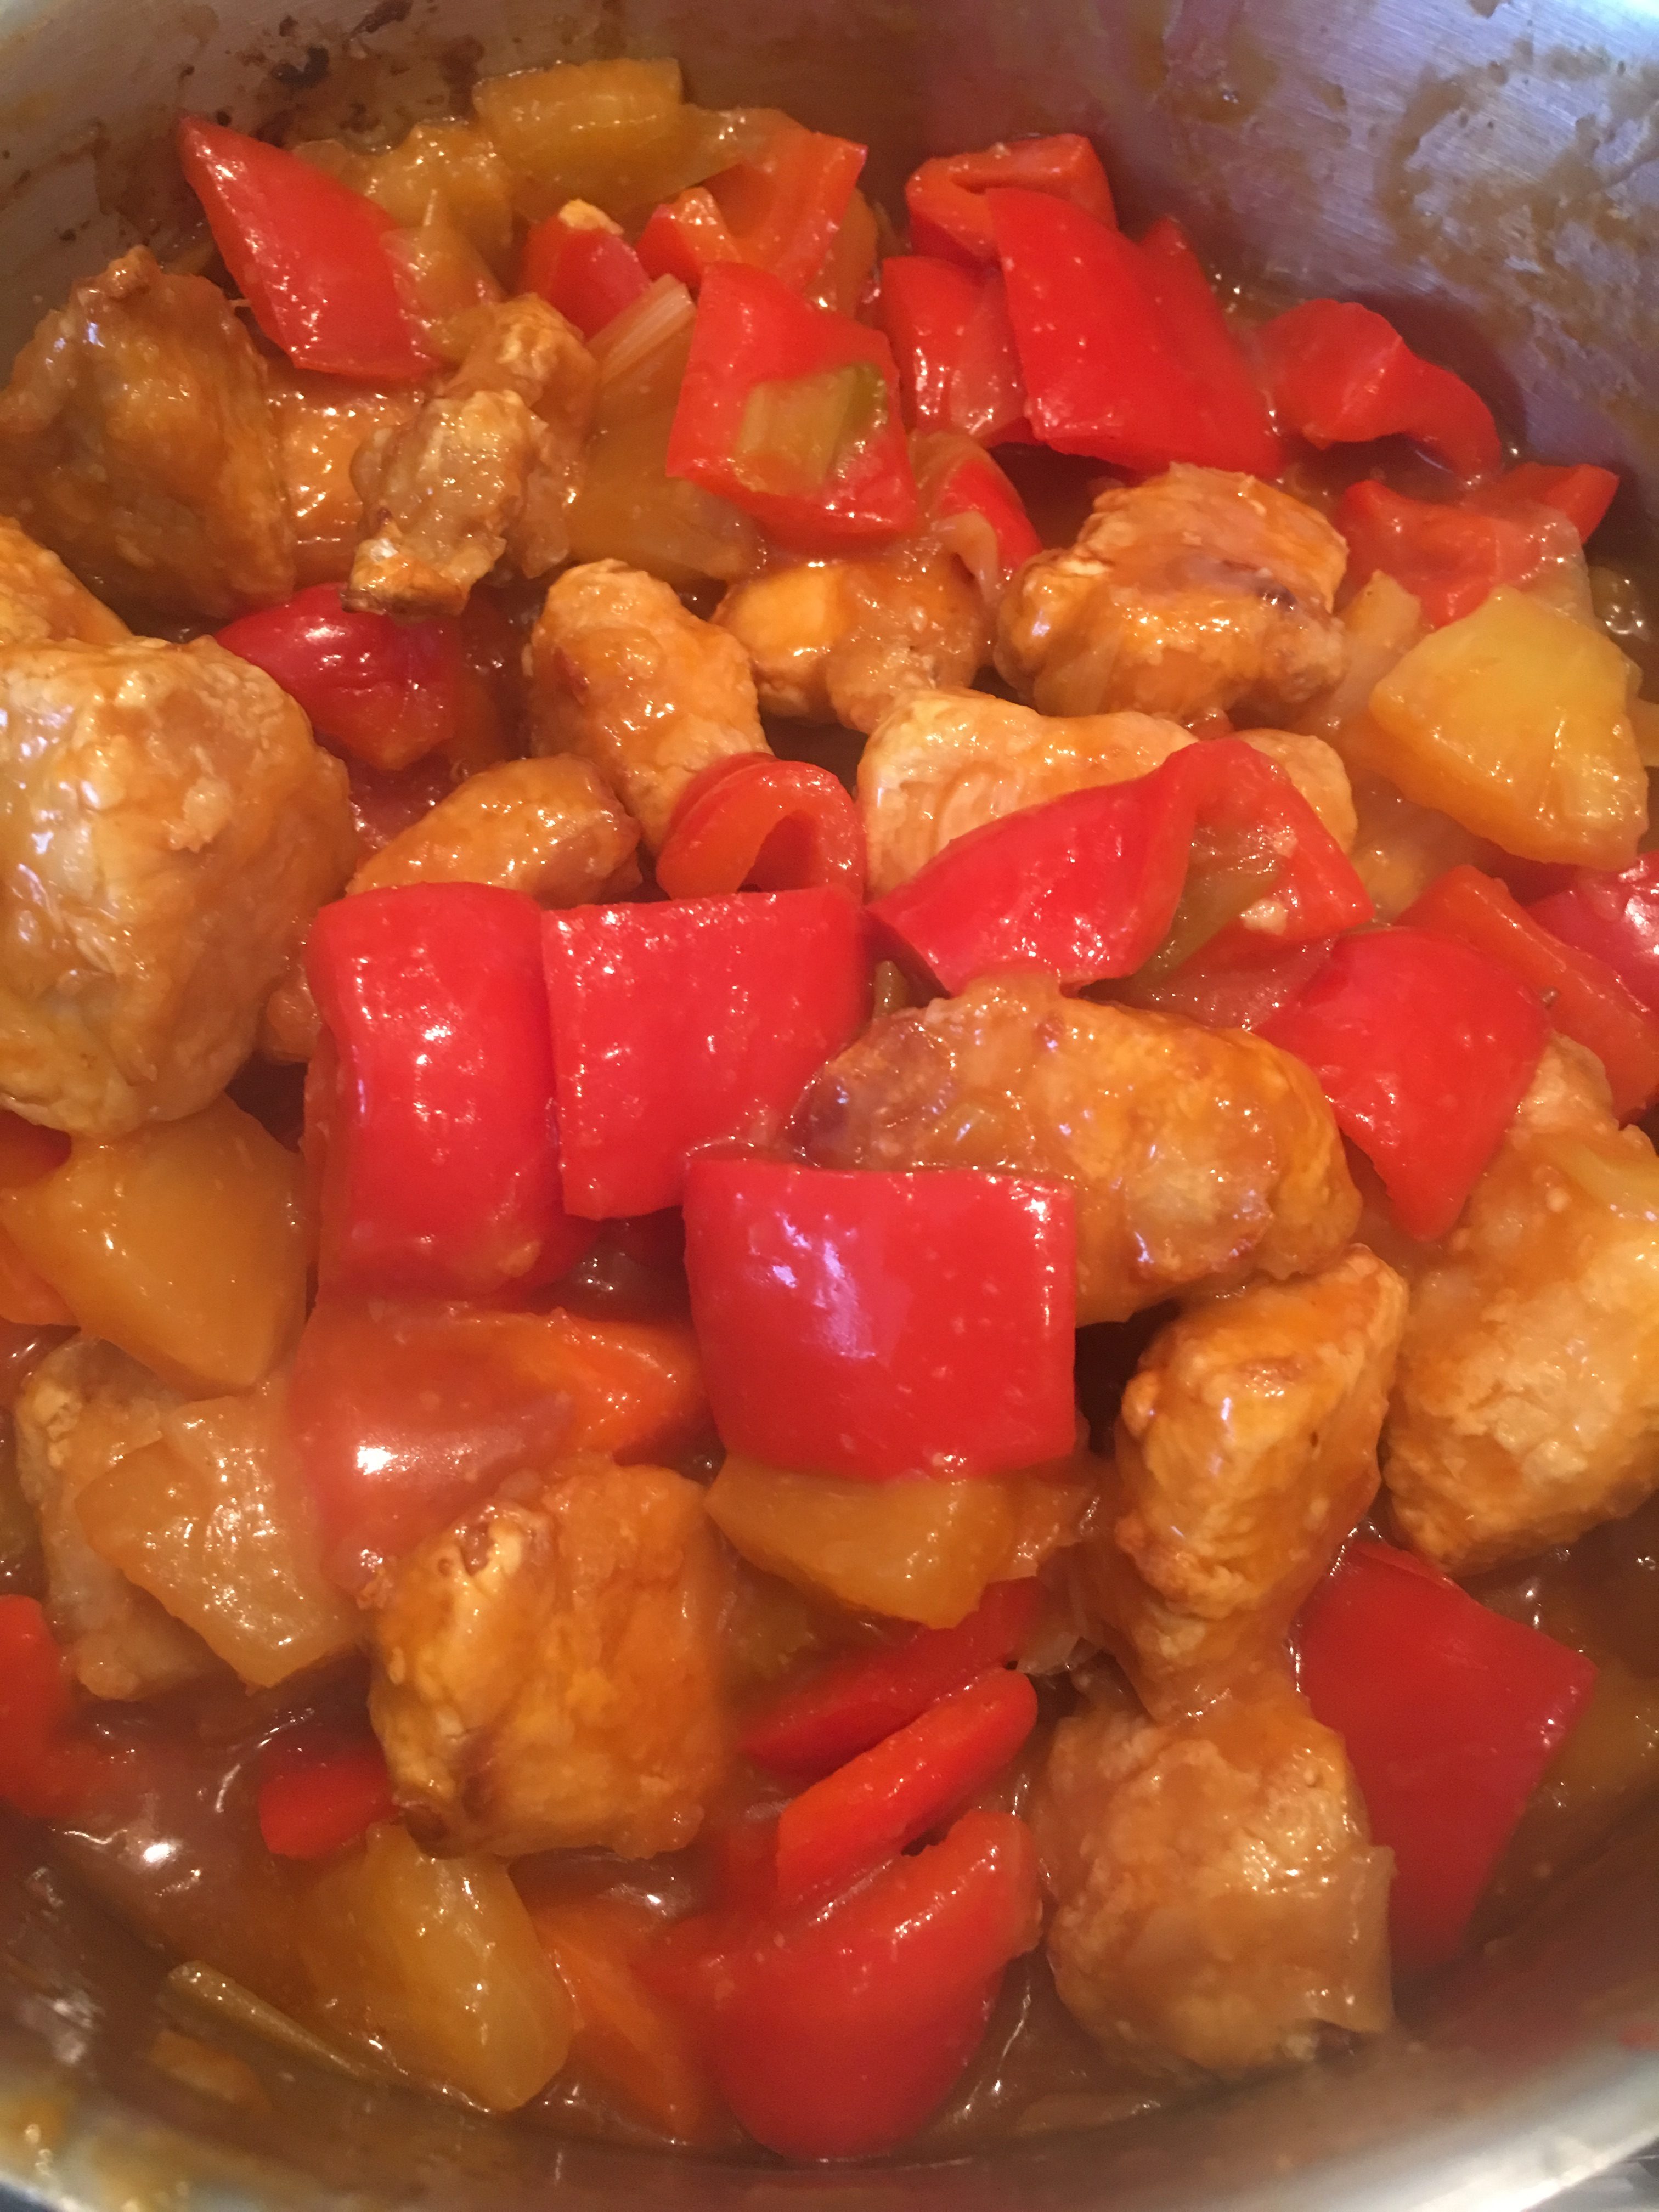
Cook on a medium heat until the sauce has thickened and turns glossy. If you prefer the sauce to be a bit thicker, mix the cornflour with one tablespoon of pineapple juice to help thicken the sauce
-
Once the chicken has cooked and just before you are going to serve, add it to the sauce and stir through to make sure it is all coated in the sauce
-
Serve with rice and top with a sprinkle of sesame seeds and spring onions
Recipe Notes
Nutritional information is given as a guide only and my vary.
jenny walters says
What a fabulous recipe.I love sweet and sour but for the same reason never make it.I am def making this though.Pinned for next weeks tea!
Cat says
Hope you enjoy it 🙂 x
Corina Blum says
Homemade sweet and sour sauce is so much better than the bought jars. I usually find them a little on the sweet side so definitely like the fact you’ve made your own. I also like the fact that the chicken is baked and so there’s a few less calories – It sounds delicious and looks great too! Thanks for sharing with #CookOnceEatTwice!
Cat says
It’s also good to know what you’re putting it it without worrying about any mystery E numbers! Thank you 🙂 x
Eb Gargano | Easy Peasy Foodie says
Love this recipe – so easy peasy and I bet it tastes way better than those ones you get in a jar!! Thanks for linkigng up to #CookBlogShare 😀 Eb x
Cat says
Thanks 🙂 It really does! x
Michelle Frank | Flipped-Out Food says
Ooooh girl, I am so with you on the nasty jarred sauces! They’re the WORST. Your adaptation of my favorite Chinese take-out dish is not only gorgeous, but it’s healthier too—I’ll definitely be making this soon. I think that sometimes with the deep-fry, you lose the flavor of the chicken: all you can taste is the heavy batter. I’ve always preferred a light corn flour batter like what you’ve done here. YUM!!
Cat says
Thank you very much! Yeah sometimes you can end up with more batter than chicken! Hope you like it if you try it.
Jessica says
This sounds very tempting! I love sweet and sour but also don’t like it from the jar! I also find Chinese takeaways make me so thirsty the next day! Thanks for sharing to my world linky 🙂 x
Cat says
It’s interesting to find out that no one seems to like jarred sweet and sour! There is no MSG in this which I believe is what makes you thirsty after a Chinese takeaway 🙂 x