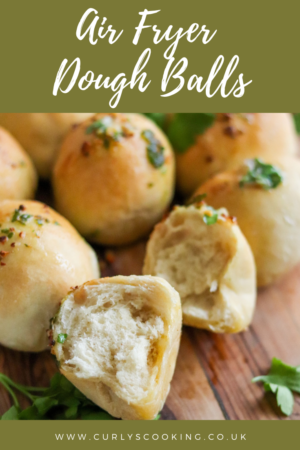

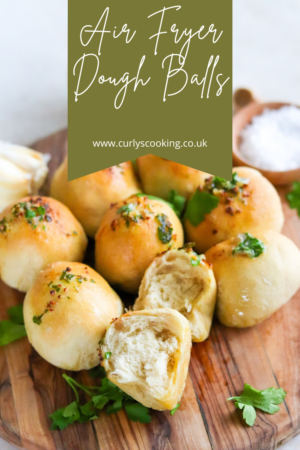

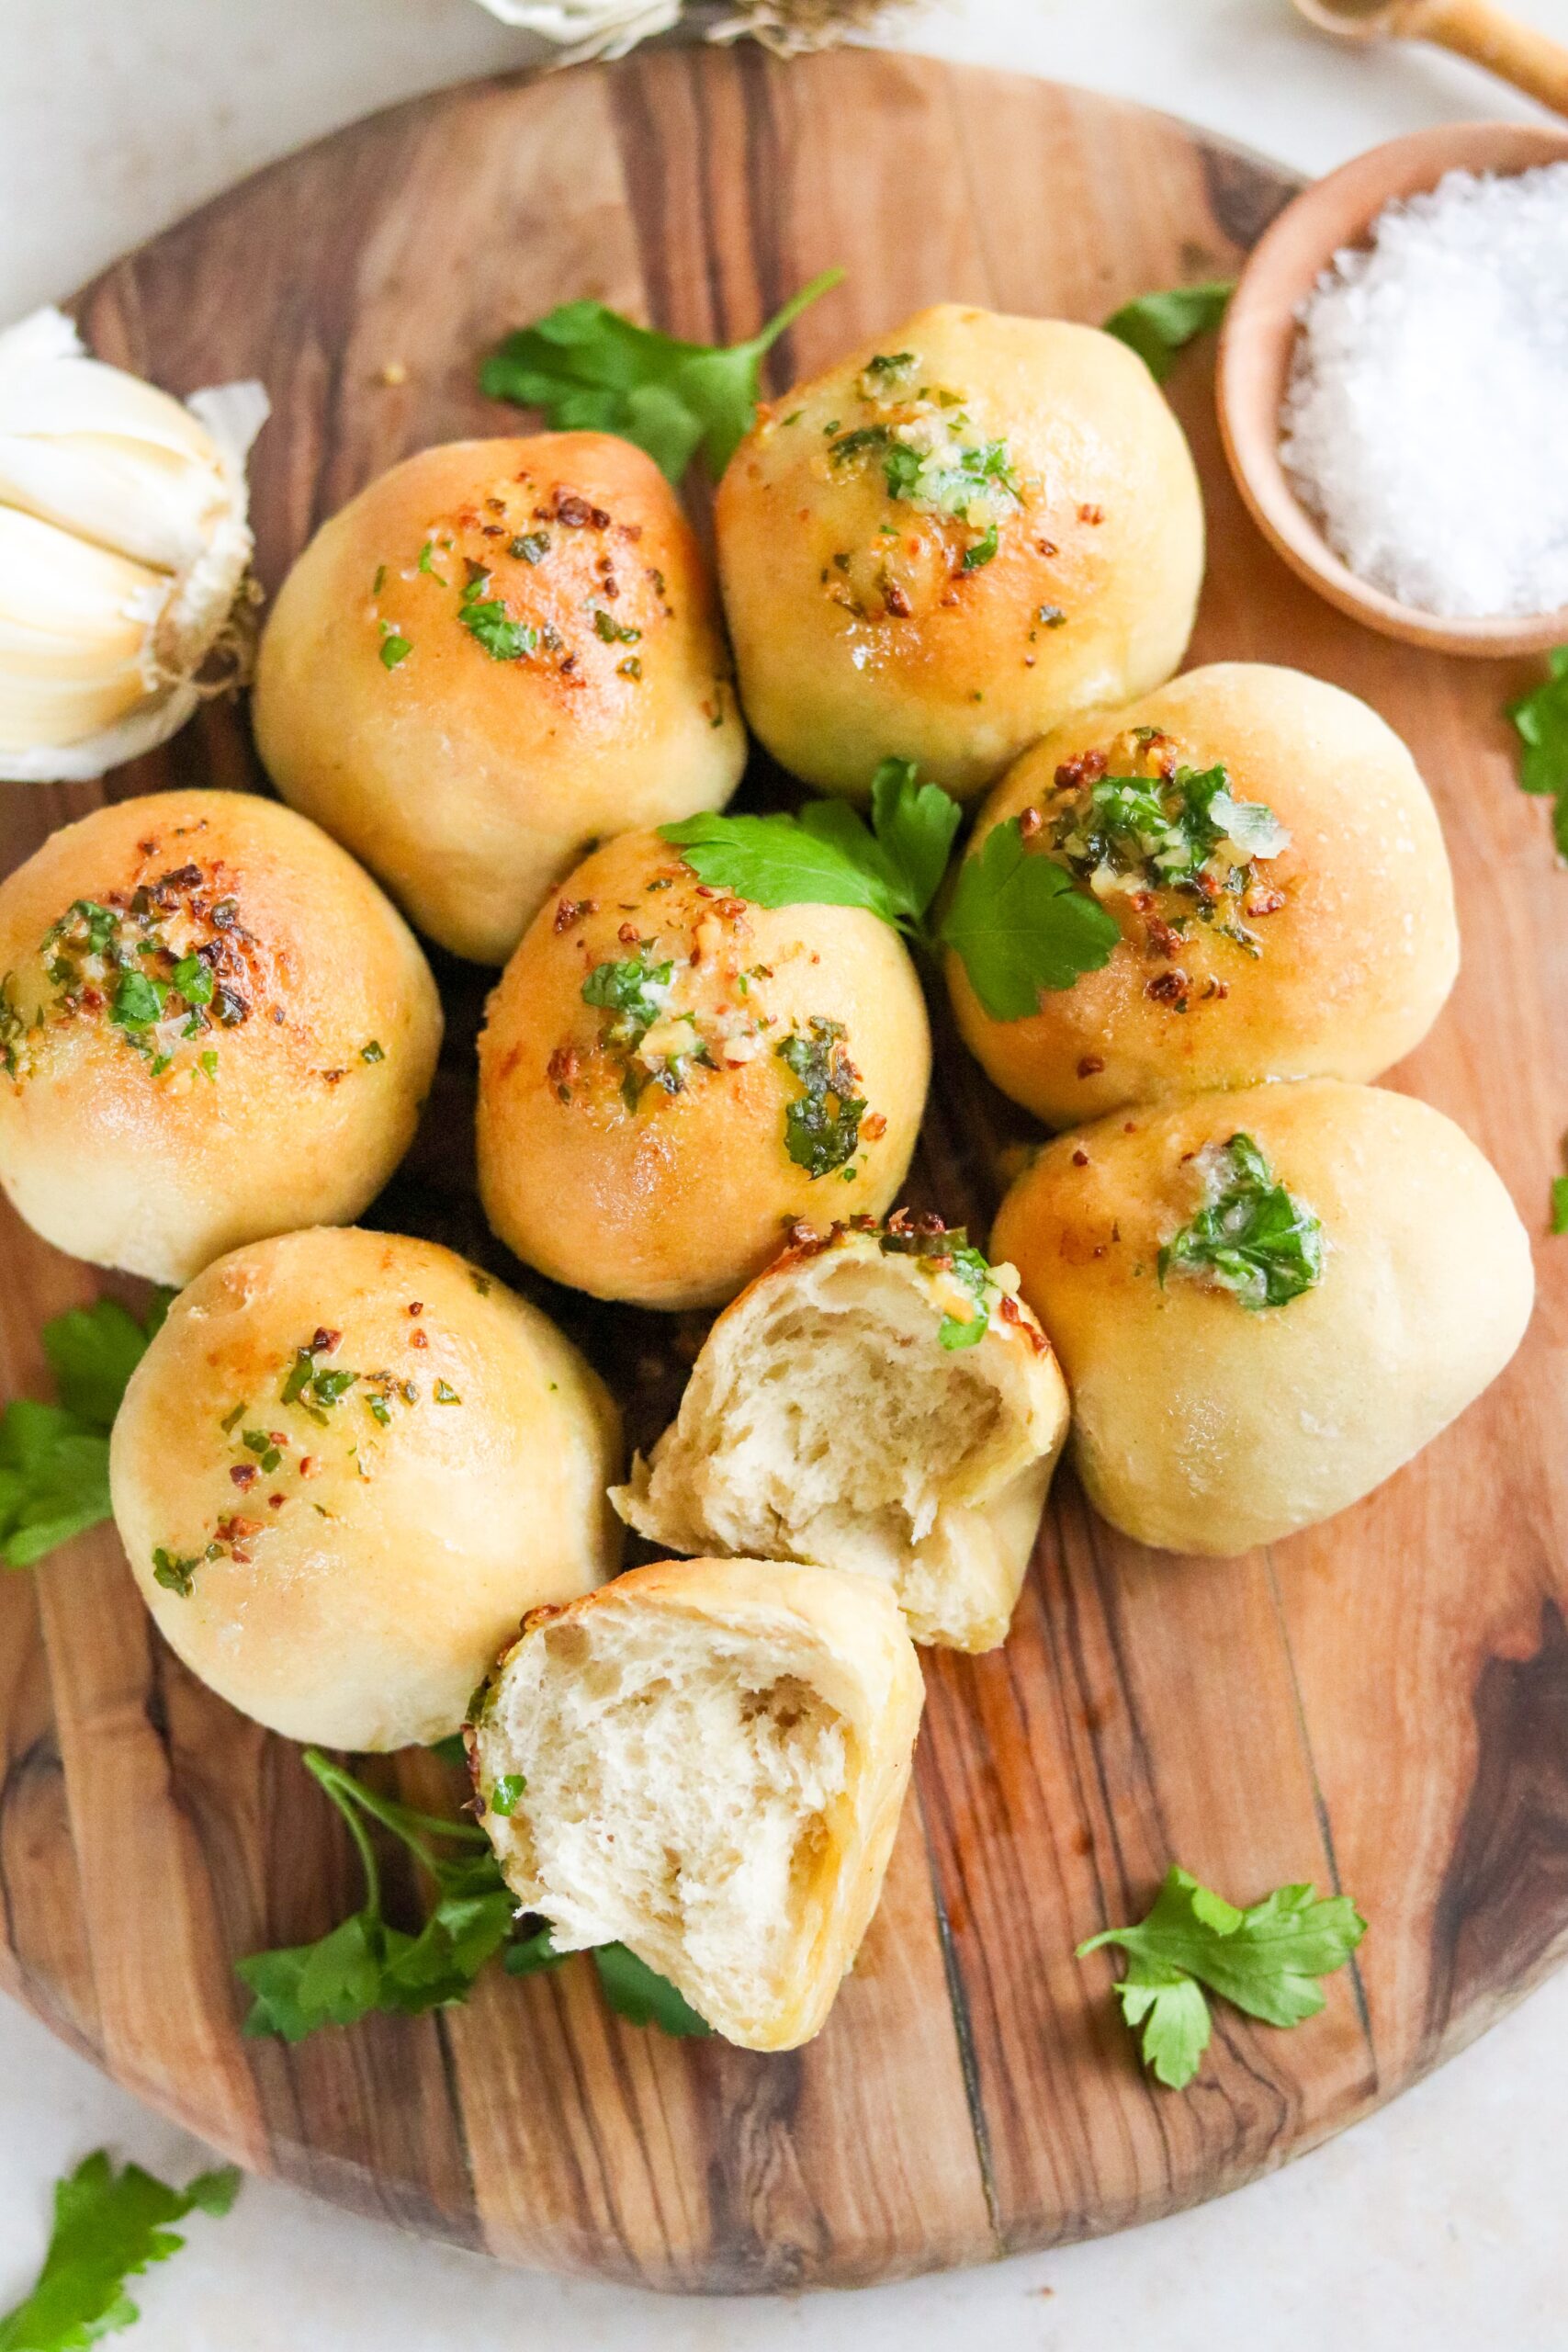
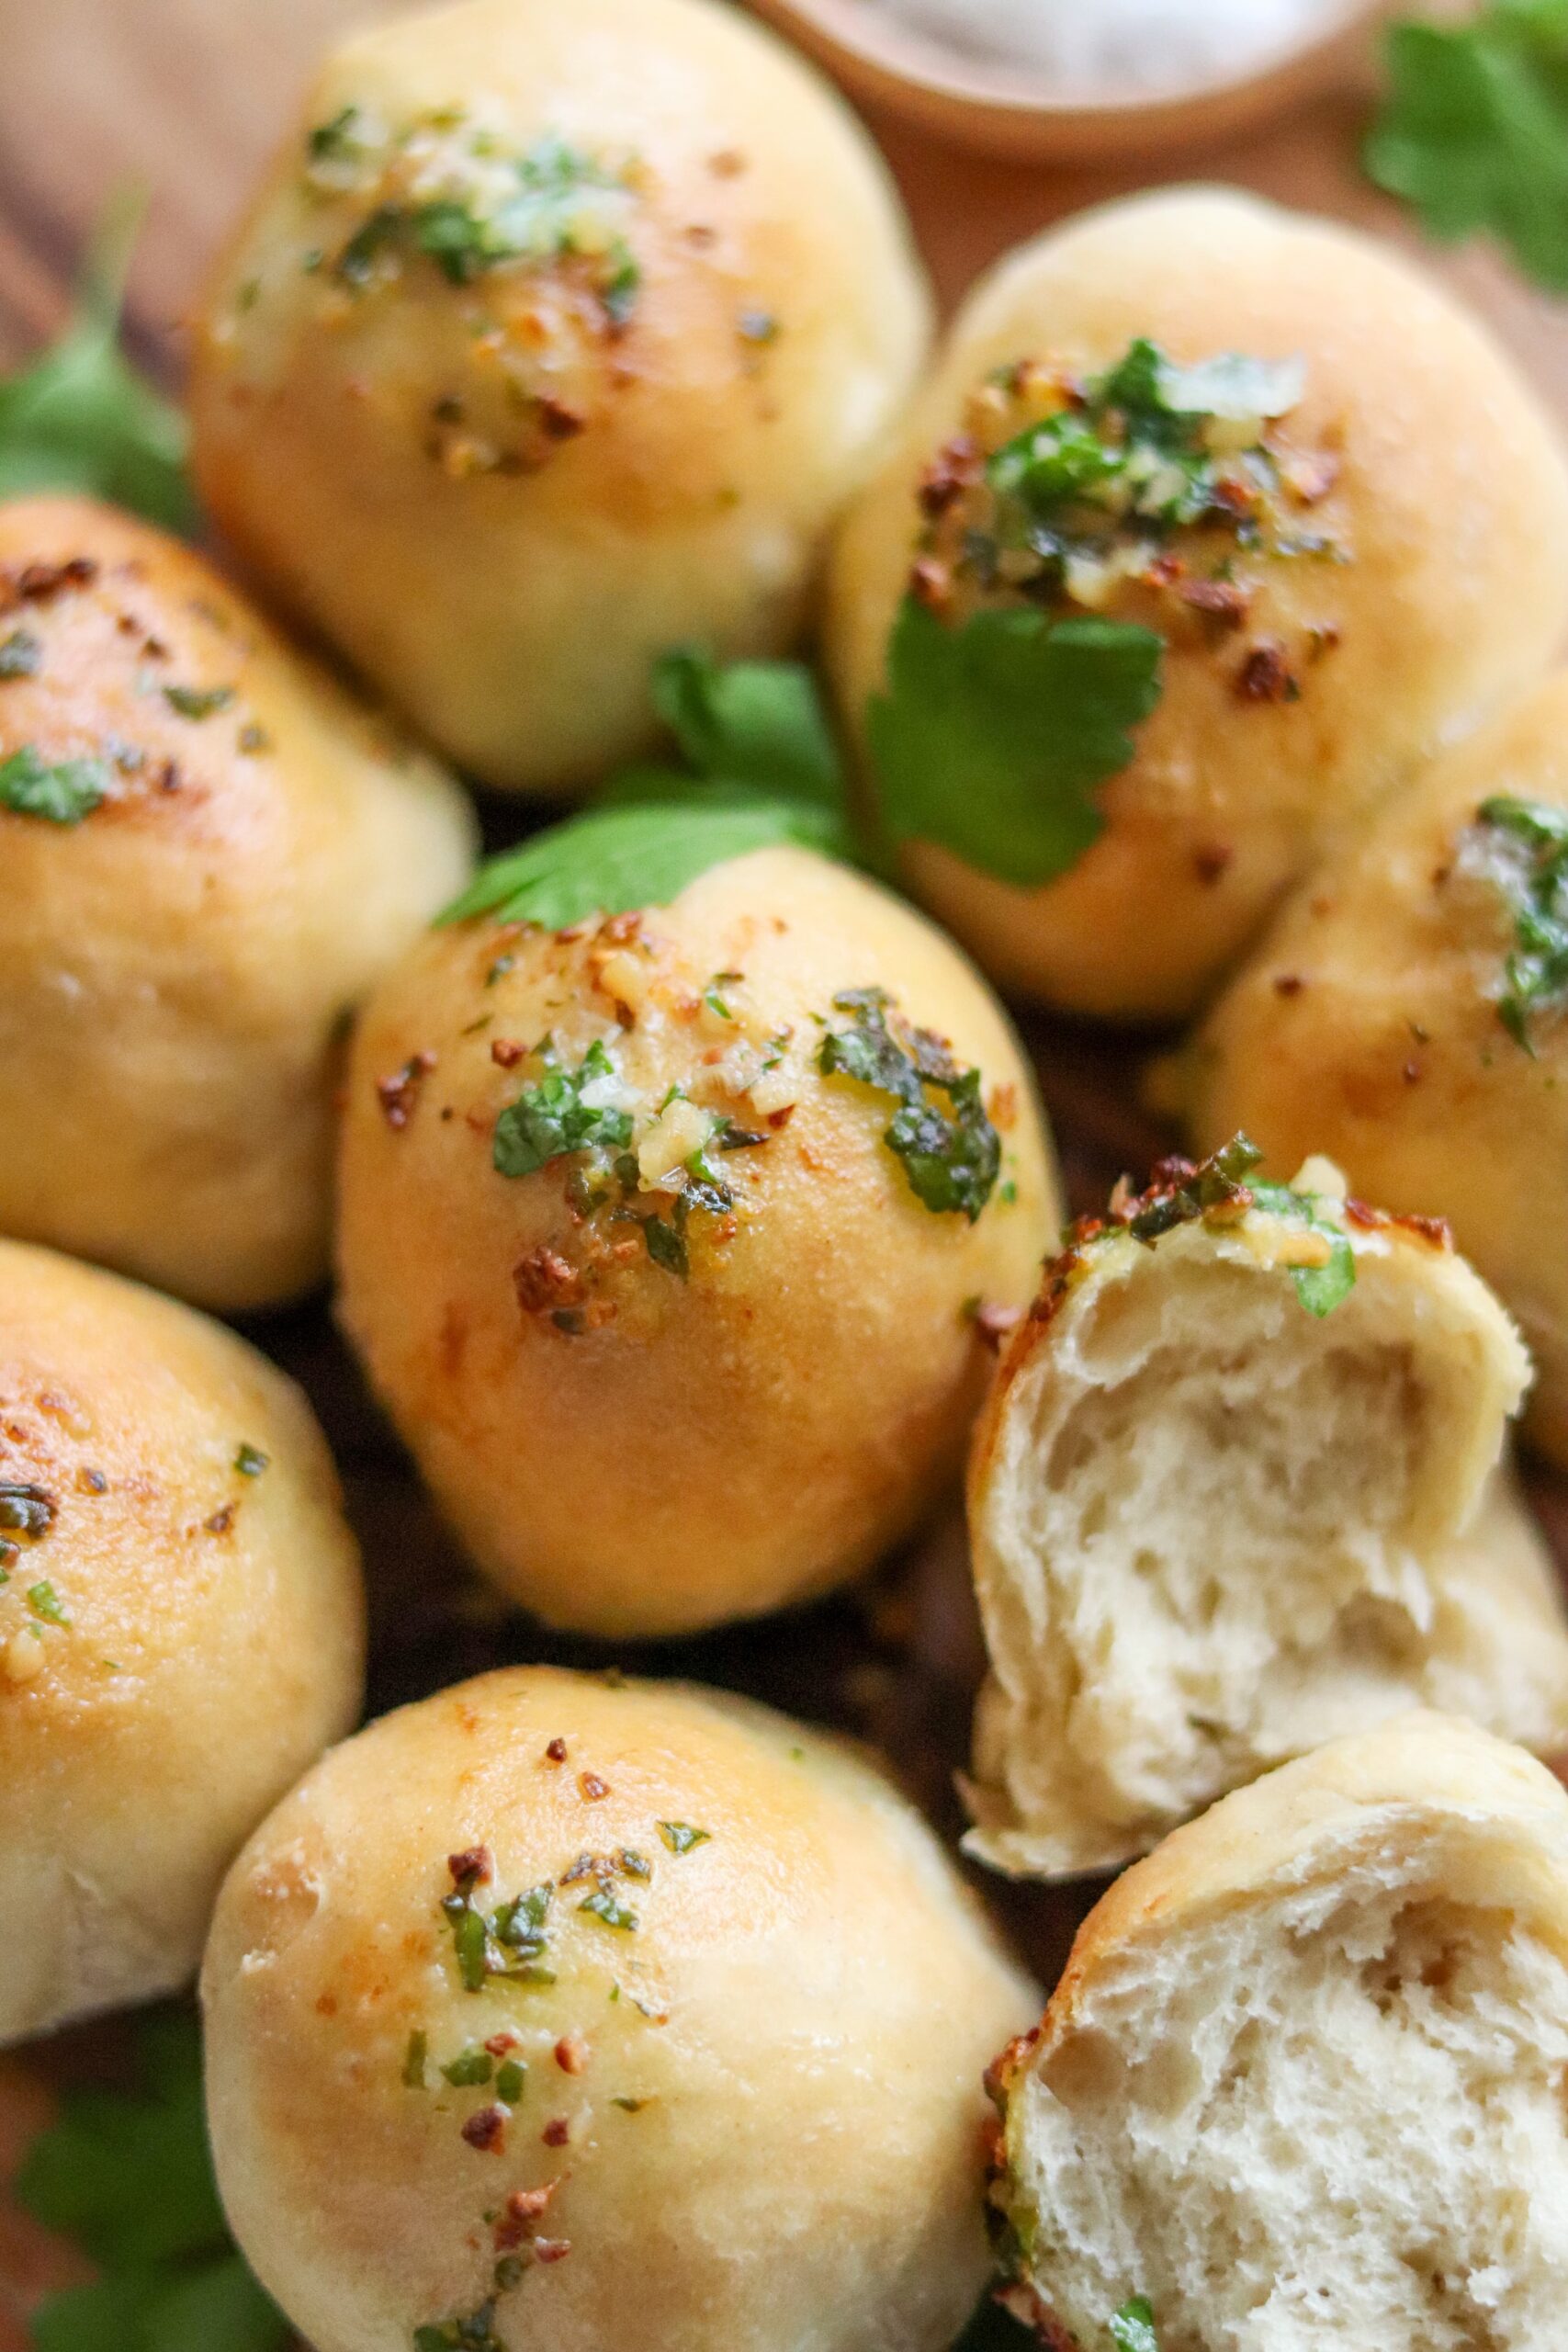
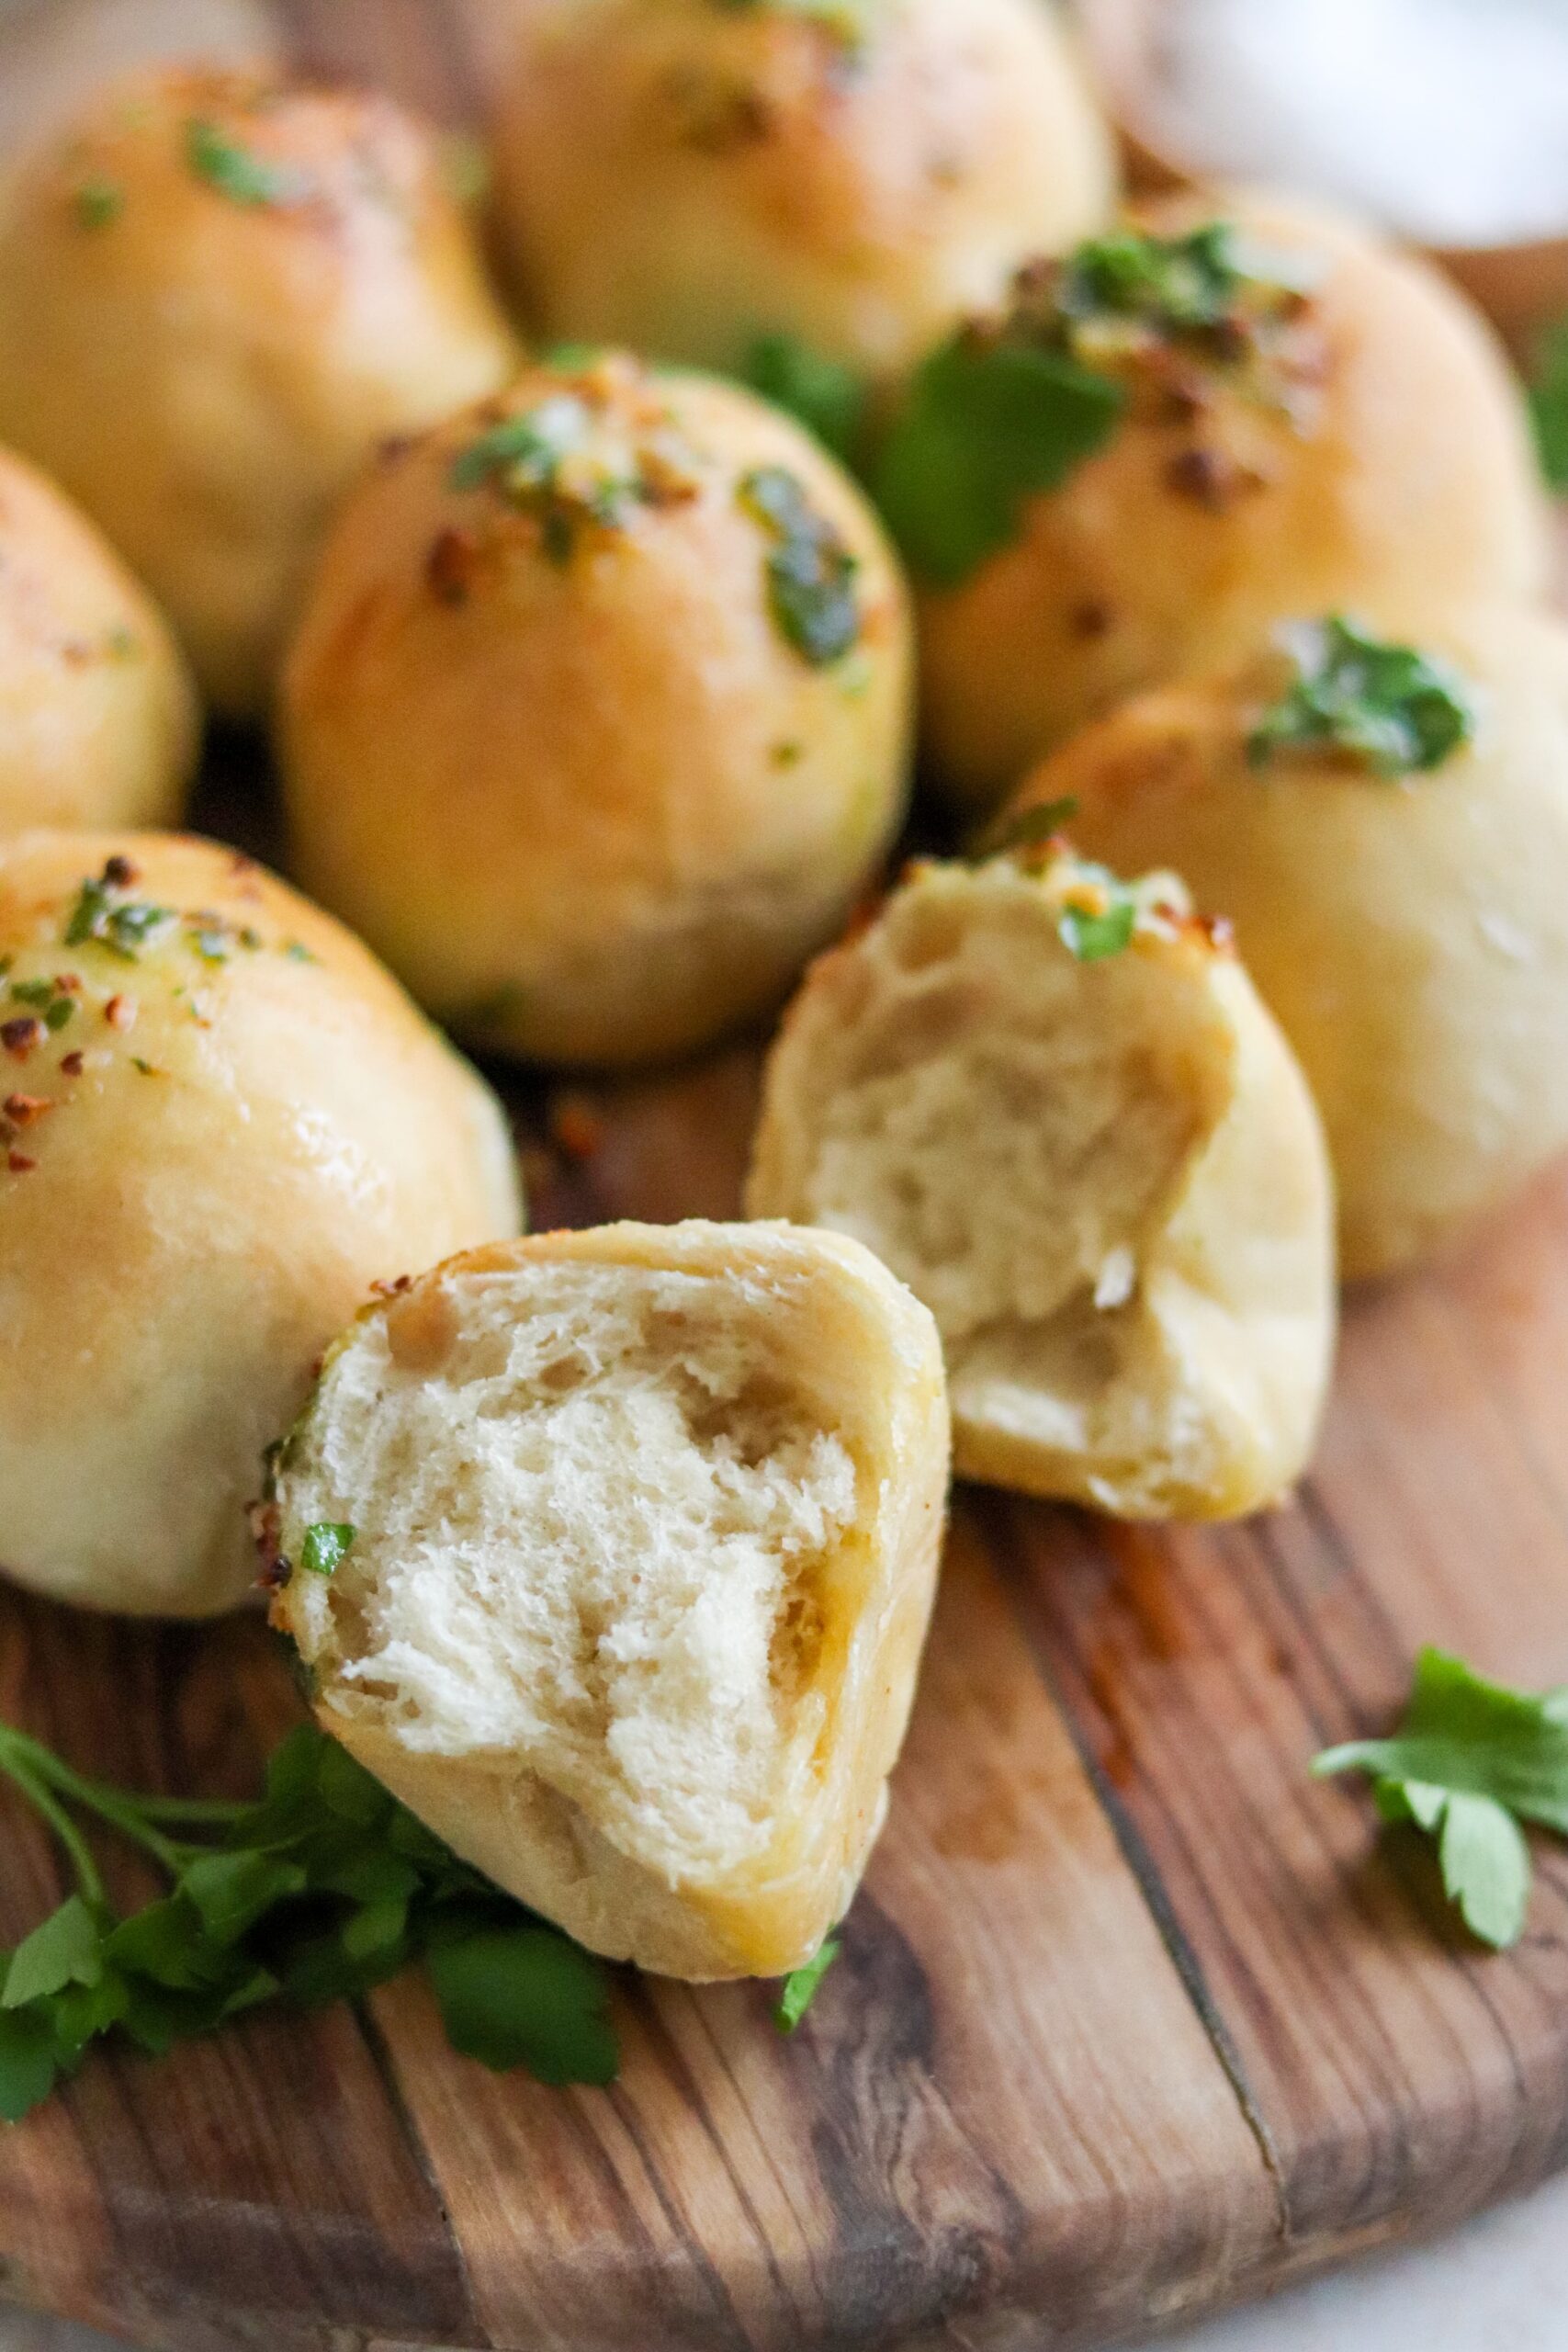
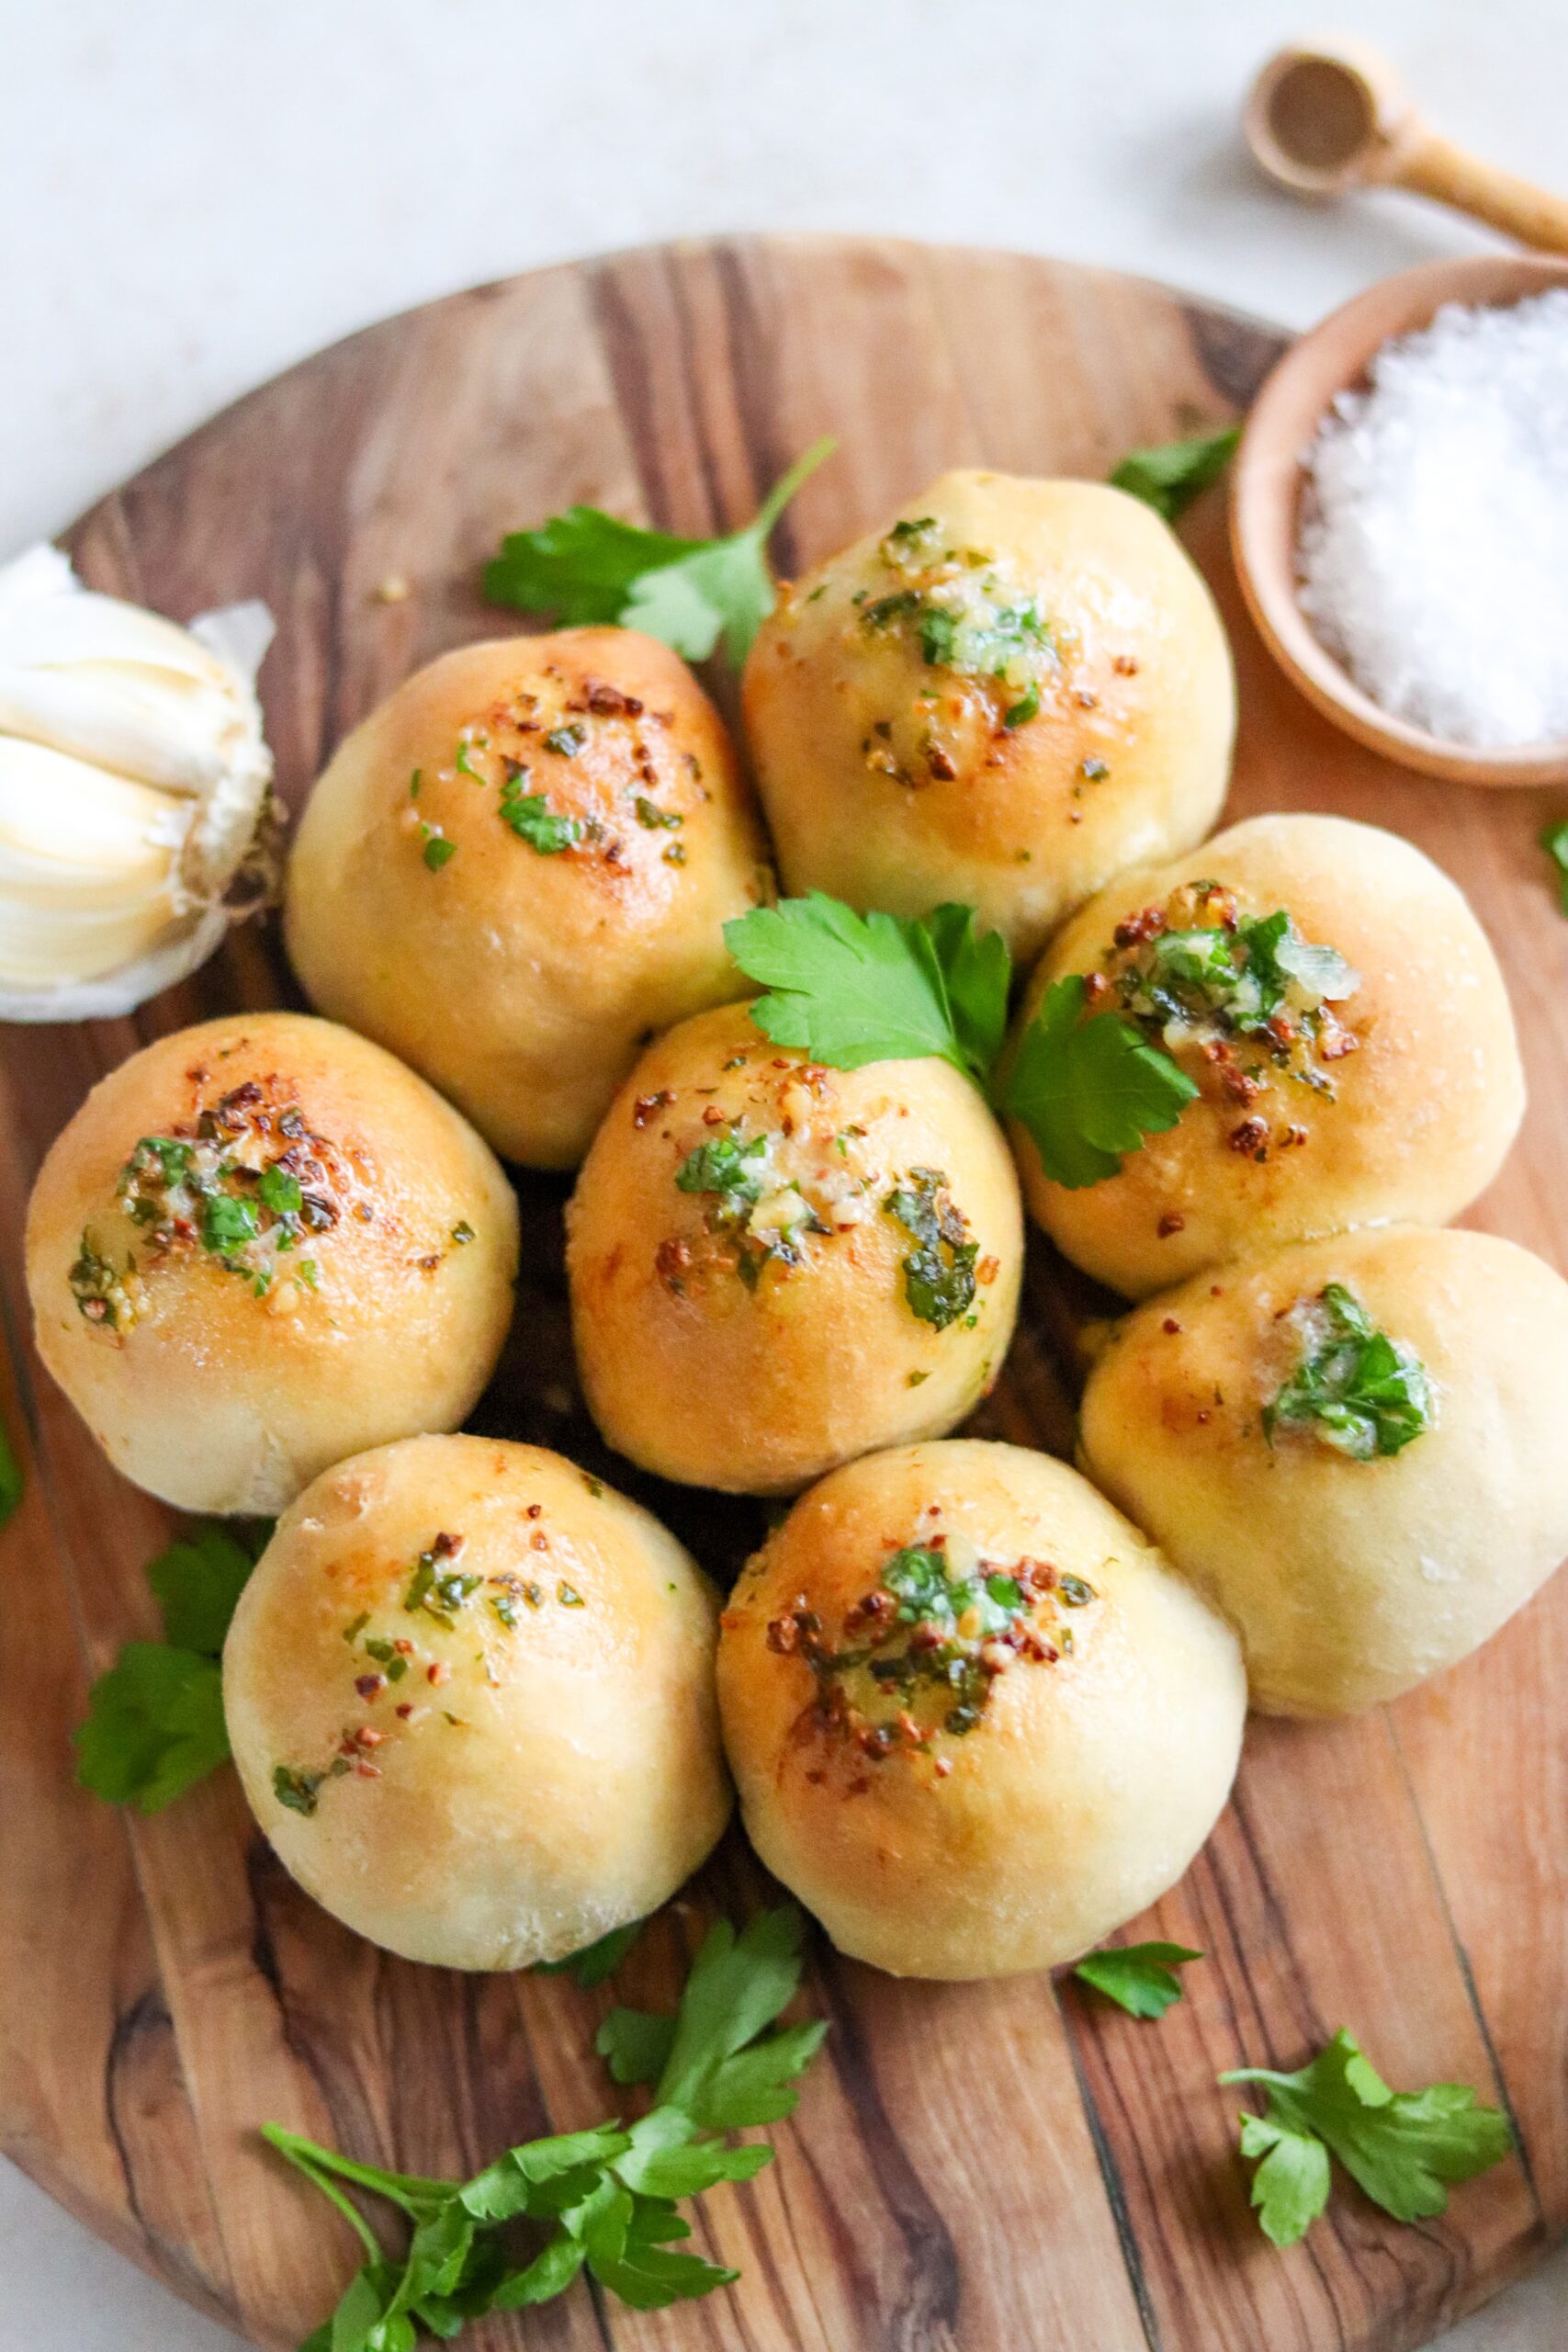
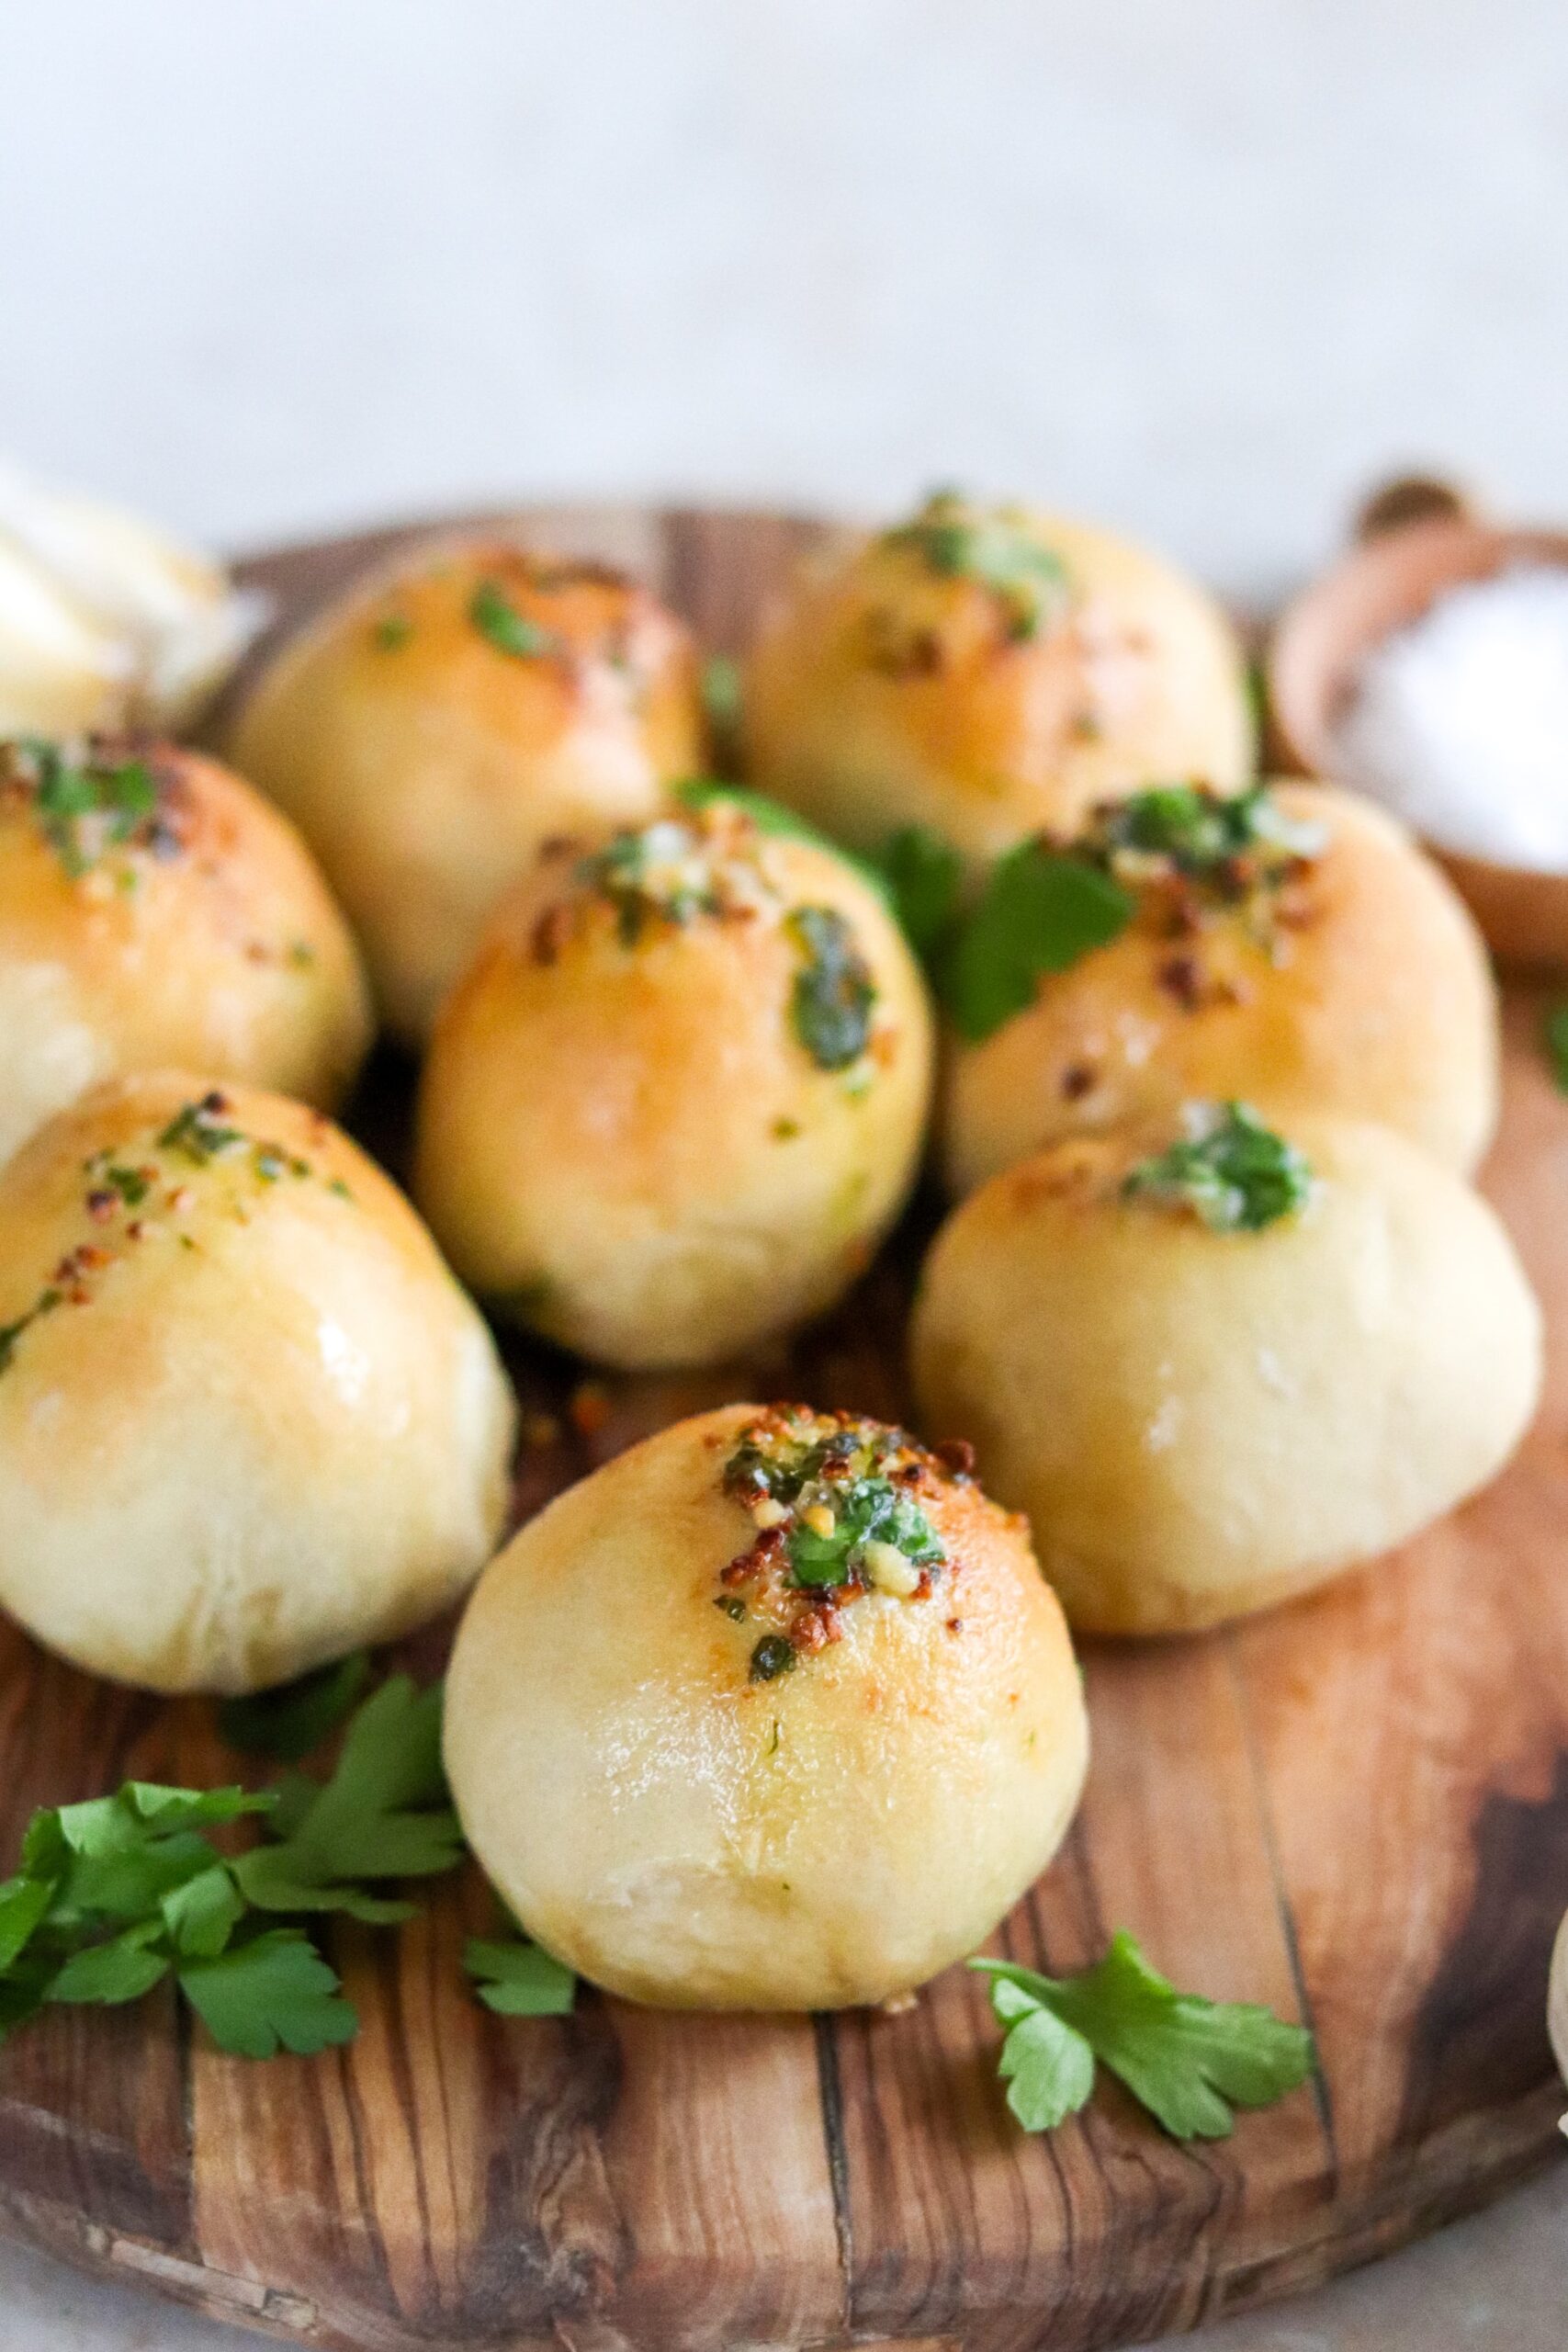
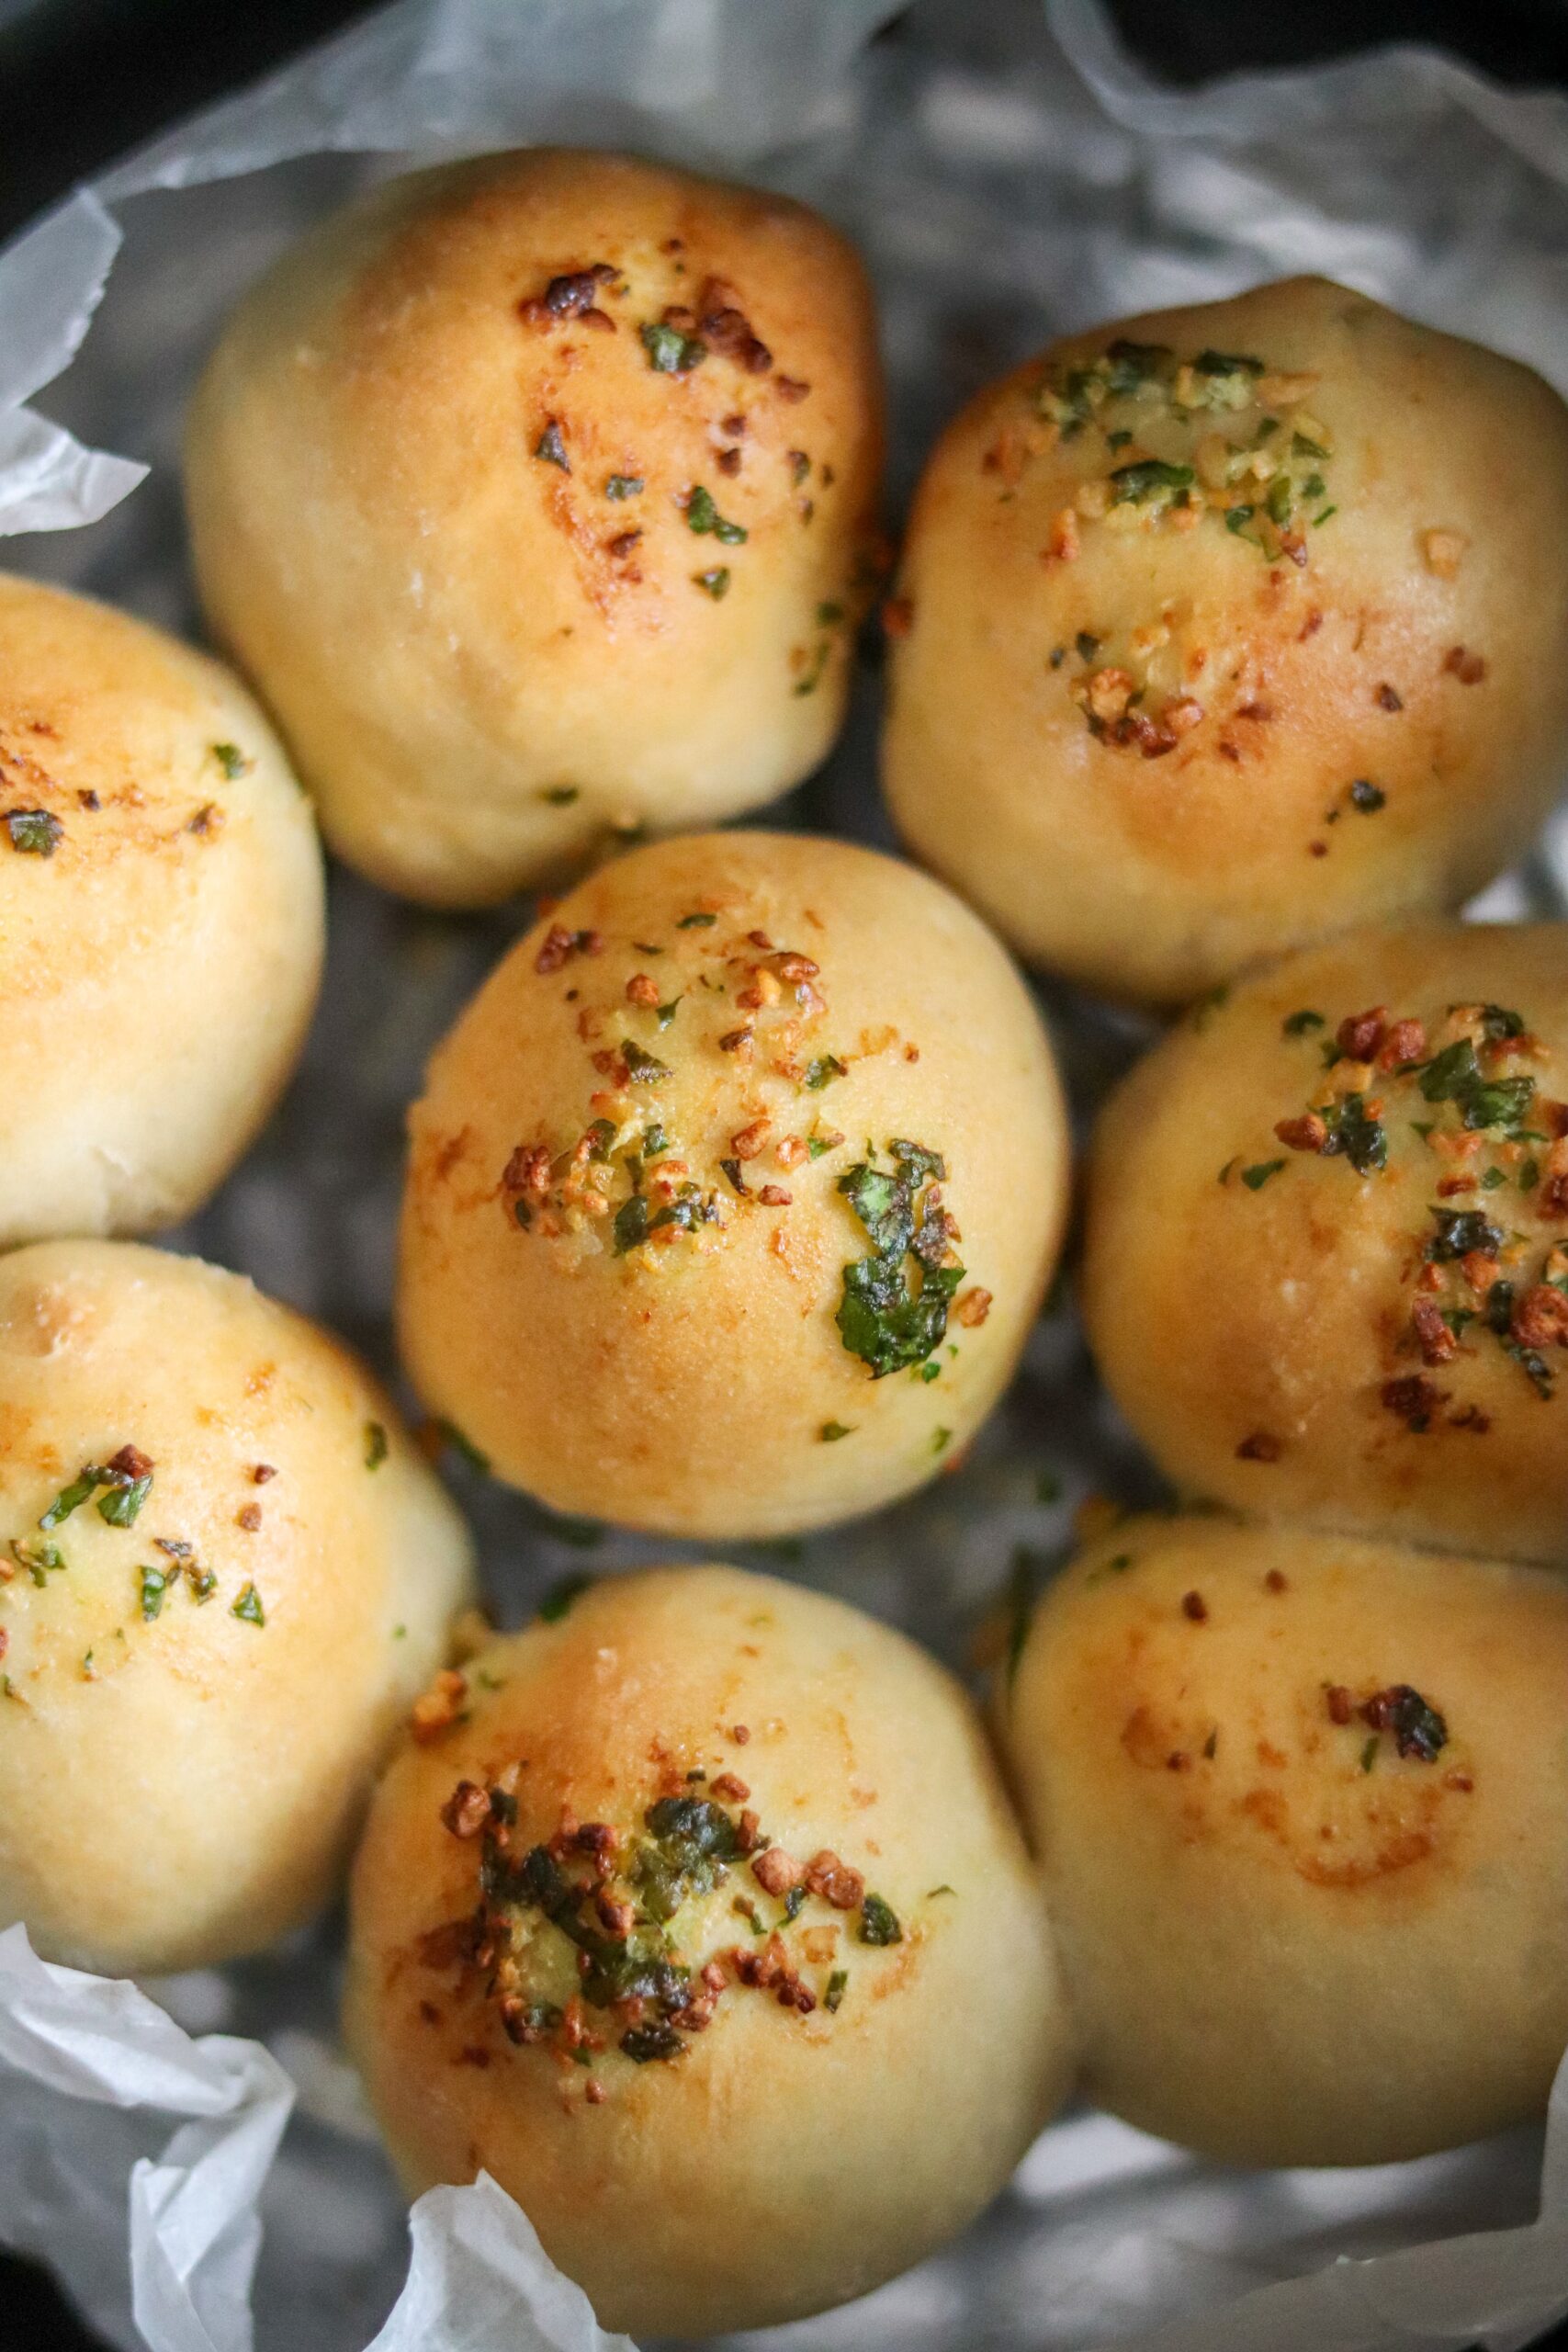
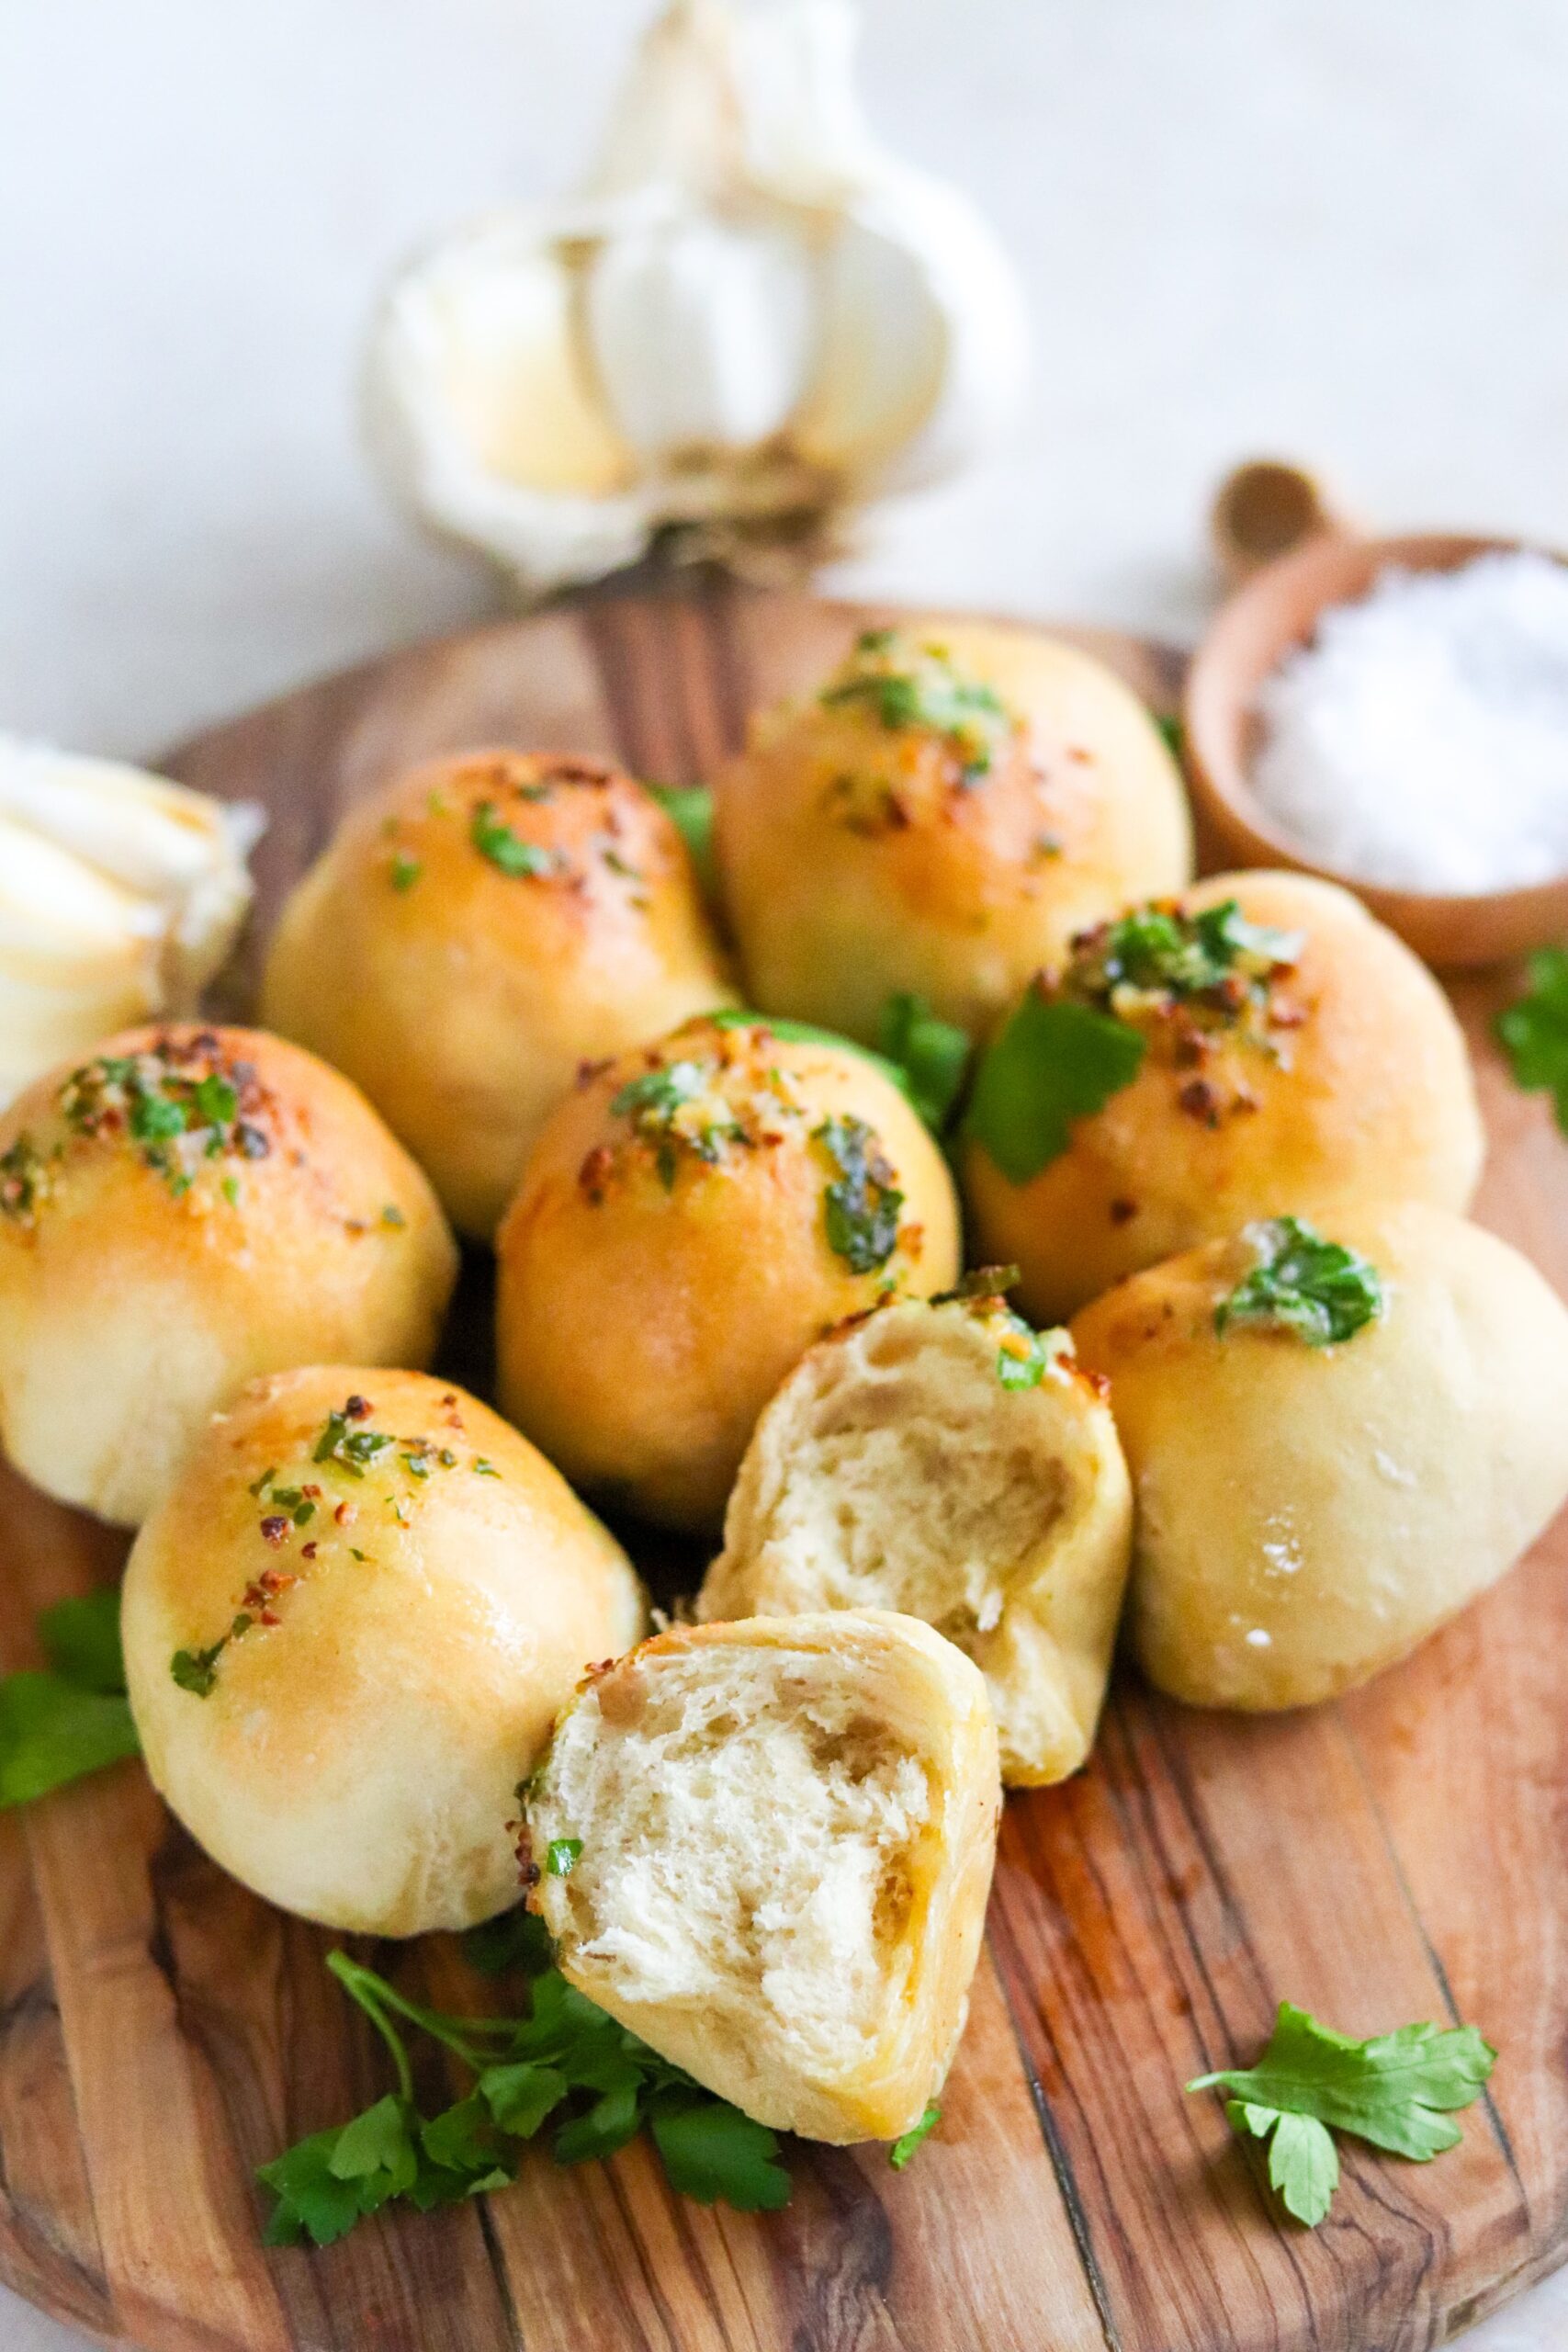
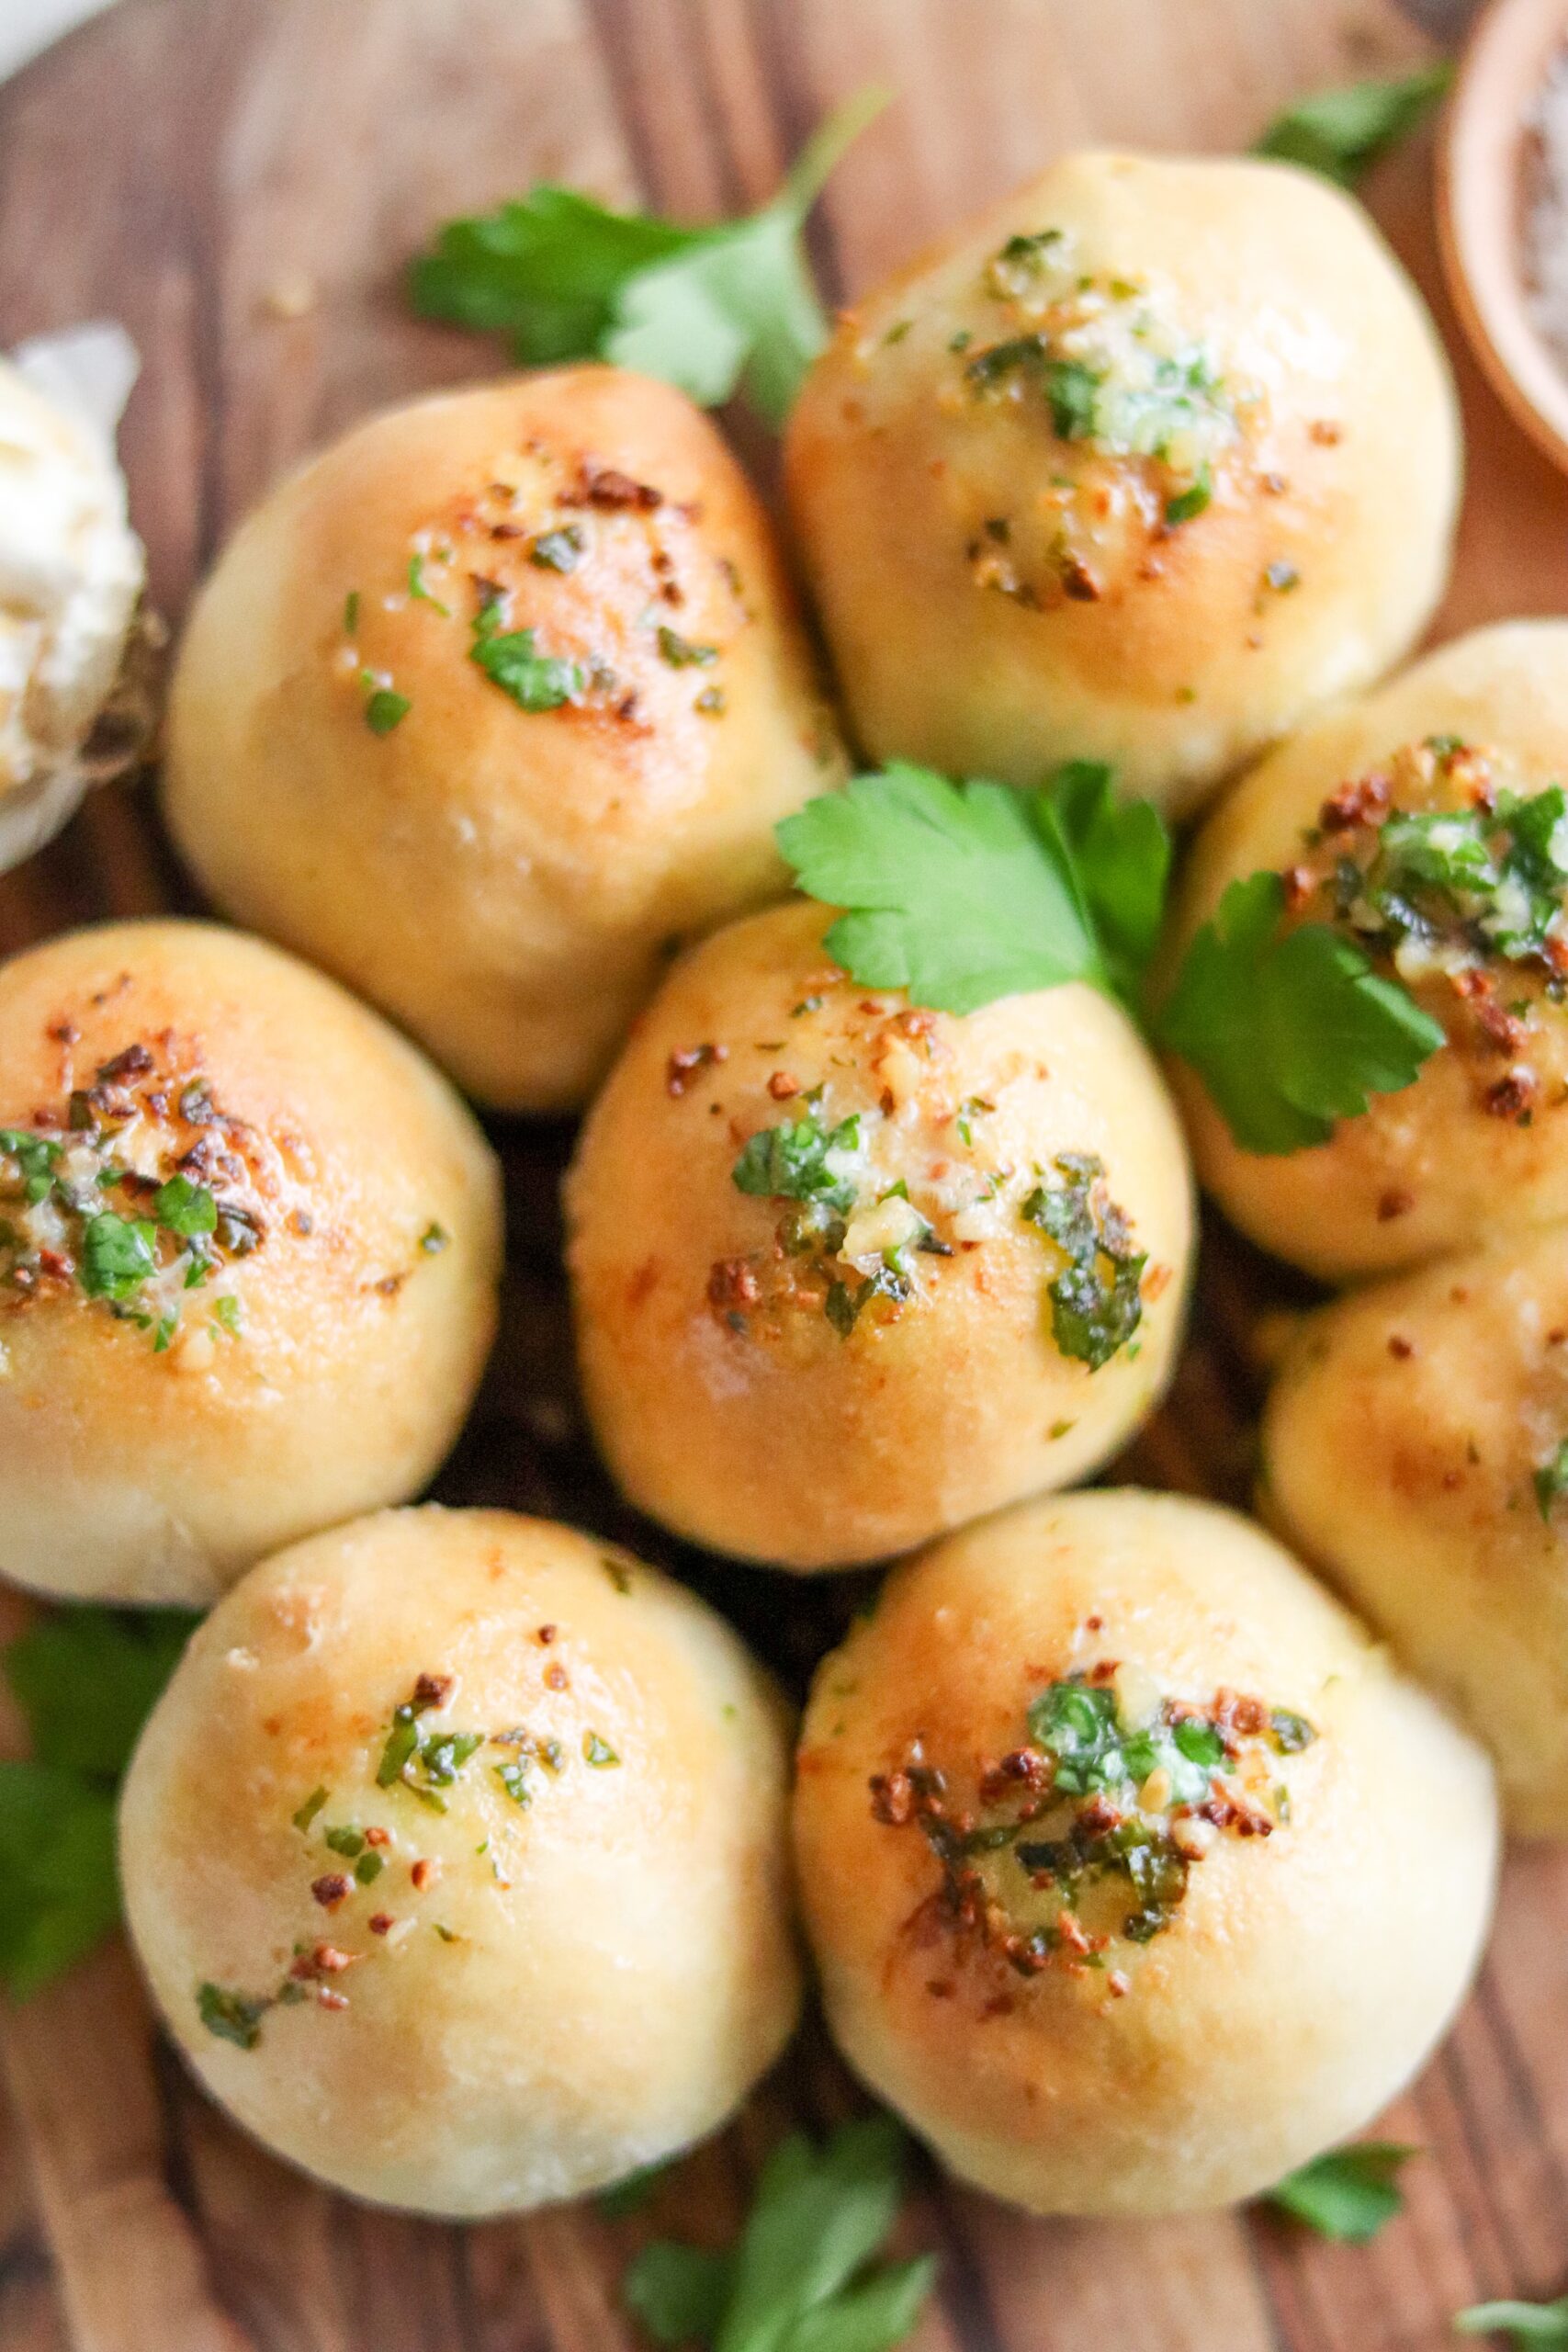
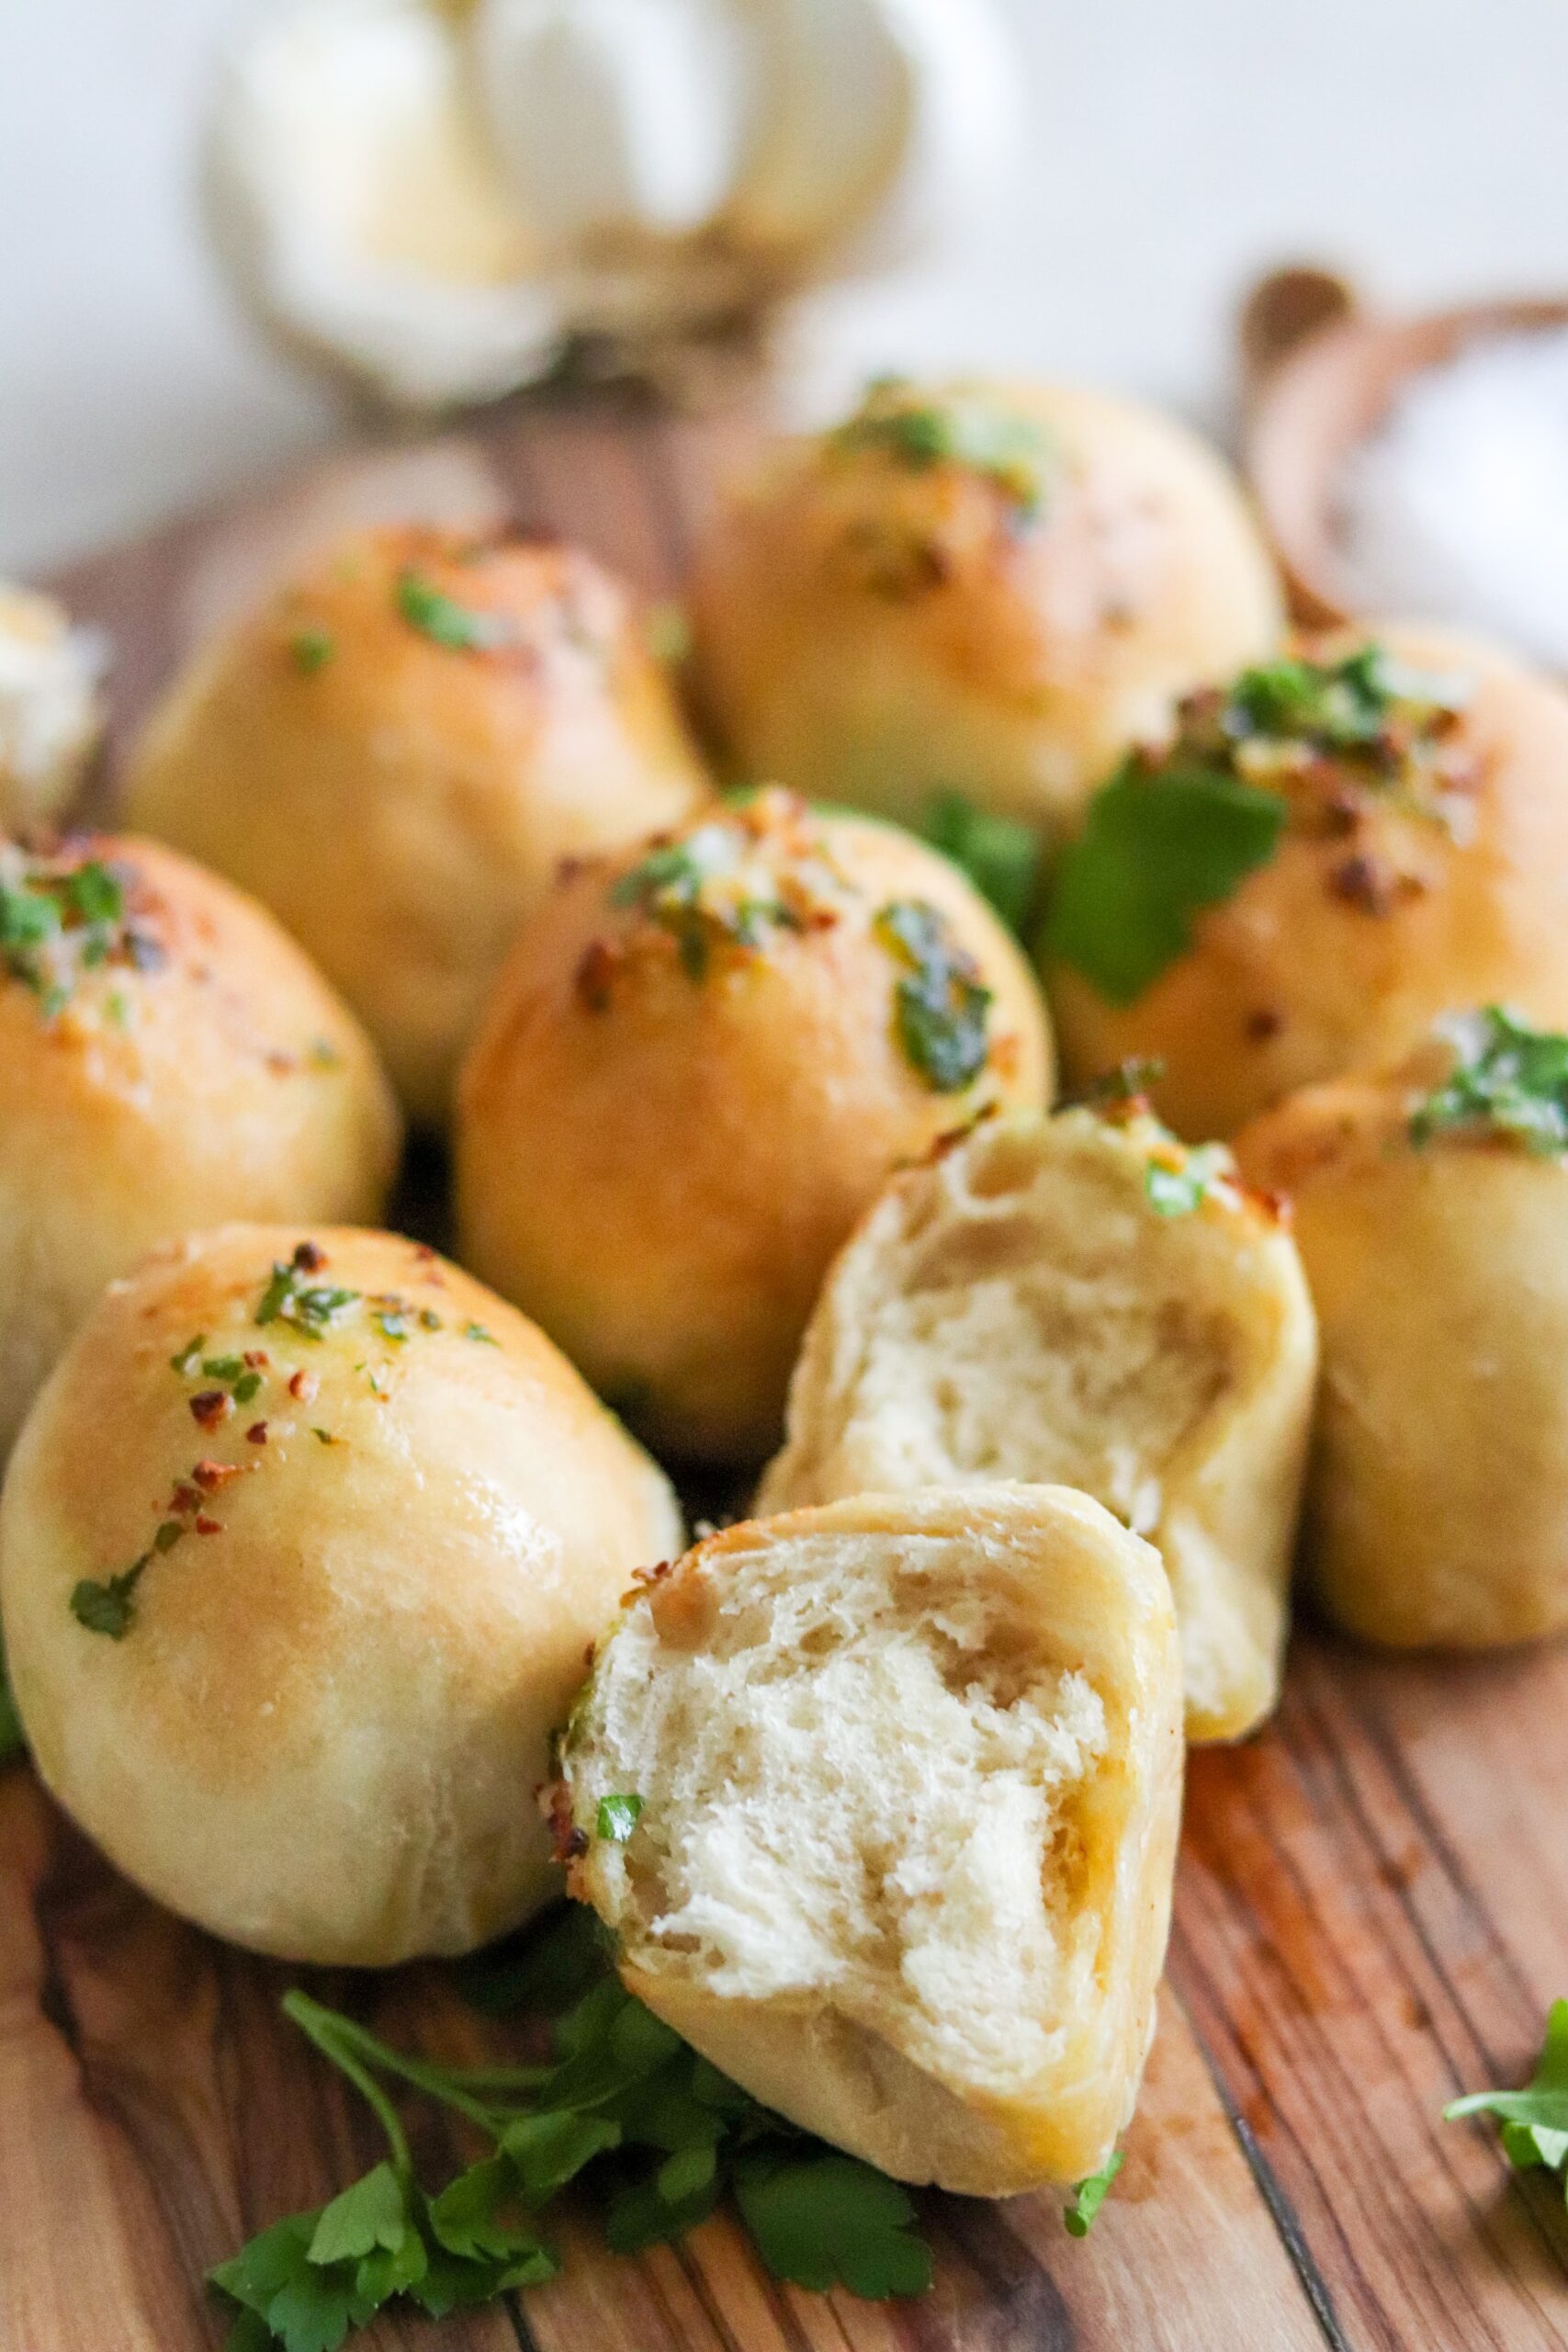
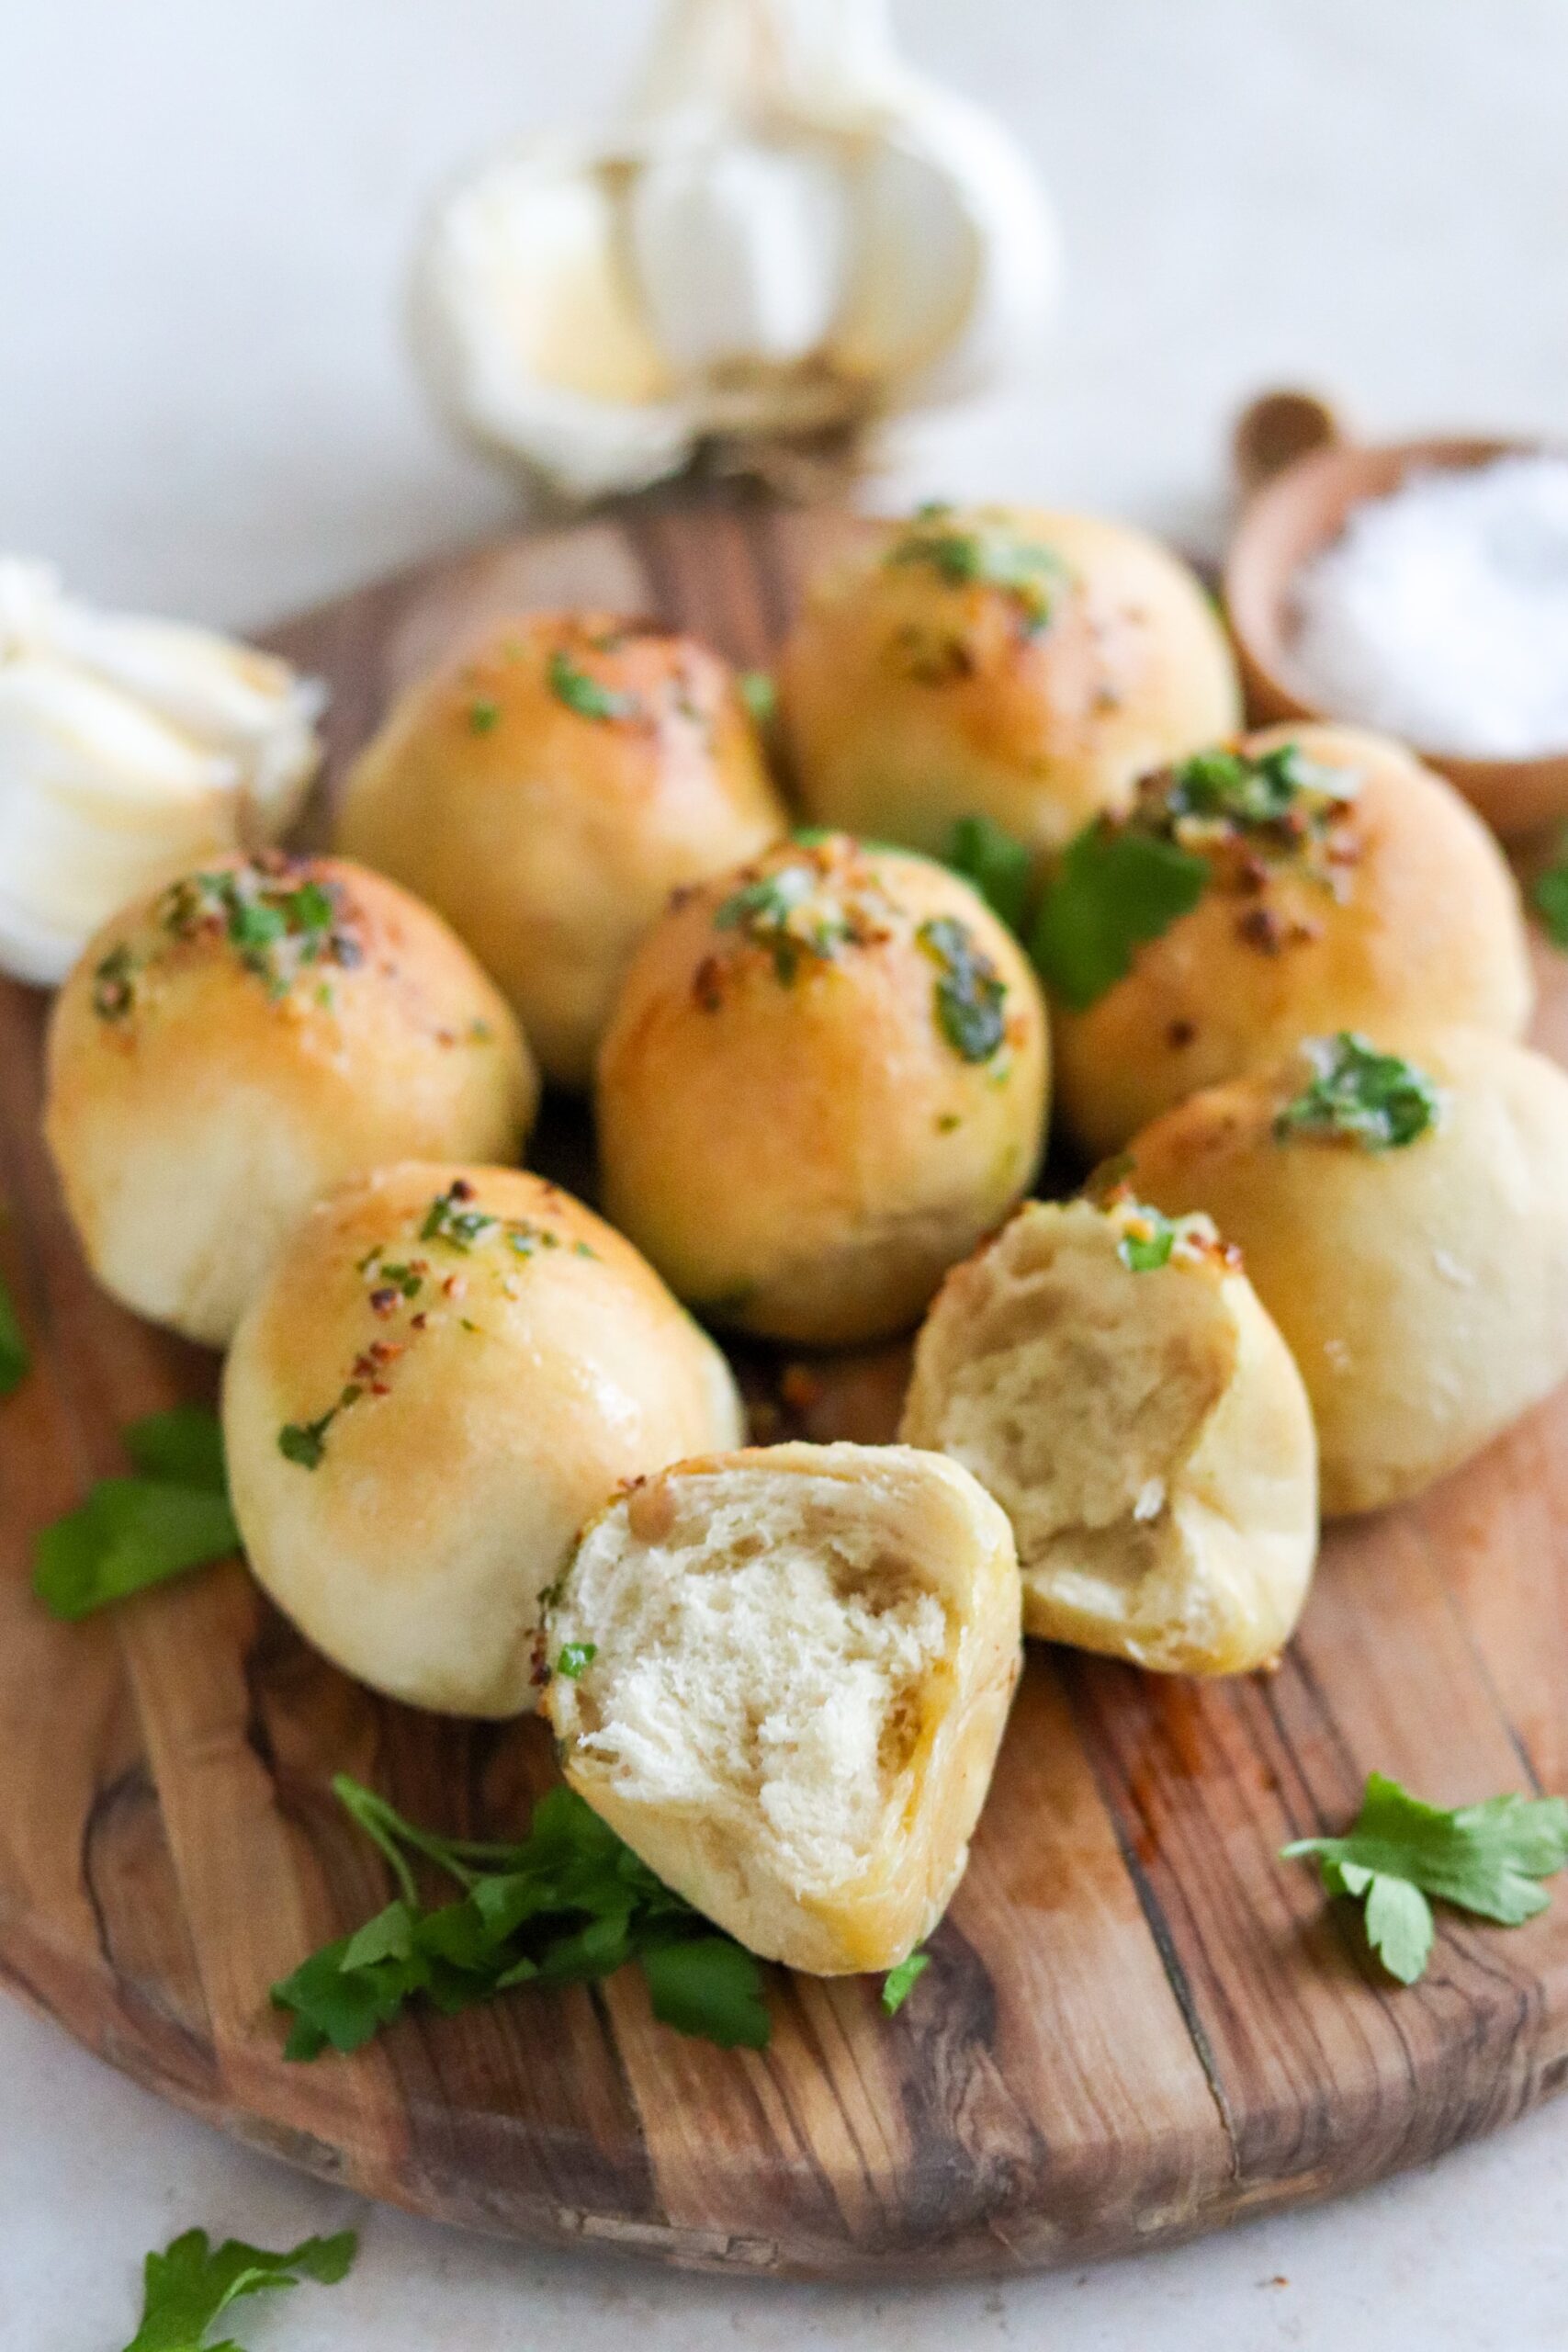
The softest dough balls coated with a butter flavoured perfectly with garlic and parsley. These Air Fryer Dough Balls are definitely worth the little extra time they take to make.
why bake dough balls in an air fryer instead of an oven?
Air fryers cook food quicker than a standard convection oven which is great for saving energy and pennies but also for busy families that want to be able to cook food quickly.
Another advantage is that air fryers are smaller than ovens and grills so you’re not heating up a full-sized oven and instead a smaller air fryer. This means you’re using less energy because you’re heating up a smaller appliance as well as cooking the food faster.
Although depending on the size of your air fryer you might need to cook the dough balls in batches, they cook so quickly I don’t think this is an issue at all.
I know making your own bread can seem daunting, but it really shouldn’t be. These Air Fryer Dough Balls are really simple to make, especially with my step by step instructions.
I also might be biased but these dough balls will be better than any shop bought ones you can buy. You just can’t beat soft, freshly baked bread.
You don’t need any fancy equipment
Usually when I make my own bread I like to use my stand mixer to knead the dough. It makes it quicker and is obviously easier than kneading it by hand.
However this recipe makes a smaller amount of dough which my mixer sometimes struggles with. So I find it easier to knead the dough by hand. Call me strange but I do find kneading dough quite therapeutic.
Just make sure you have clean hands and surfaces and you are ready to go!
No need to be a kneading expert!
If you haven’t kneaded dough before, that isn’t a problem. Although bakers may say there are specific techniques you need, these dough balls are quite forgiving.
To knead I simply push the dough away with the heel of my hand and then pull it back slightly with my fingertips. However you decide to knead your dough, you’re just looking to turn your scraggly ball of dough into a smooth, soft ball.
When it is smooth, you’ll know it is ready to prove when you poke a finger into the dough and it springs back.
Proving time can vary
Giving a specific proving time is tricky because there are many variables! If your kitchen is warm, your dough can prove more quickly and if it is cold it can be much slower.
For the first prove, you are looking for your dough balls to double in size. For the warmer months of the year, I cover my dough and leave it to prove on a sunny window sill.
However when it is cold, it needs a bit of help! Run your air fryer at a low temperature for up to 1 minute so it warms up slightly. You can then add the dough balls so the slight warmth from the air fryer helps them prove.
Alternatively, turn the light of your oven on only and leave the covered dough in there with the door closed. The light will create a slight warmth which will help speed up the proving process.
shaping the dough
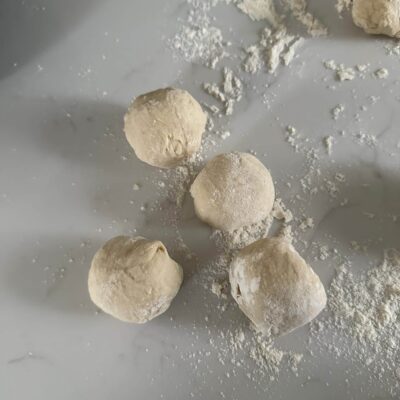
When it comes to shaping the dough, I weigh the dough and then divide this by 30. This will give you a guide of how many balls to shape the dough into.
This might sound a little extreme but it is the best way to make sure your dough balls are the same size and therefore cook evenly in the air fryer.
You can use whichever method works for you, but I tuck the dough under to create a smooth top and then press down gently and twist to even the dough ball. It doesn’t matter if they’re not perfect, they will still be delicious!
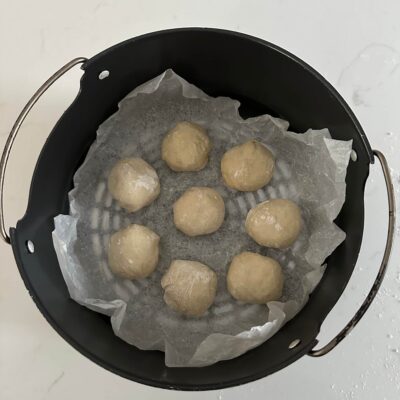
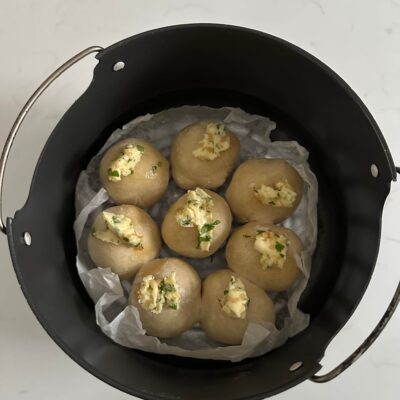
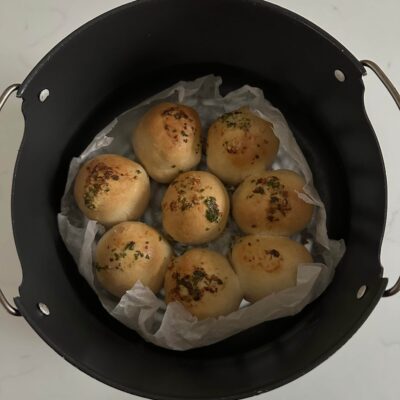
How you place the dough balls in your air fryer will depend on what shape your air fryer basket is. In these photos I have use my 3.5L air fryer with a round basket so the dough balls are a circle. Alternatively when I make them in my larger air fryer with a rectangle basket, I arrange them in rows.
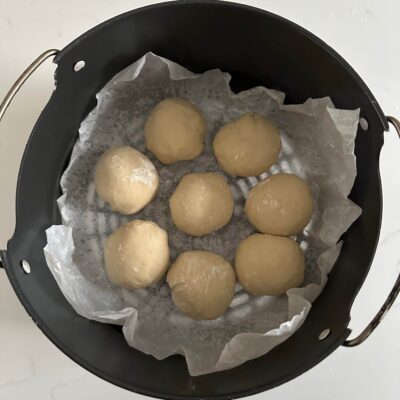
However you arrange them, make sure they are no further than 1cm away from each other. This is so when they prove and double in size they then just touch each other. This is what you’re looking for to have deliciously soft and fluffy dough balls.
do you need to preheat an air fryer?
That depends on your air fryer, some require preheating whilst others don’t. I have a Ninja Foodi 7-in-1 multicooker and a Ninja Foodi Flexdrawer and I have never preheated either.
If your air fryer does require preheating, check the dough balls a few minutes sooner than the recipe states. If your air fryer is warm, food is likely to cook a few minutes faster.
Also if you are cooking them in batches, the dough balls will cook quicker when the air fryer is already warm. So check any additional batches a few minutes earlier as they are likely to cook slightly quicker.
can you use an air fryer liner?
Air fryer liners are a great time saving addition because they are usually easier to wash than the basket of your air fryer.
Most reusable air fryer liners are silicone and although they are handy to have, I wouldn’t recommend using them for all recipes.
If your air fryer is prone to sticking, I would recommend placing some baking paper at the bottom to stop the dough balls sticking. However if your air fryer is trustworthy, you can spray your basket lightly with oil (not fry light) and put them directly in your basket.
I’ve written a whole post on whether you should use an air fryer liner, check it out for more information.
how to serve air fryer dough balls
You can serve these dough balls however you like although I tend to serve them with pasta dishes.
Here are some of my favourite pasta dishes to serve with these dough balls:
- Creamy Chicken Sausage Pasta
- Chicken & Basil Pasta
- Slow Cooker Pork & Sage Ragu
- Easy Cheese & Broccoli Pasta
- Sausage, Mustard & Basil Pasta
- Ravioli Lasagne
other recipes you might like
- Air Fryer Garlic Bread
- Garlic & Parsley Dough Balls
- Bread Rolls
- Easy Flatbreads
- Air Fryer Pizza Bagels
Pin for later
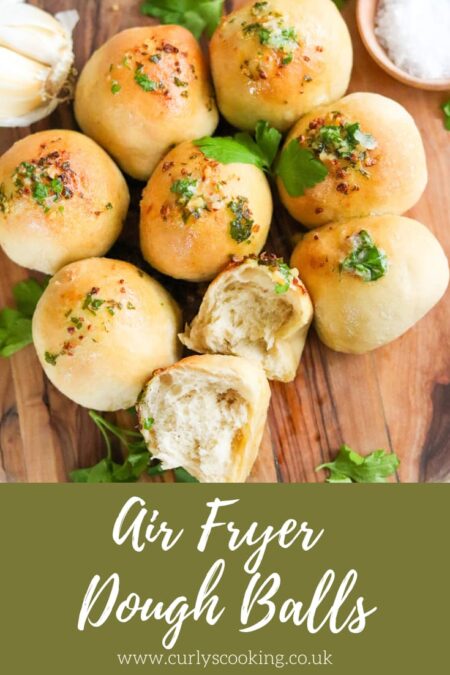
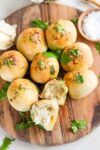
Air Fryer Dough Balls (Garlic Butter)
The softest dough balls coated with a butter flavoured perfectly with garlic and parsley. These Air Fryer Dough Balls are definitely worth the little extra time they take to make.
Ingredients
For the dough
- 250 g strong white flour
- 4 g instant yeast
- ½ tsp sea salt
- 2 tbsp olive oil
- 150 ml lukewarm water
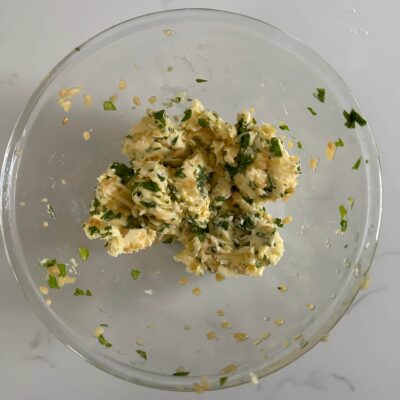
For the garlic butter
- 50 g unsalted butter
- ½ tsp sea salt reduce by half if using salted butter
- 1 tbsp fresh parsley minced
- 1 clove garlic minced
Instructions
-
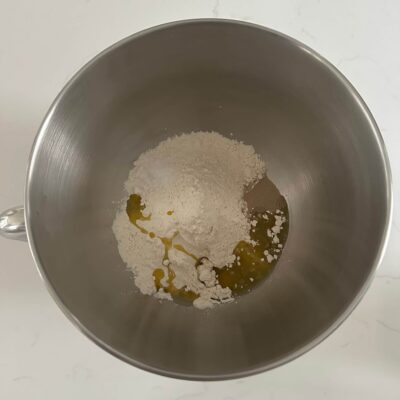
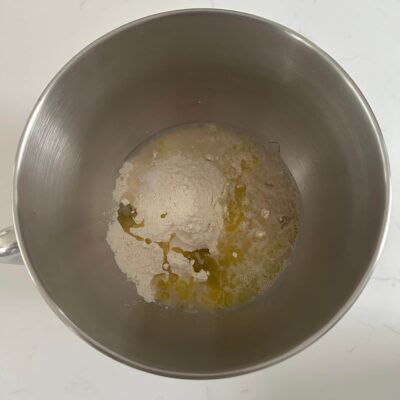
Add 250g strong white flour, 4g instant yeast and ½ tsp sea salt to a large bowl
-
Pour in 2 tbsp olive oil and 150ml lukewarm water
-
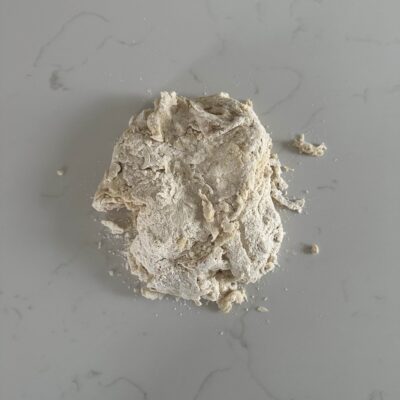
Mix until the dough is starting to come together. Lightly dust your work surface with flour and tip the dough out onto it. Bring the dough together to form a rough dough
-
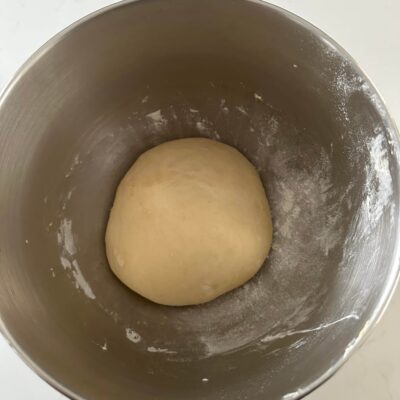
Knead for 5 minutes until sort and springy to the touch. Form into a ball and put back into the bowl.
-
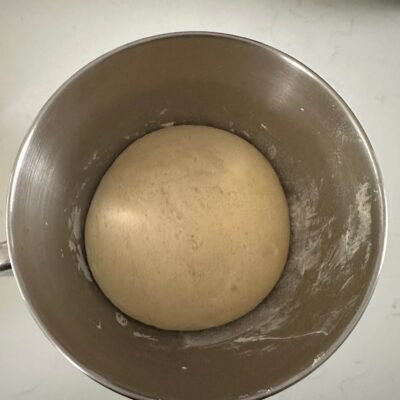
Cover with a tea towel and allow to prove for 1-2 hours until it has doubled in size
-
Knock the air out of the dough by hitting it down in the bowl. Tip it out onto a lightly floured surface and knead a couple of times
-
Divide the dough into 30g balls by cutting off sections of dough and rolling them into balls
-
Place the dough balls in your air fryer basket 1cm apart. If your air fryer is prone to sticking, line with parchment paper. Depending on the size of your air fryer basket you may need to do this in batches
-
Cover the dough balls, or simply put the drawer in your air fryer to allow them to prove for another 30 minutes
-
Mix together 50g unsalted butter, ½ tsp sea salt, 1 tbsp fresh parsley and 1 minced garlic clove until fully combined. Keep in the fridge until needed
-
Preheat your air fryer if needed
-
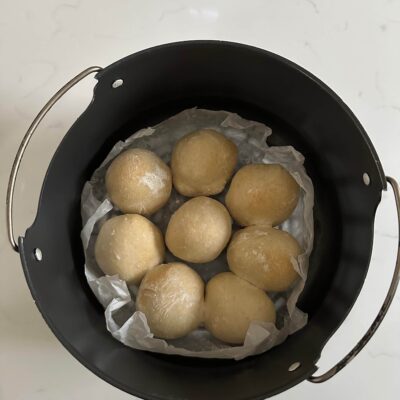
Cook the dough balls for 6 mins at 190℃
-
Add knob of garlic butter on top of each dough ball
-
Cook for a further 4-6 minutes until the dough balls are golden brown
Recipe Notes
Nutritional information is given as a guide only and may vary.
Jen says
My kids love these so I had to give this recipe a try. It was so easy baking the dough balls in the air fryer and your garlic and herb butter was spot on.
Curly says
Thanks so much, so pleased you all liked them.
Georgie says
These were so easy to make and we absolutely love them. Thanks.
Curly says
So pleased you liked them 🙂
Sisley says
Is there anything an air fryer can’t cook! these were so much fun to make and unashamedly I ate them all.
Curly says
Haha glad you enjoyed them!
Chloe says
Oh mama mia! I doubled the recipe and they still disappeared as soon as they came out the air fryer, I think I’l have to do a quadruple batch next time – the good news for lazy me is that it’ll be the perfect size mix to use my stand mixer!
Curly says
That is always the issue, they go so quickly!
Carol says
These are the nicest Dough balls I’ve ever made. Your recipe is great so easy to follow. Thank you.