These Cheese & Thyme Straws are a twist on a delicious classic. Dried thyme compliments the cheese in these simple and tasty treats. You might want to make a double batch!
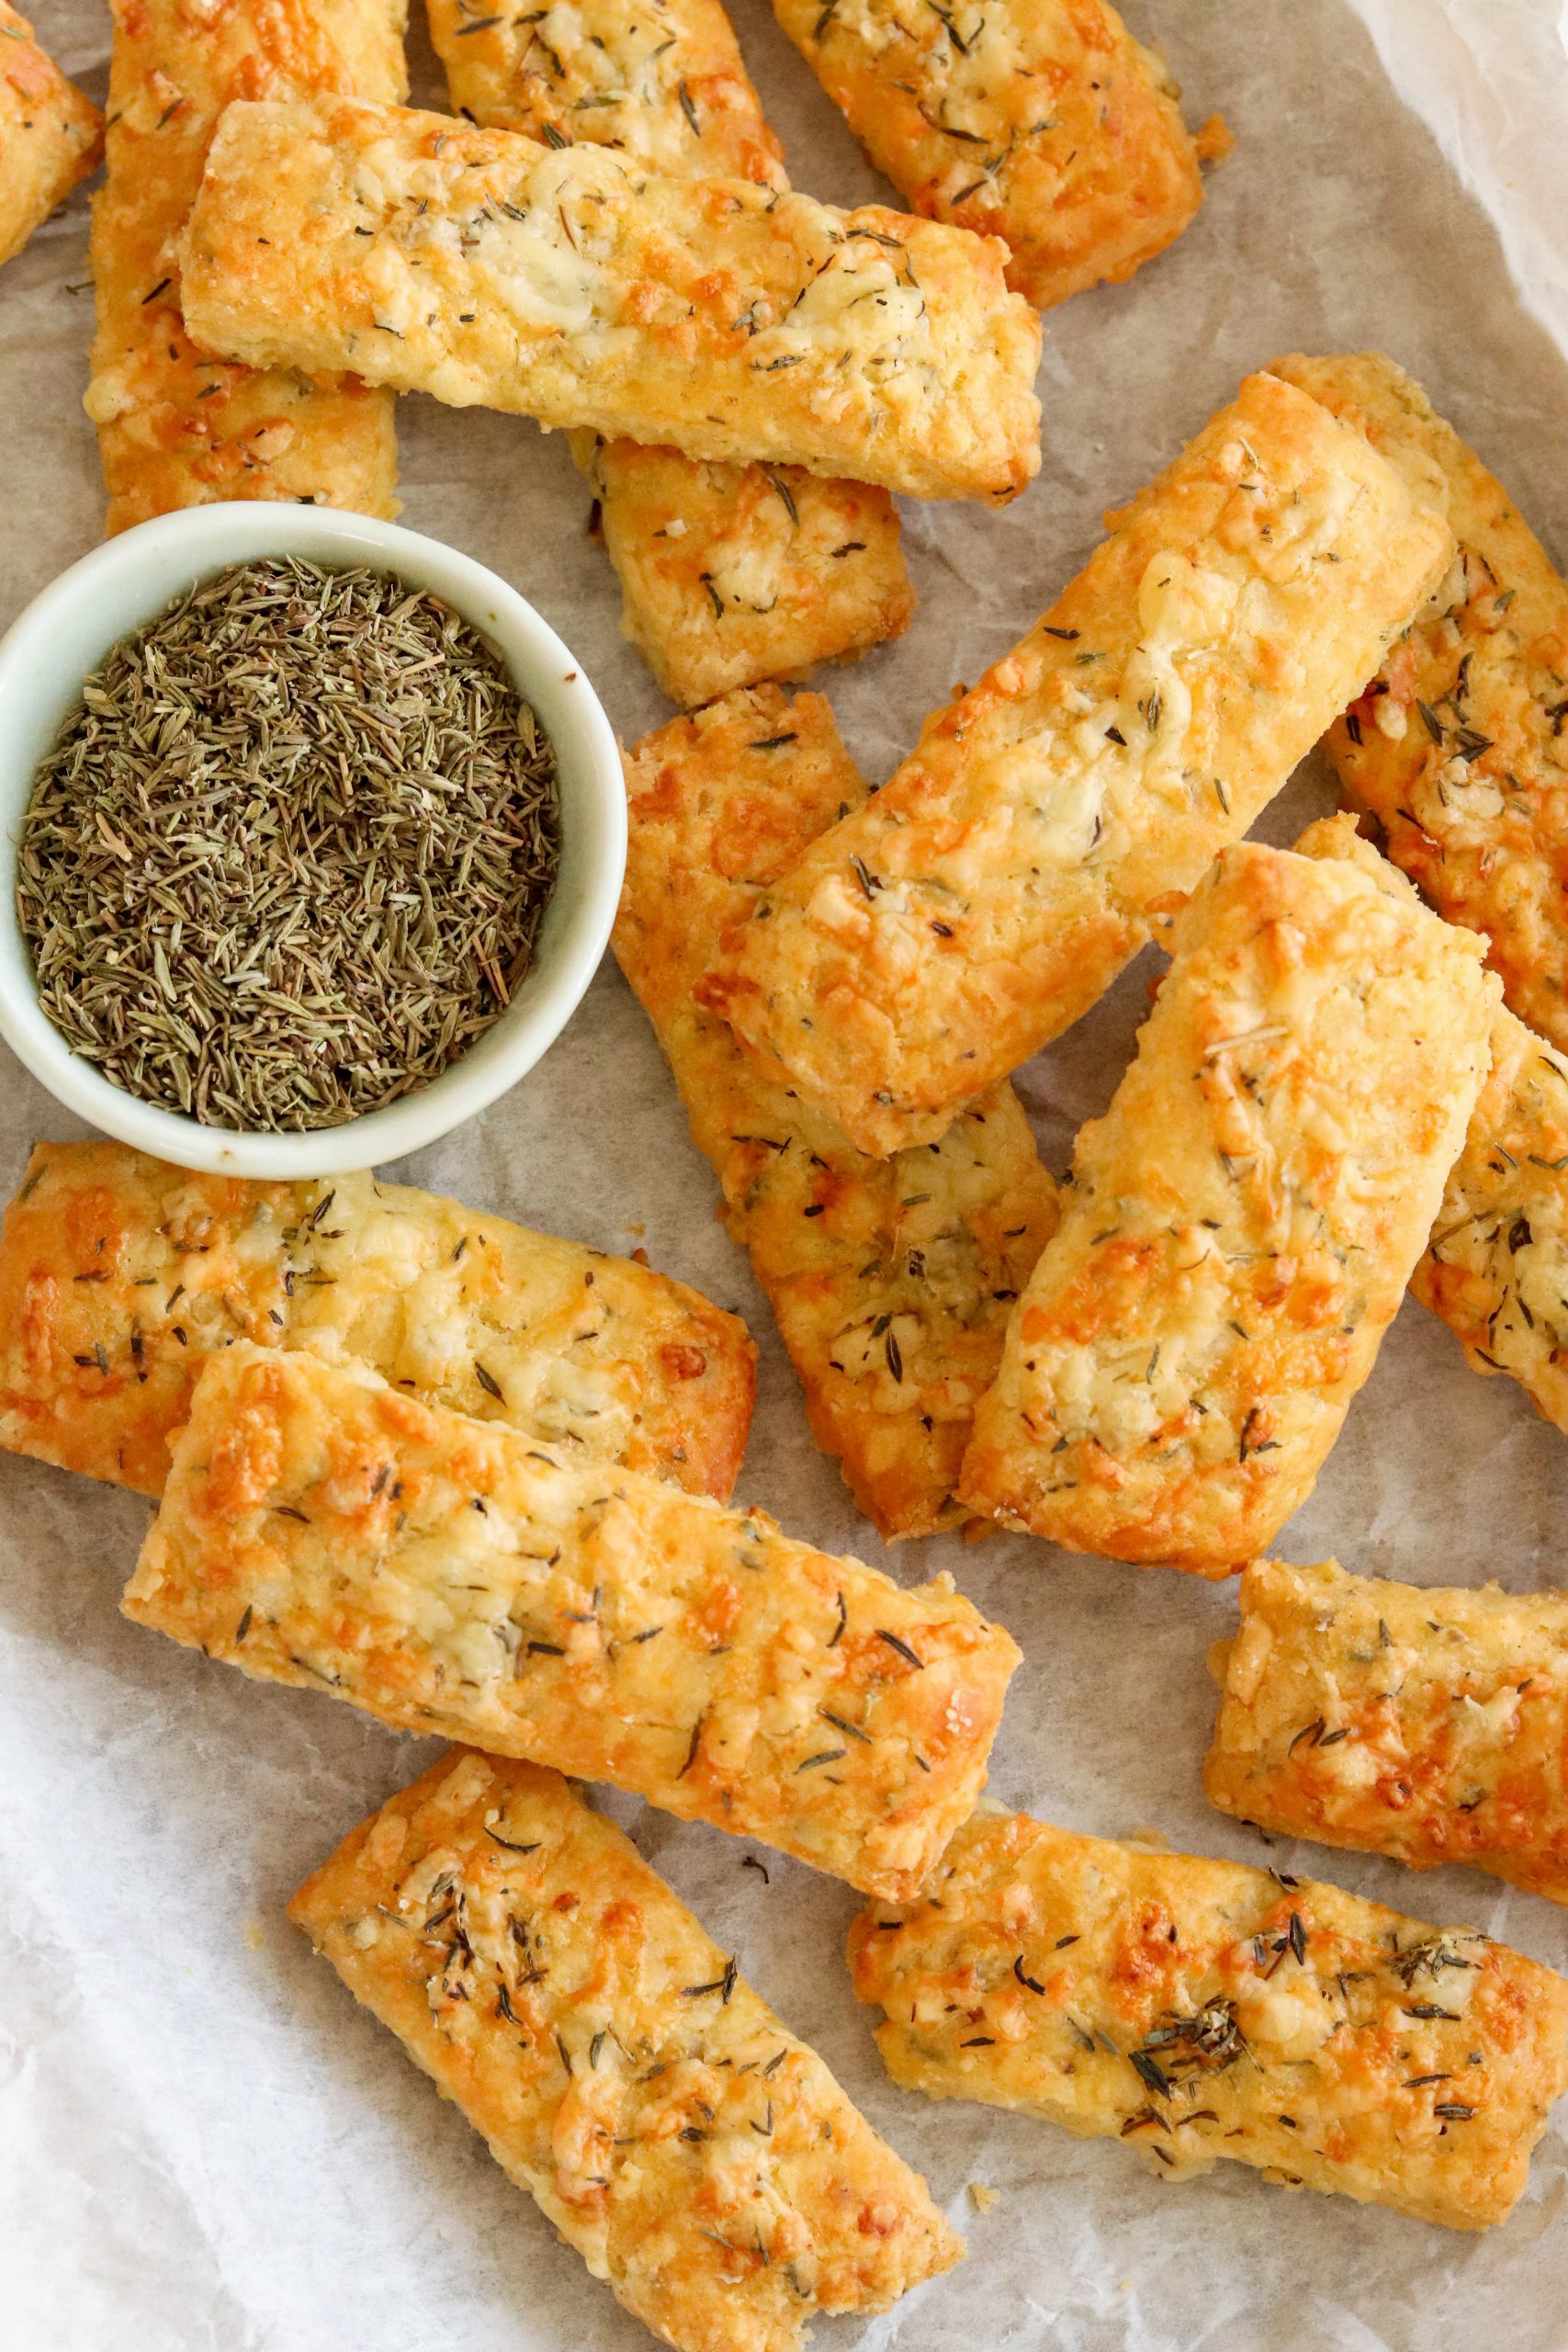
What are cheese & Thyme Straws?
Cheese straws are flaky, buttery and packed with cheesy goodness making them seriously addictive!
Most cheese straw recipes are quite similar, including Mary Berry’s. However I do like to think mine are slightly different, especially these Cheese & Thyme Straws.
For these, I have taken my favourite cheese straw recipe and tweaked it slightly as well as adding dried thyme. The thyme really compliments the cheddar cheese and they are just as irresistible as my original recipe.
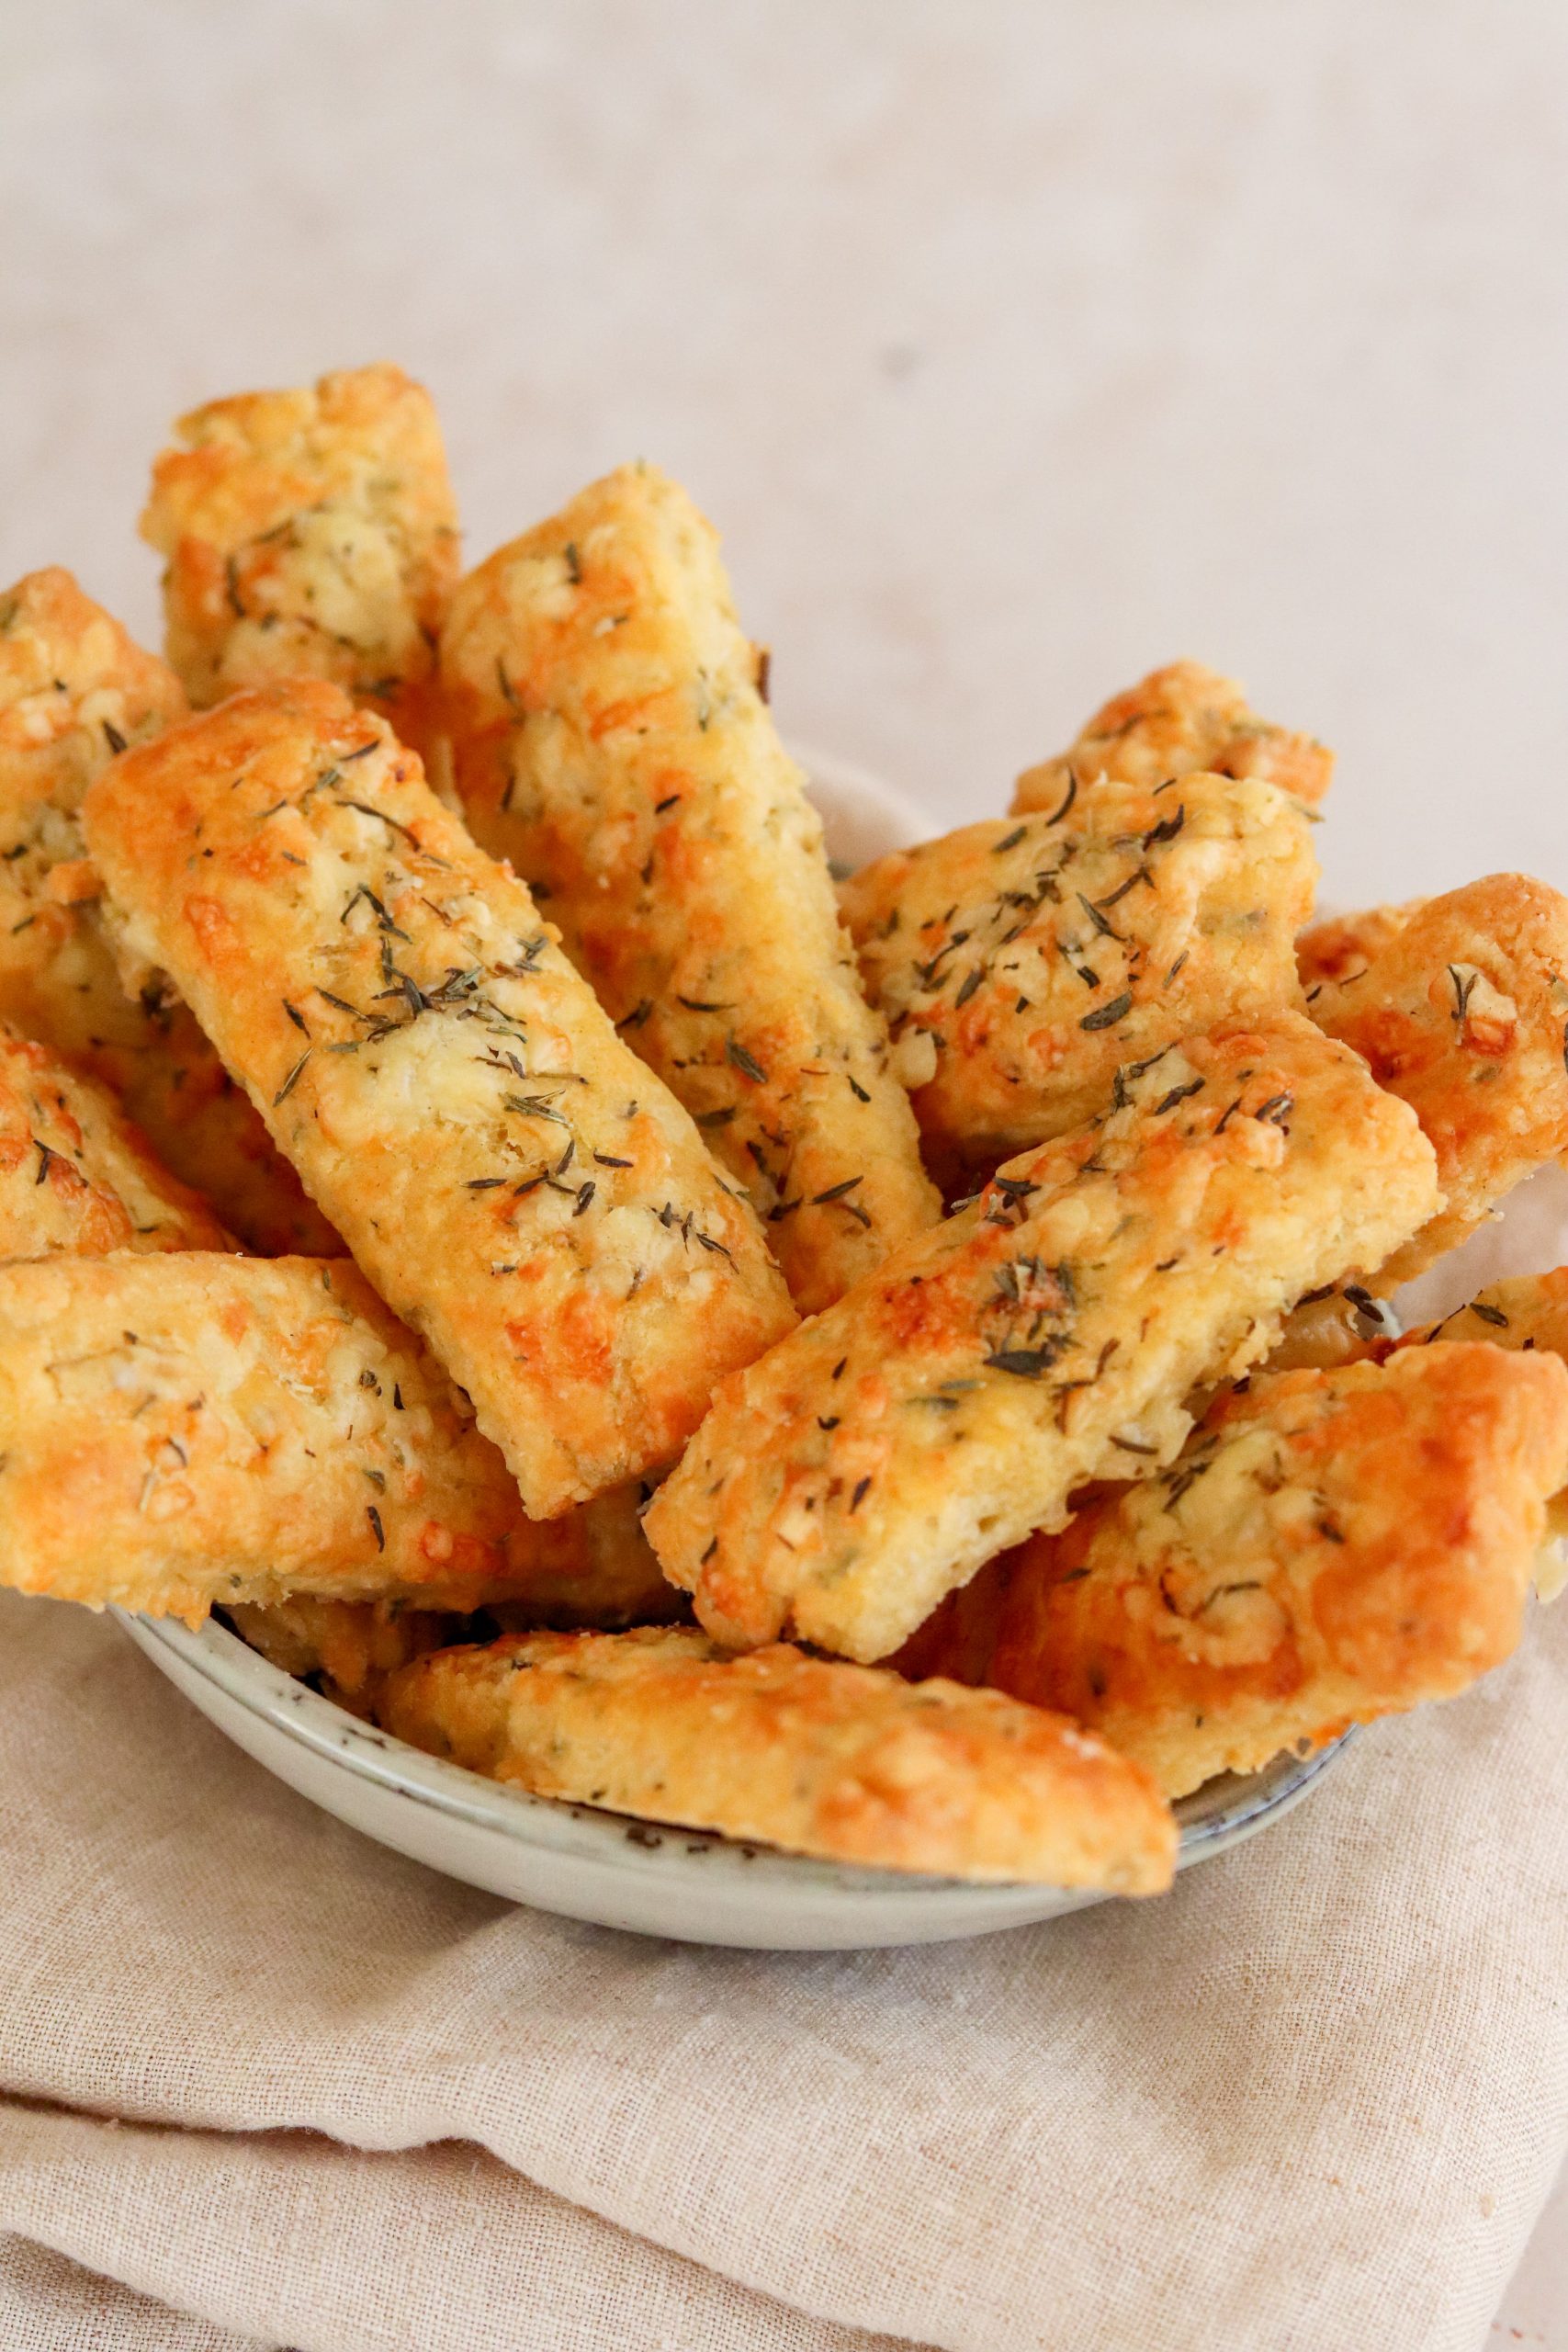
which cheese is best to use?
I tend to use cheddar cheese for cheese straws because I always have some in the fridge. My preference is extra mature cheddar because I like the extra saltiness it has.
If you wanted to use another cheese, you could use another hard cheese. Gouda or Gruyere would work well either by themselves or as a mixture with cheddar.
You could also reduce the cheddar amount and add some Parmesan cheese instead. Parmesan has a lovely strong and salty flavour which would work really well.
Most types of hard cheese would work, I wouldn’t use something soft like mozzarella. Or something like pepper jack cheese wouldn’t work as well because the flavours would clash with the thyme.
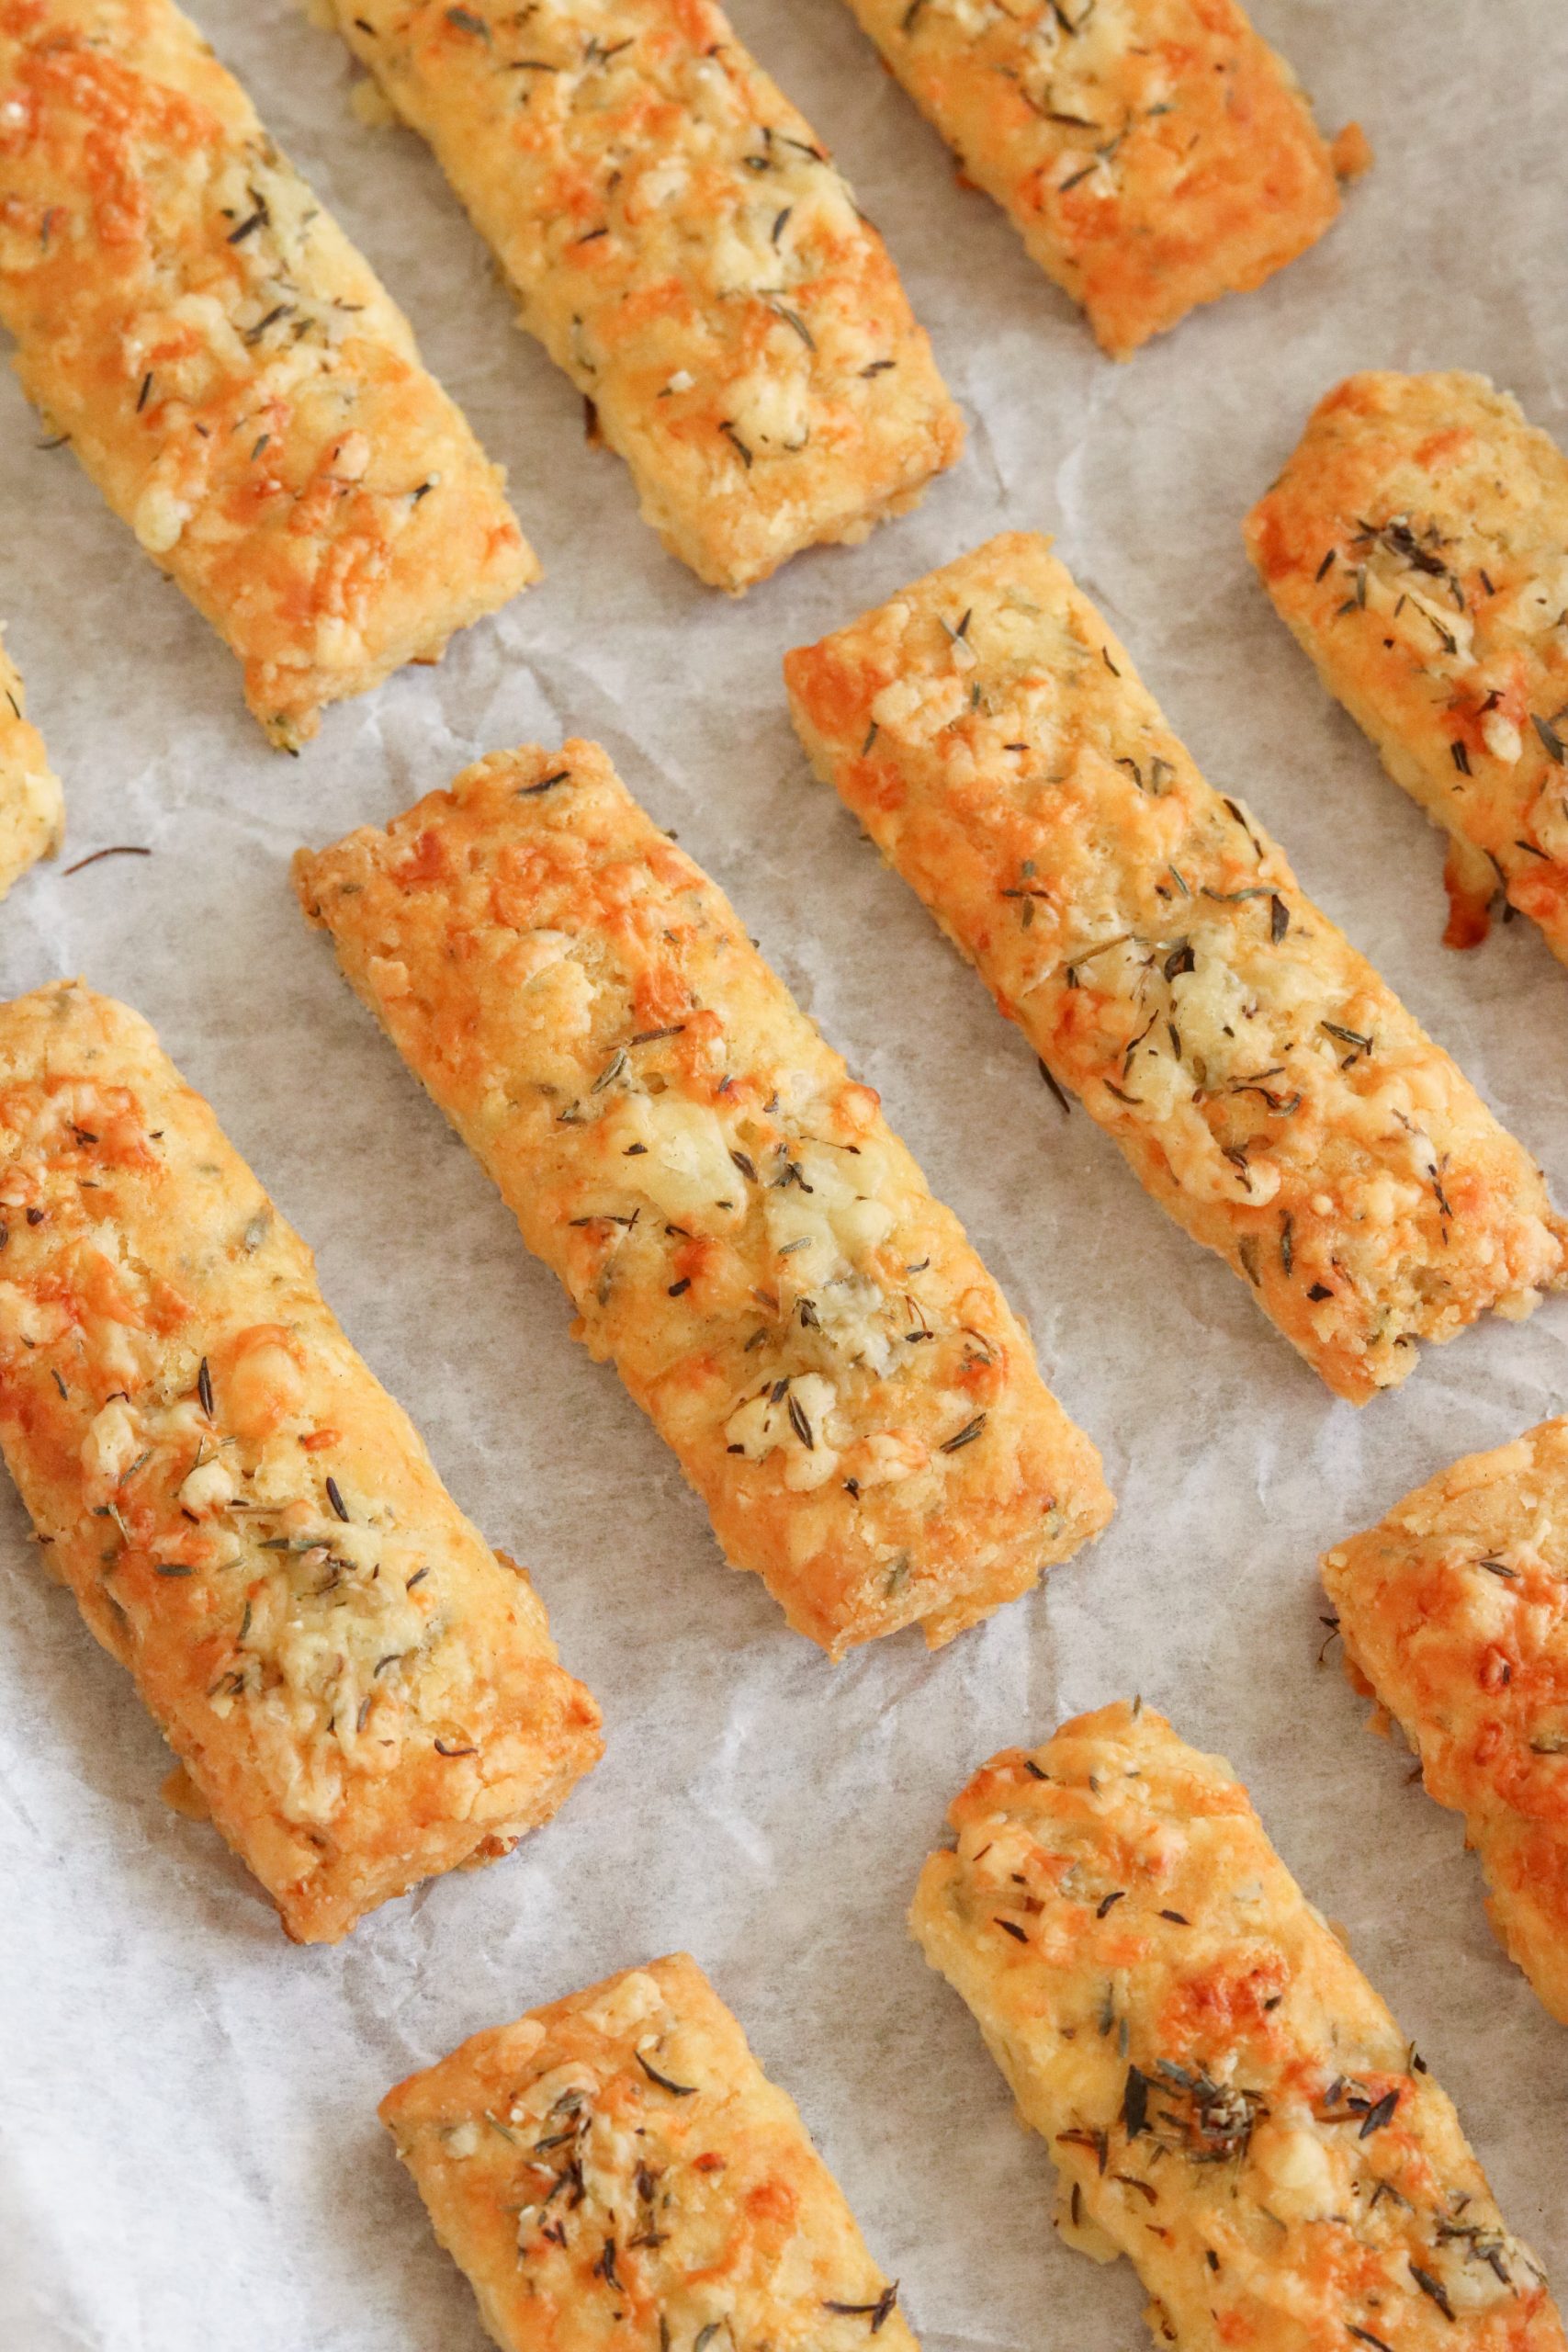
Is dried or fresh thyme best?
I have chosen to use dried thyme for convenience. I’m sure most people have a jar of dried thyme in the back of the cupboard. Whereas not everyone might have fresh time to hand.
By using dried thyme, you can make these cheese straws whenever the craving hits. There is nothing more annoying than wanting to make something but needing to go to the shop first.
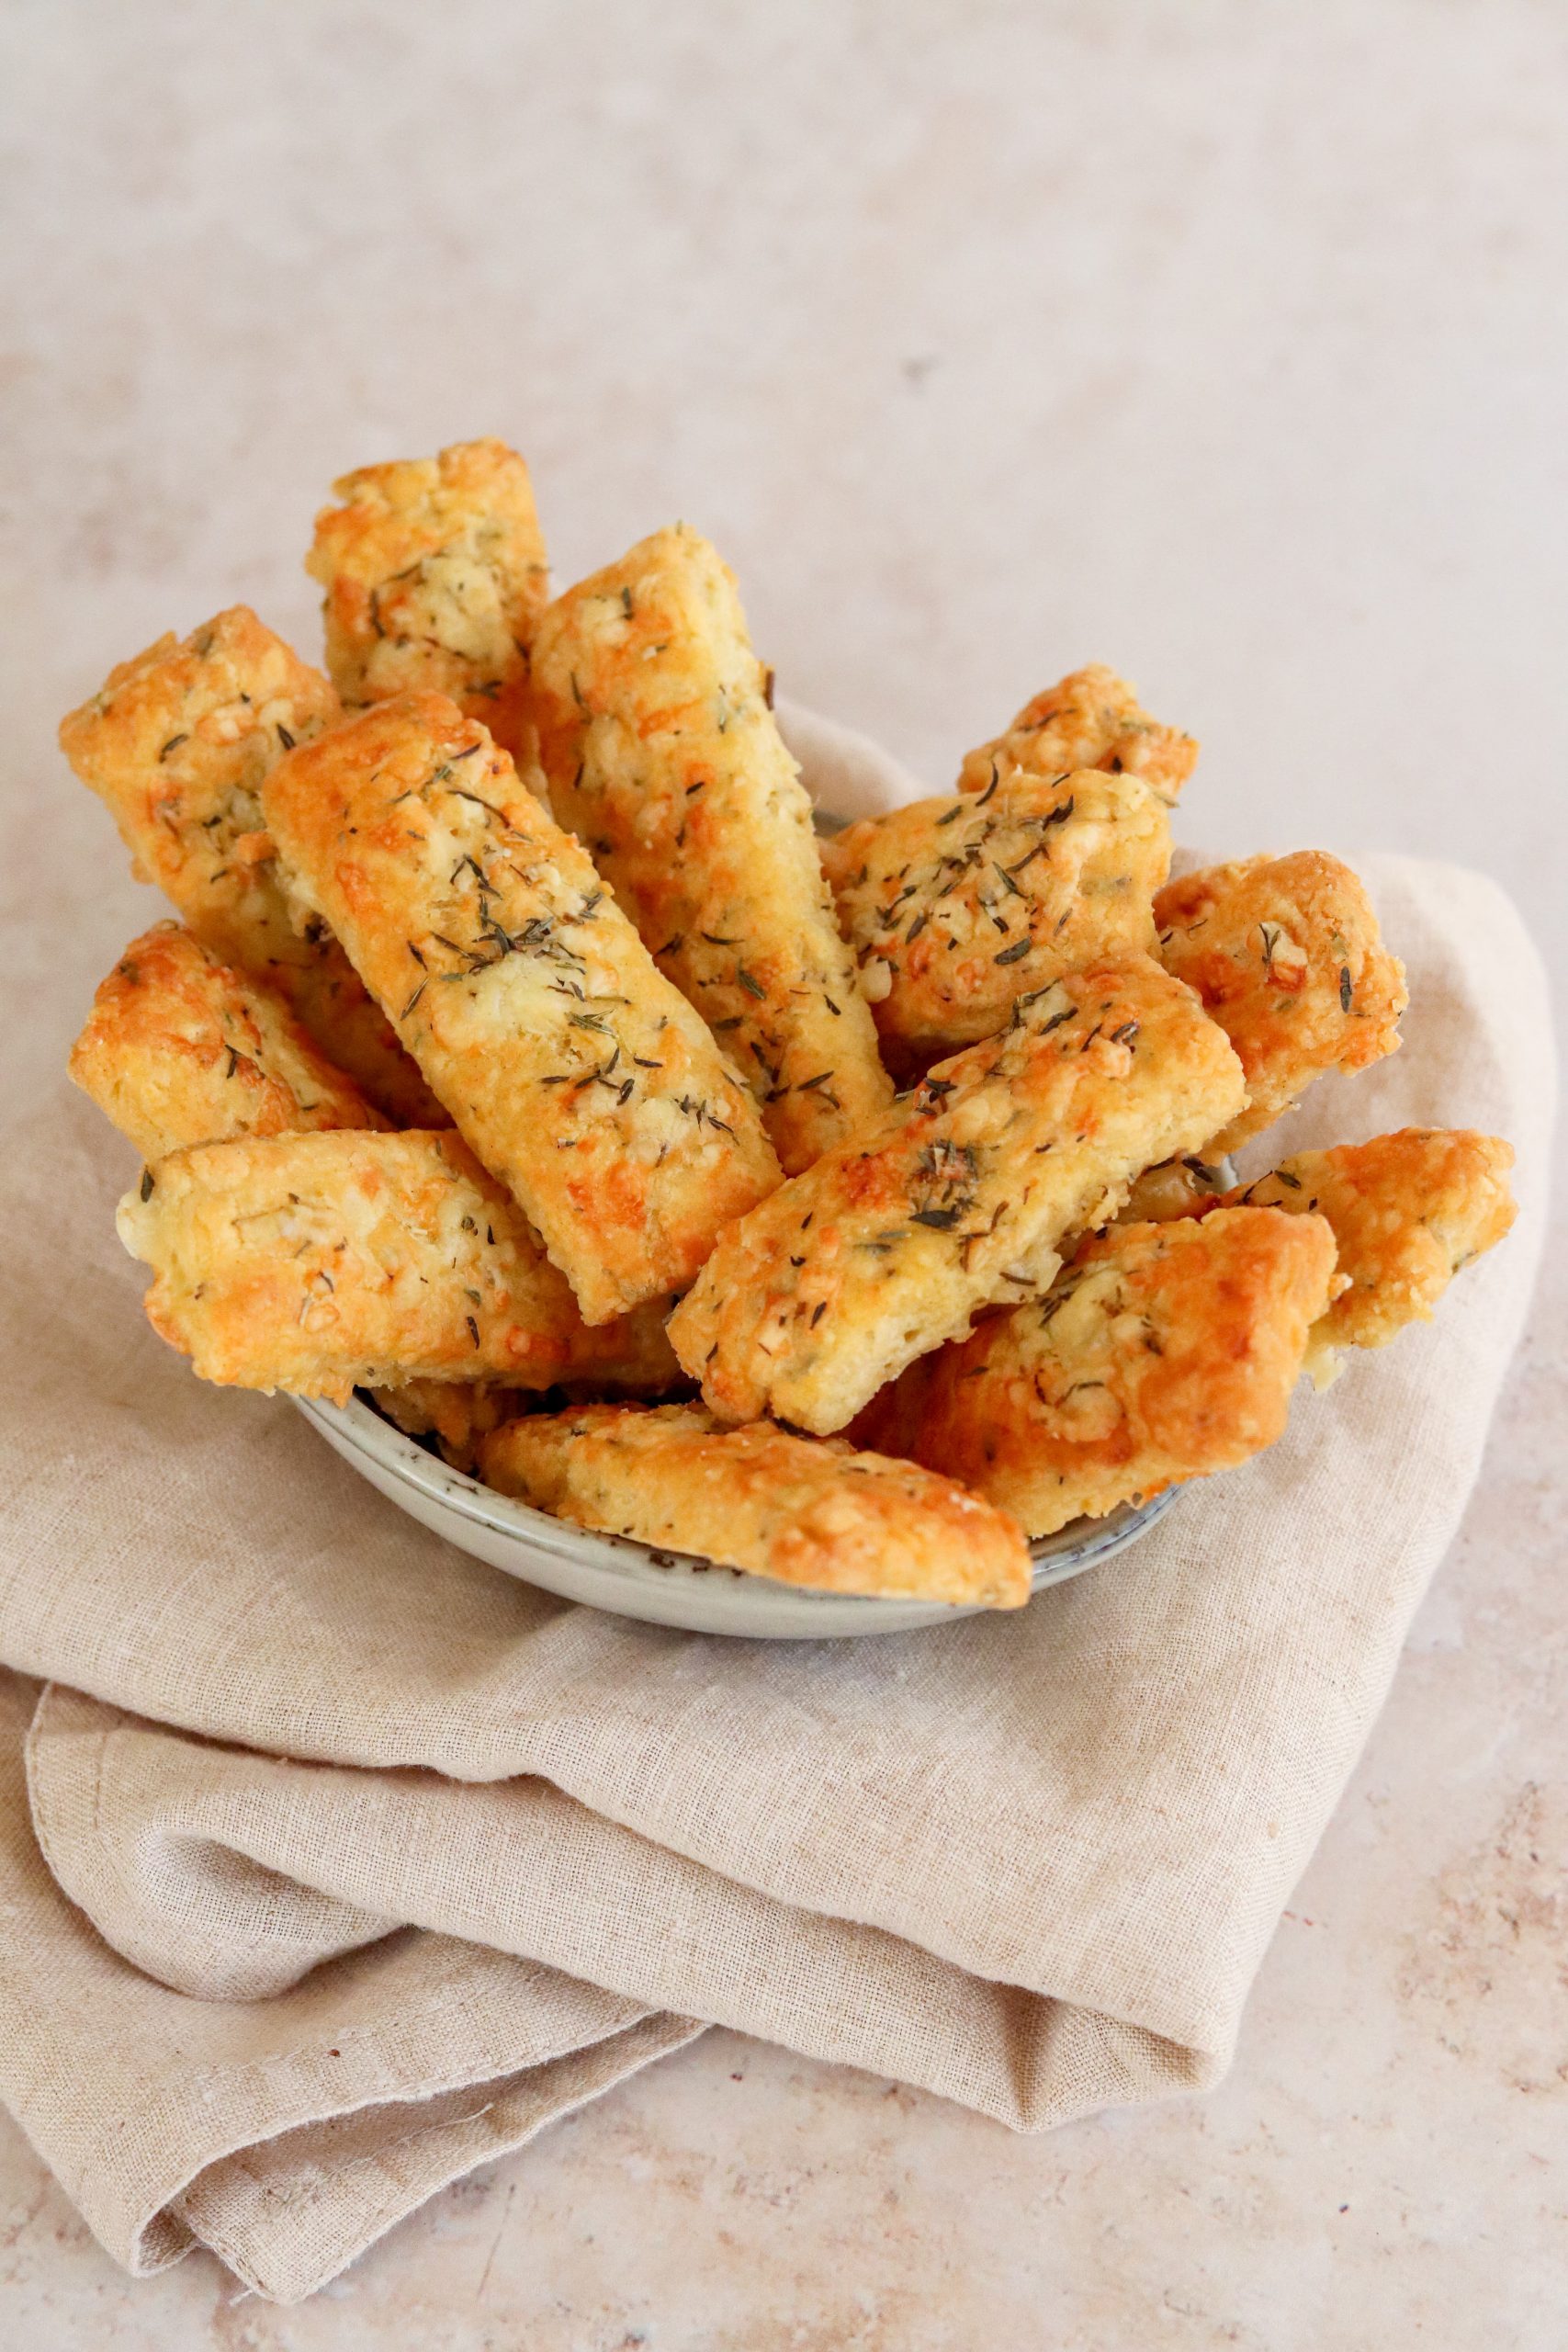
Most people are likely to have all of the ingredients for these Cheese & Thyme Straws in the fridge and cupboard so you are good to go straight away.
You can use fresh time if you prefer of course. Fresh herbs tend to not be quite as strong as their dried equivalent so I would use a little more.
I would recommend to use two teaspoons of fresh thyme in the dough. Unless the leaves are really big you shouldn’t need to chop them.
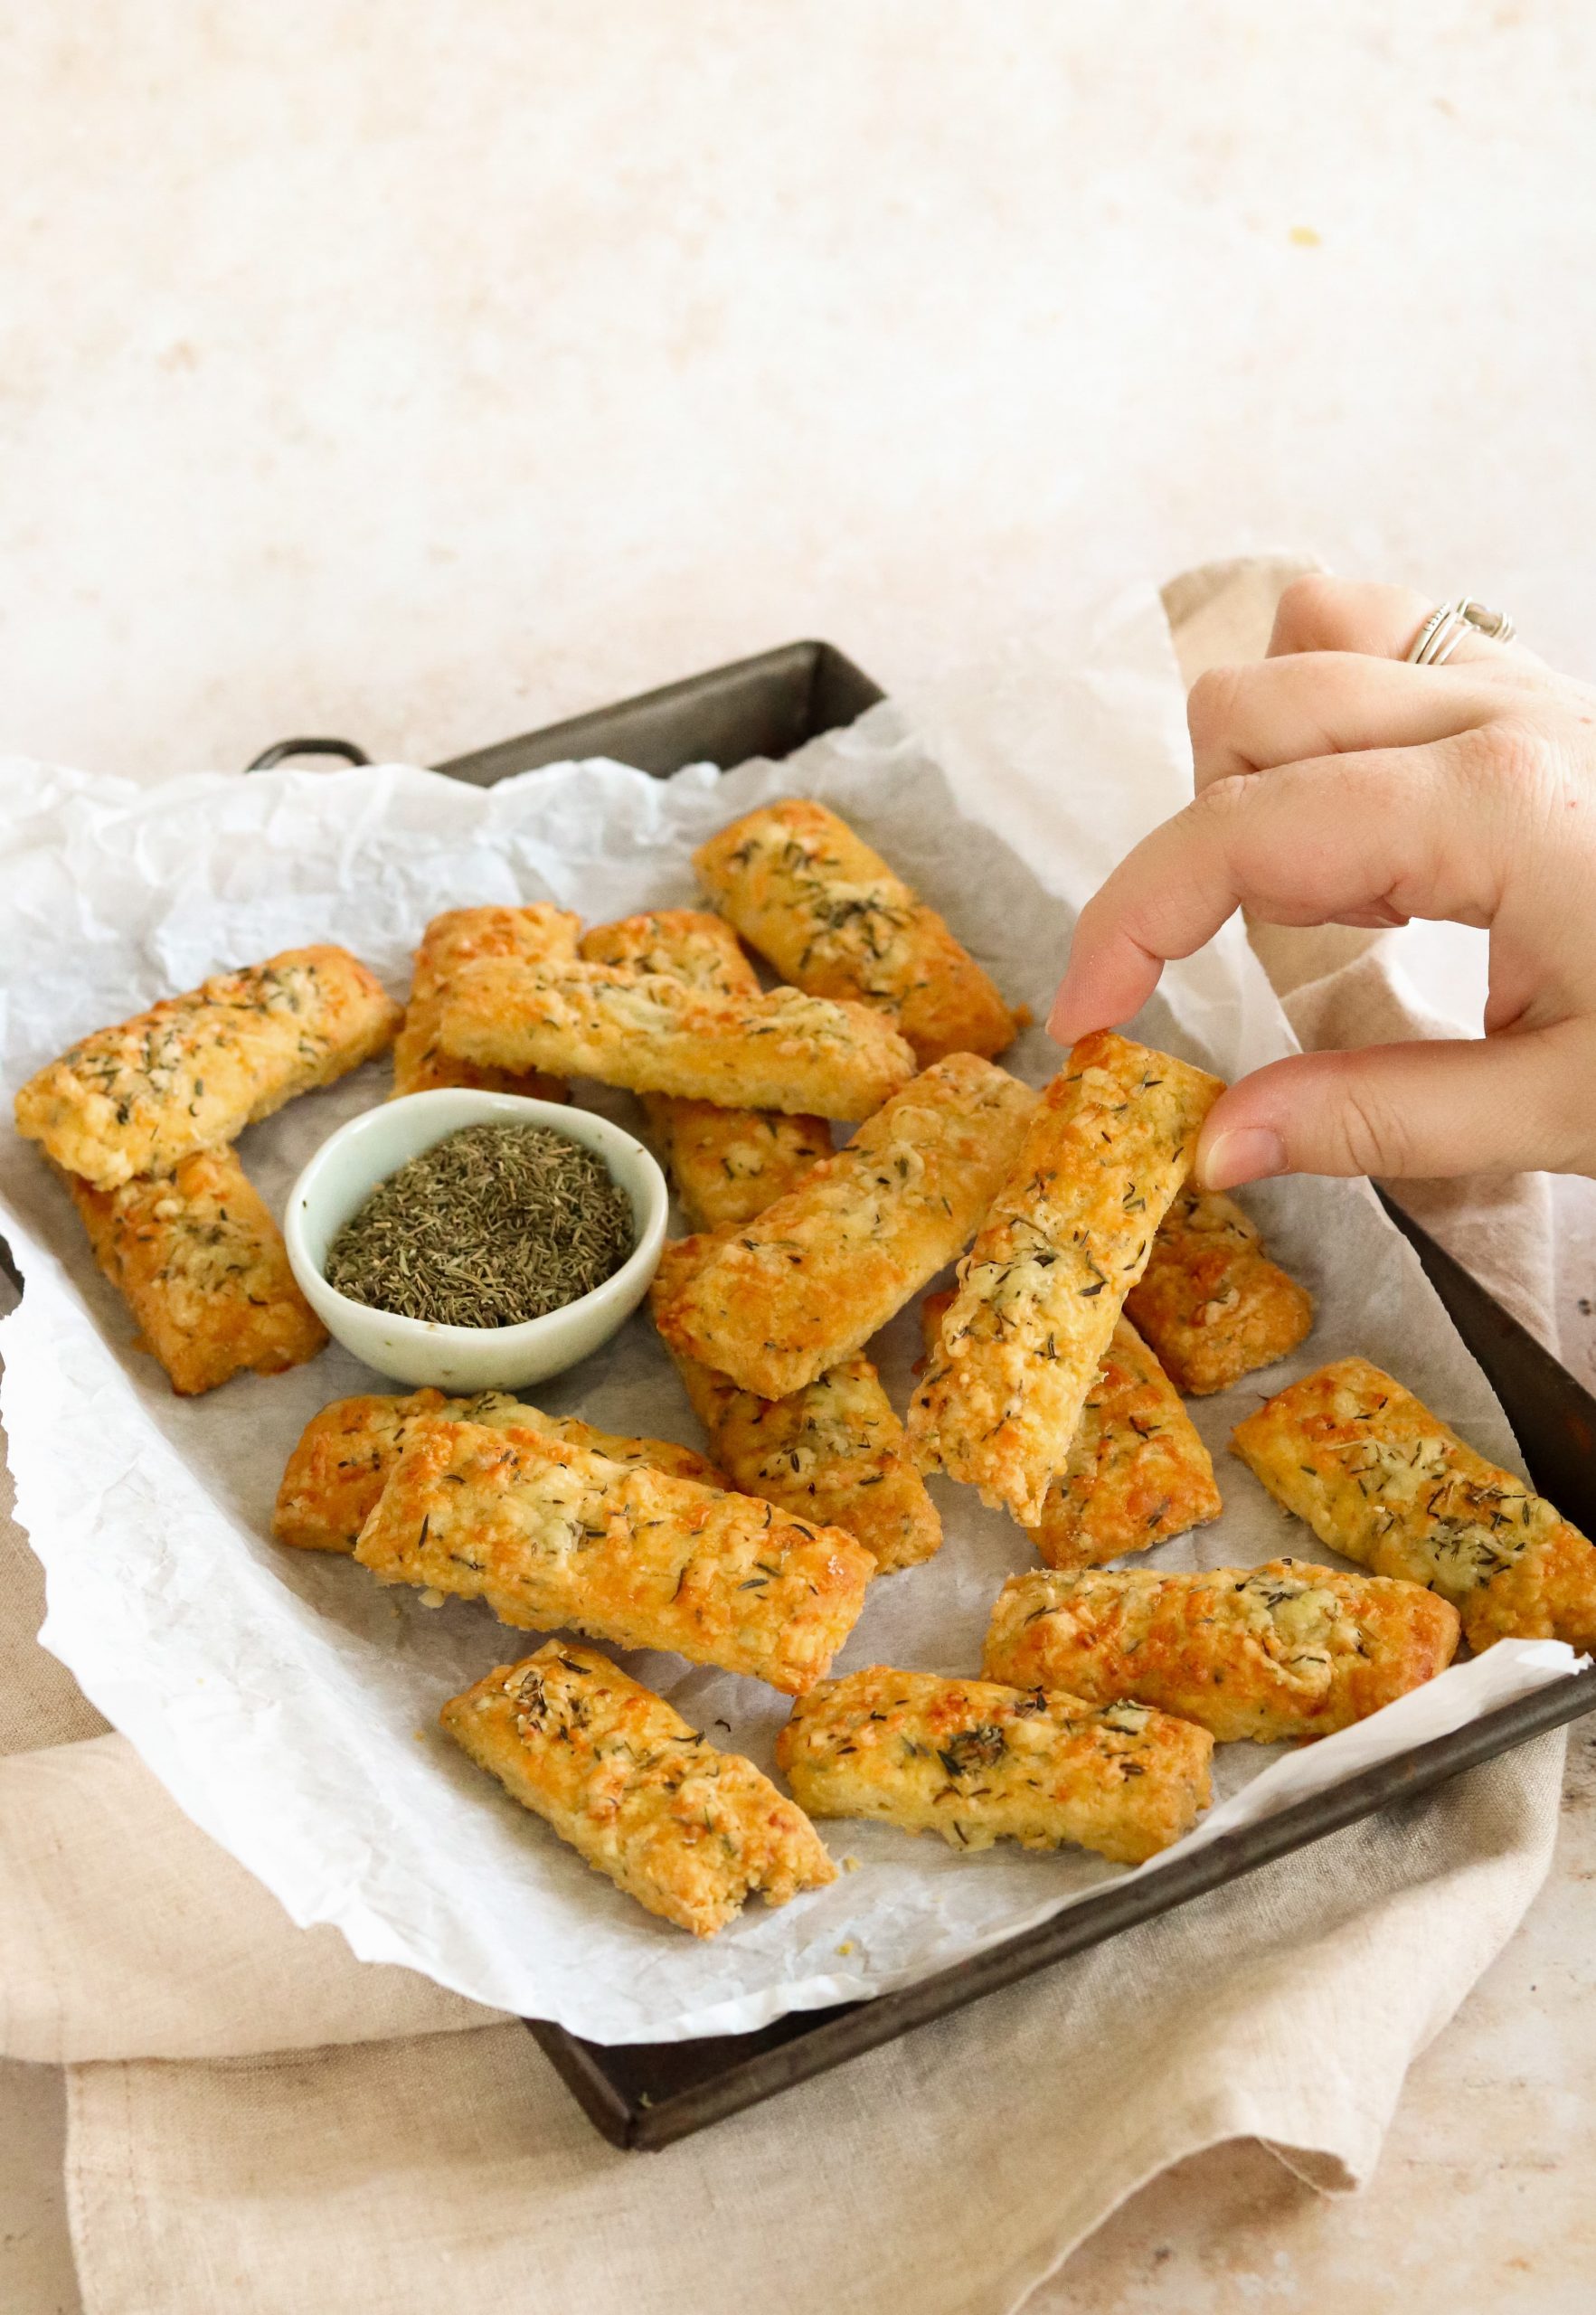
what should cheese straws look like?
They should look however you want them to look! Whether that is rustic, or super neat it is completely up to you.
You can pick how thick and long you make them. It really is your choice. A lot of people like to make them quite skinny and long, but I have always made mine a bit thicker and shorter.
You can also get creative and use a cookie cutter like I do in my Chilli Cheese Straws.
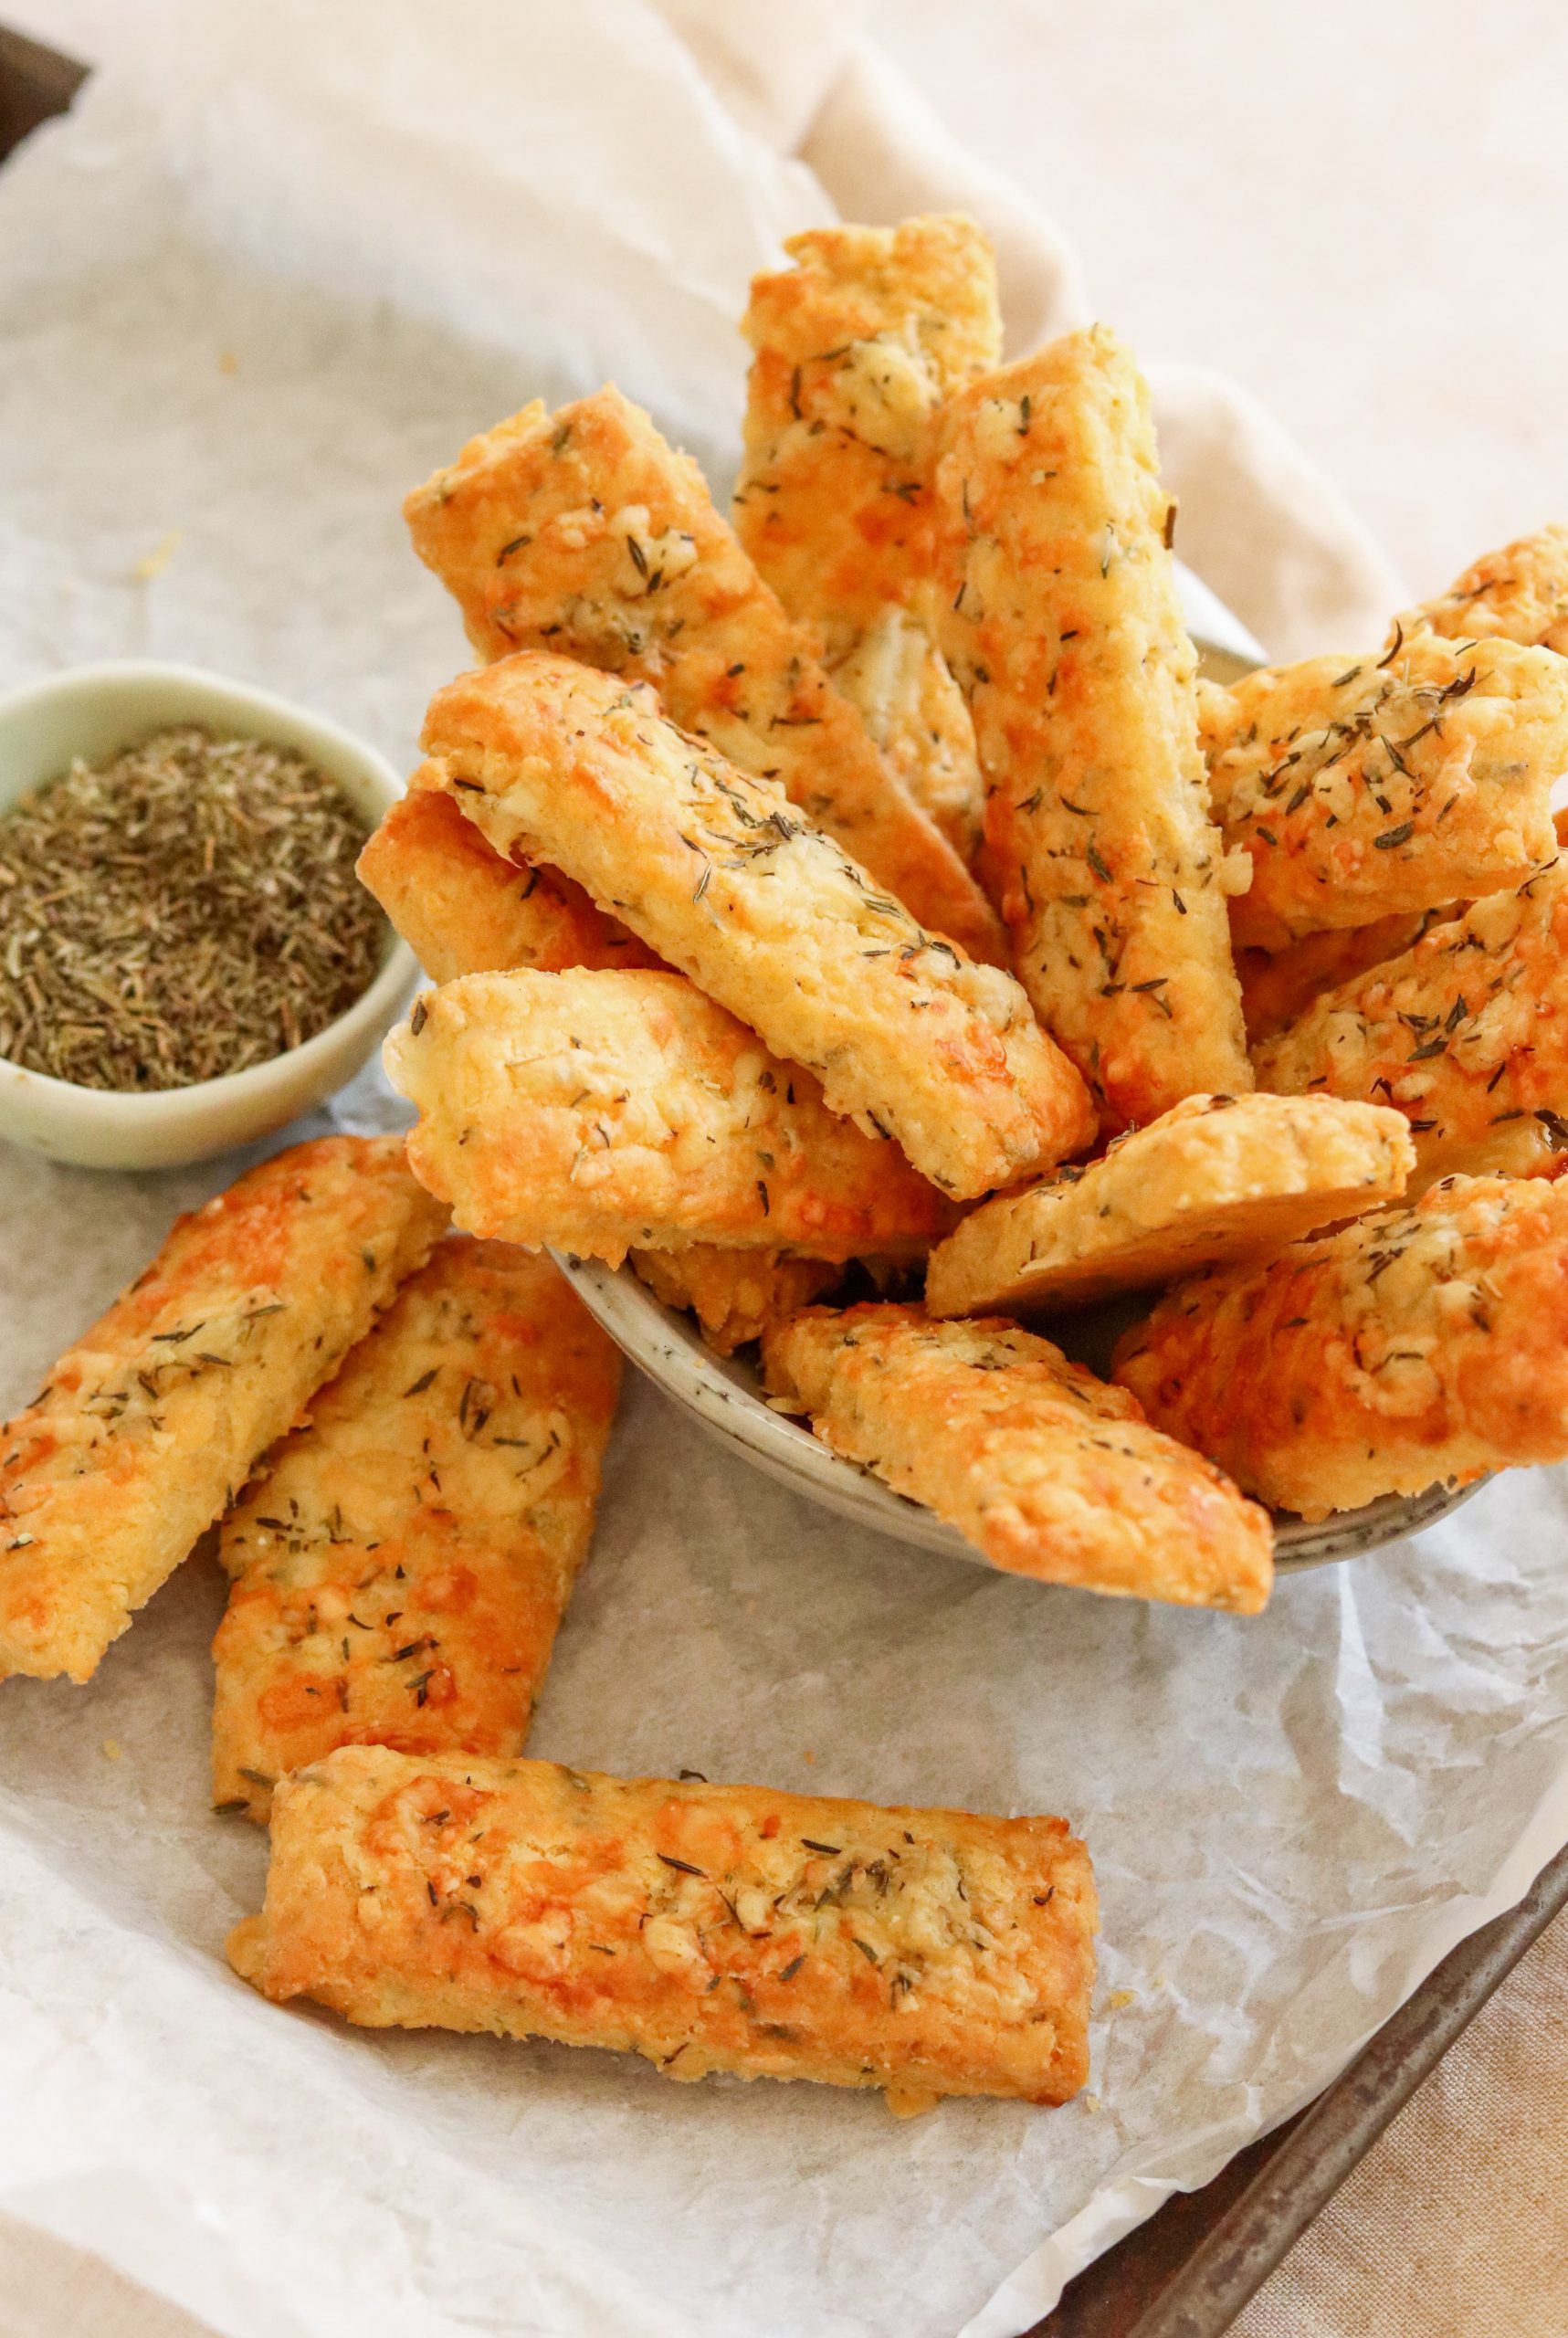
Tips for the perfect cheese straws
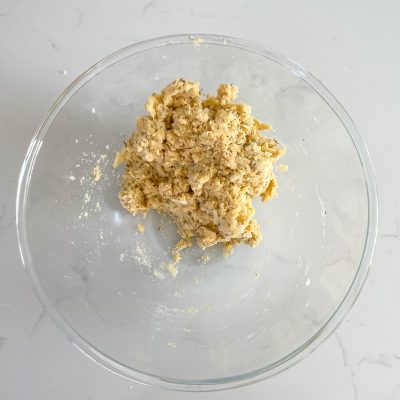
Try to handle the dough as little as possible. When you are bringing the dough together in the bowl, don’t try to knead it.
Gently bring all of the breadcrumb like dough together and then turn it out onto the floured surface. When you are rolling it, again be gentle with it.
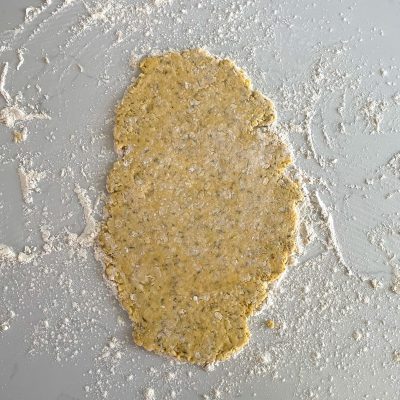
When you turn the dough out onto the floured surface it might feel slightly damp. Don’t worry about this because the flour from your work surface will firm the dough up a little.
Make sure you flour your rolling pin as well as the surface to avoid it sticking. Try to reroll the dough as few times as possible.
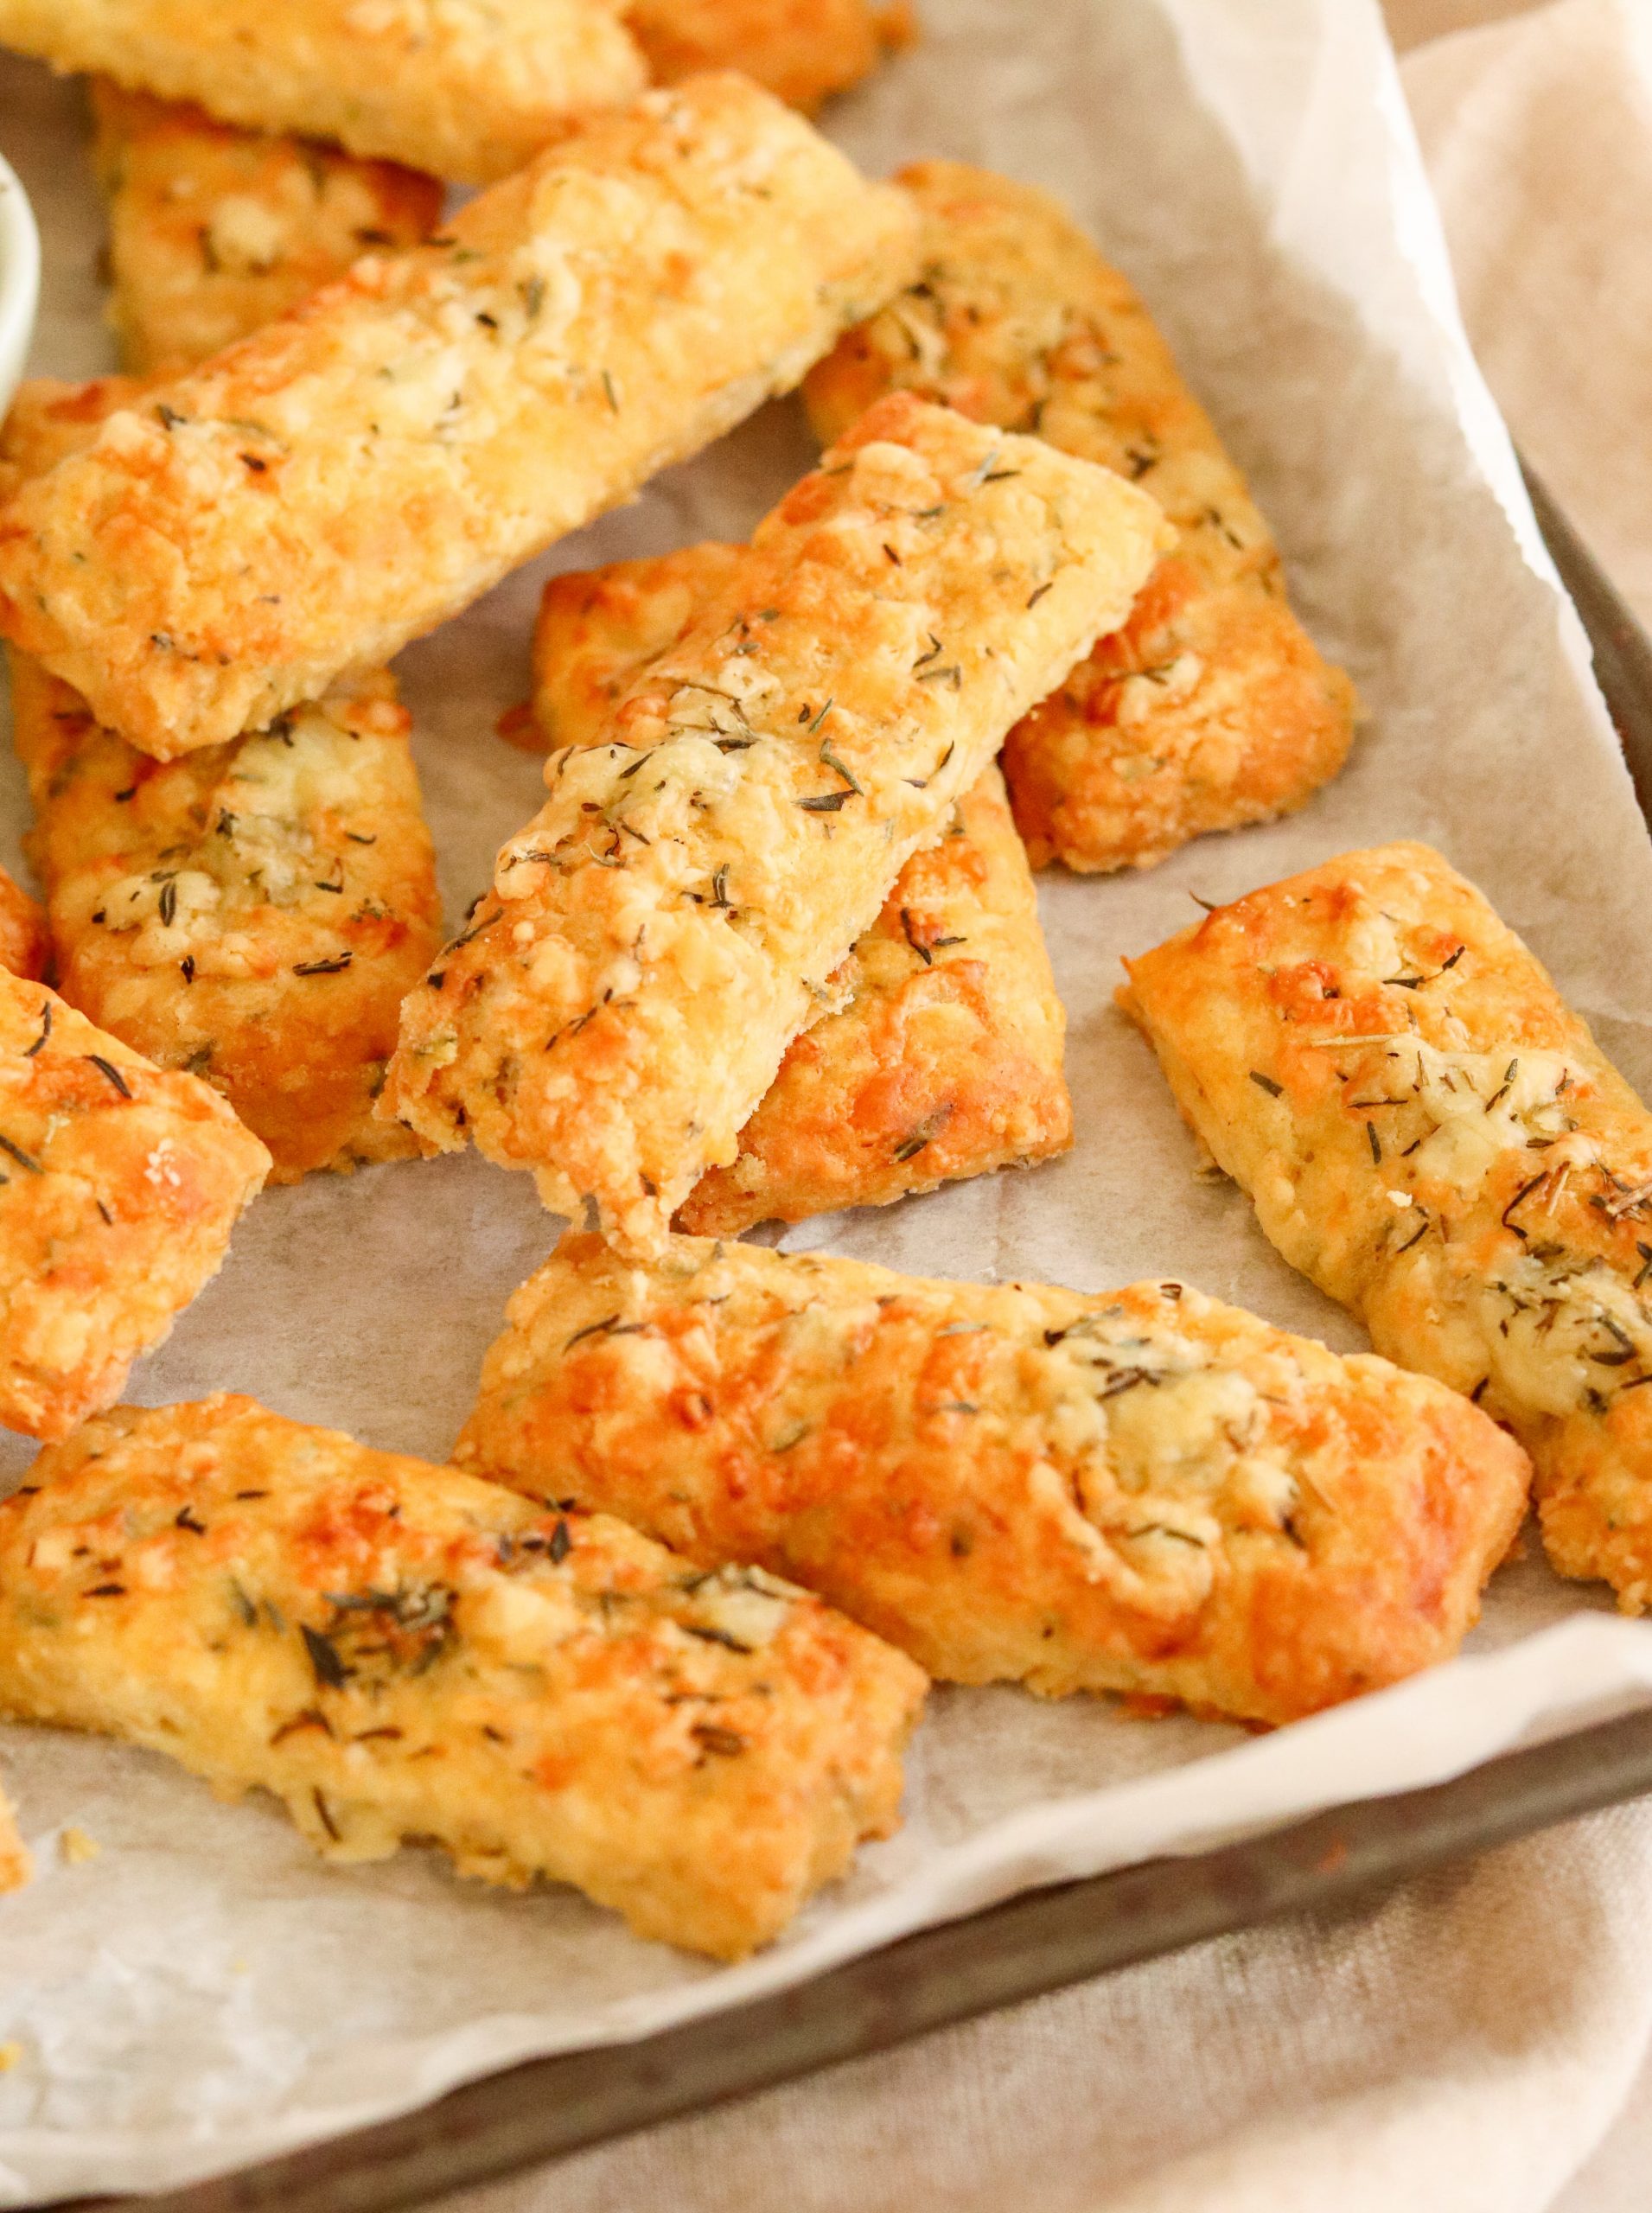
how long will they keep for?
Cheese straws aren’t something I think keep for very long. Once they are baked they are really best eaten that day or the next day.
After that they start to get a little softer, but they are still perfectly edible. Make sure you keep them in an airtight container to try and prevent this as much as possible.
But being completely honest, they are very unlikely to last more than one day. Every time I’ve made these my husband and I have polished them off the same day.
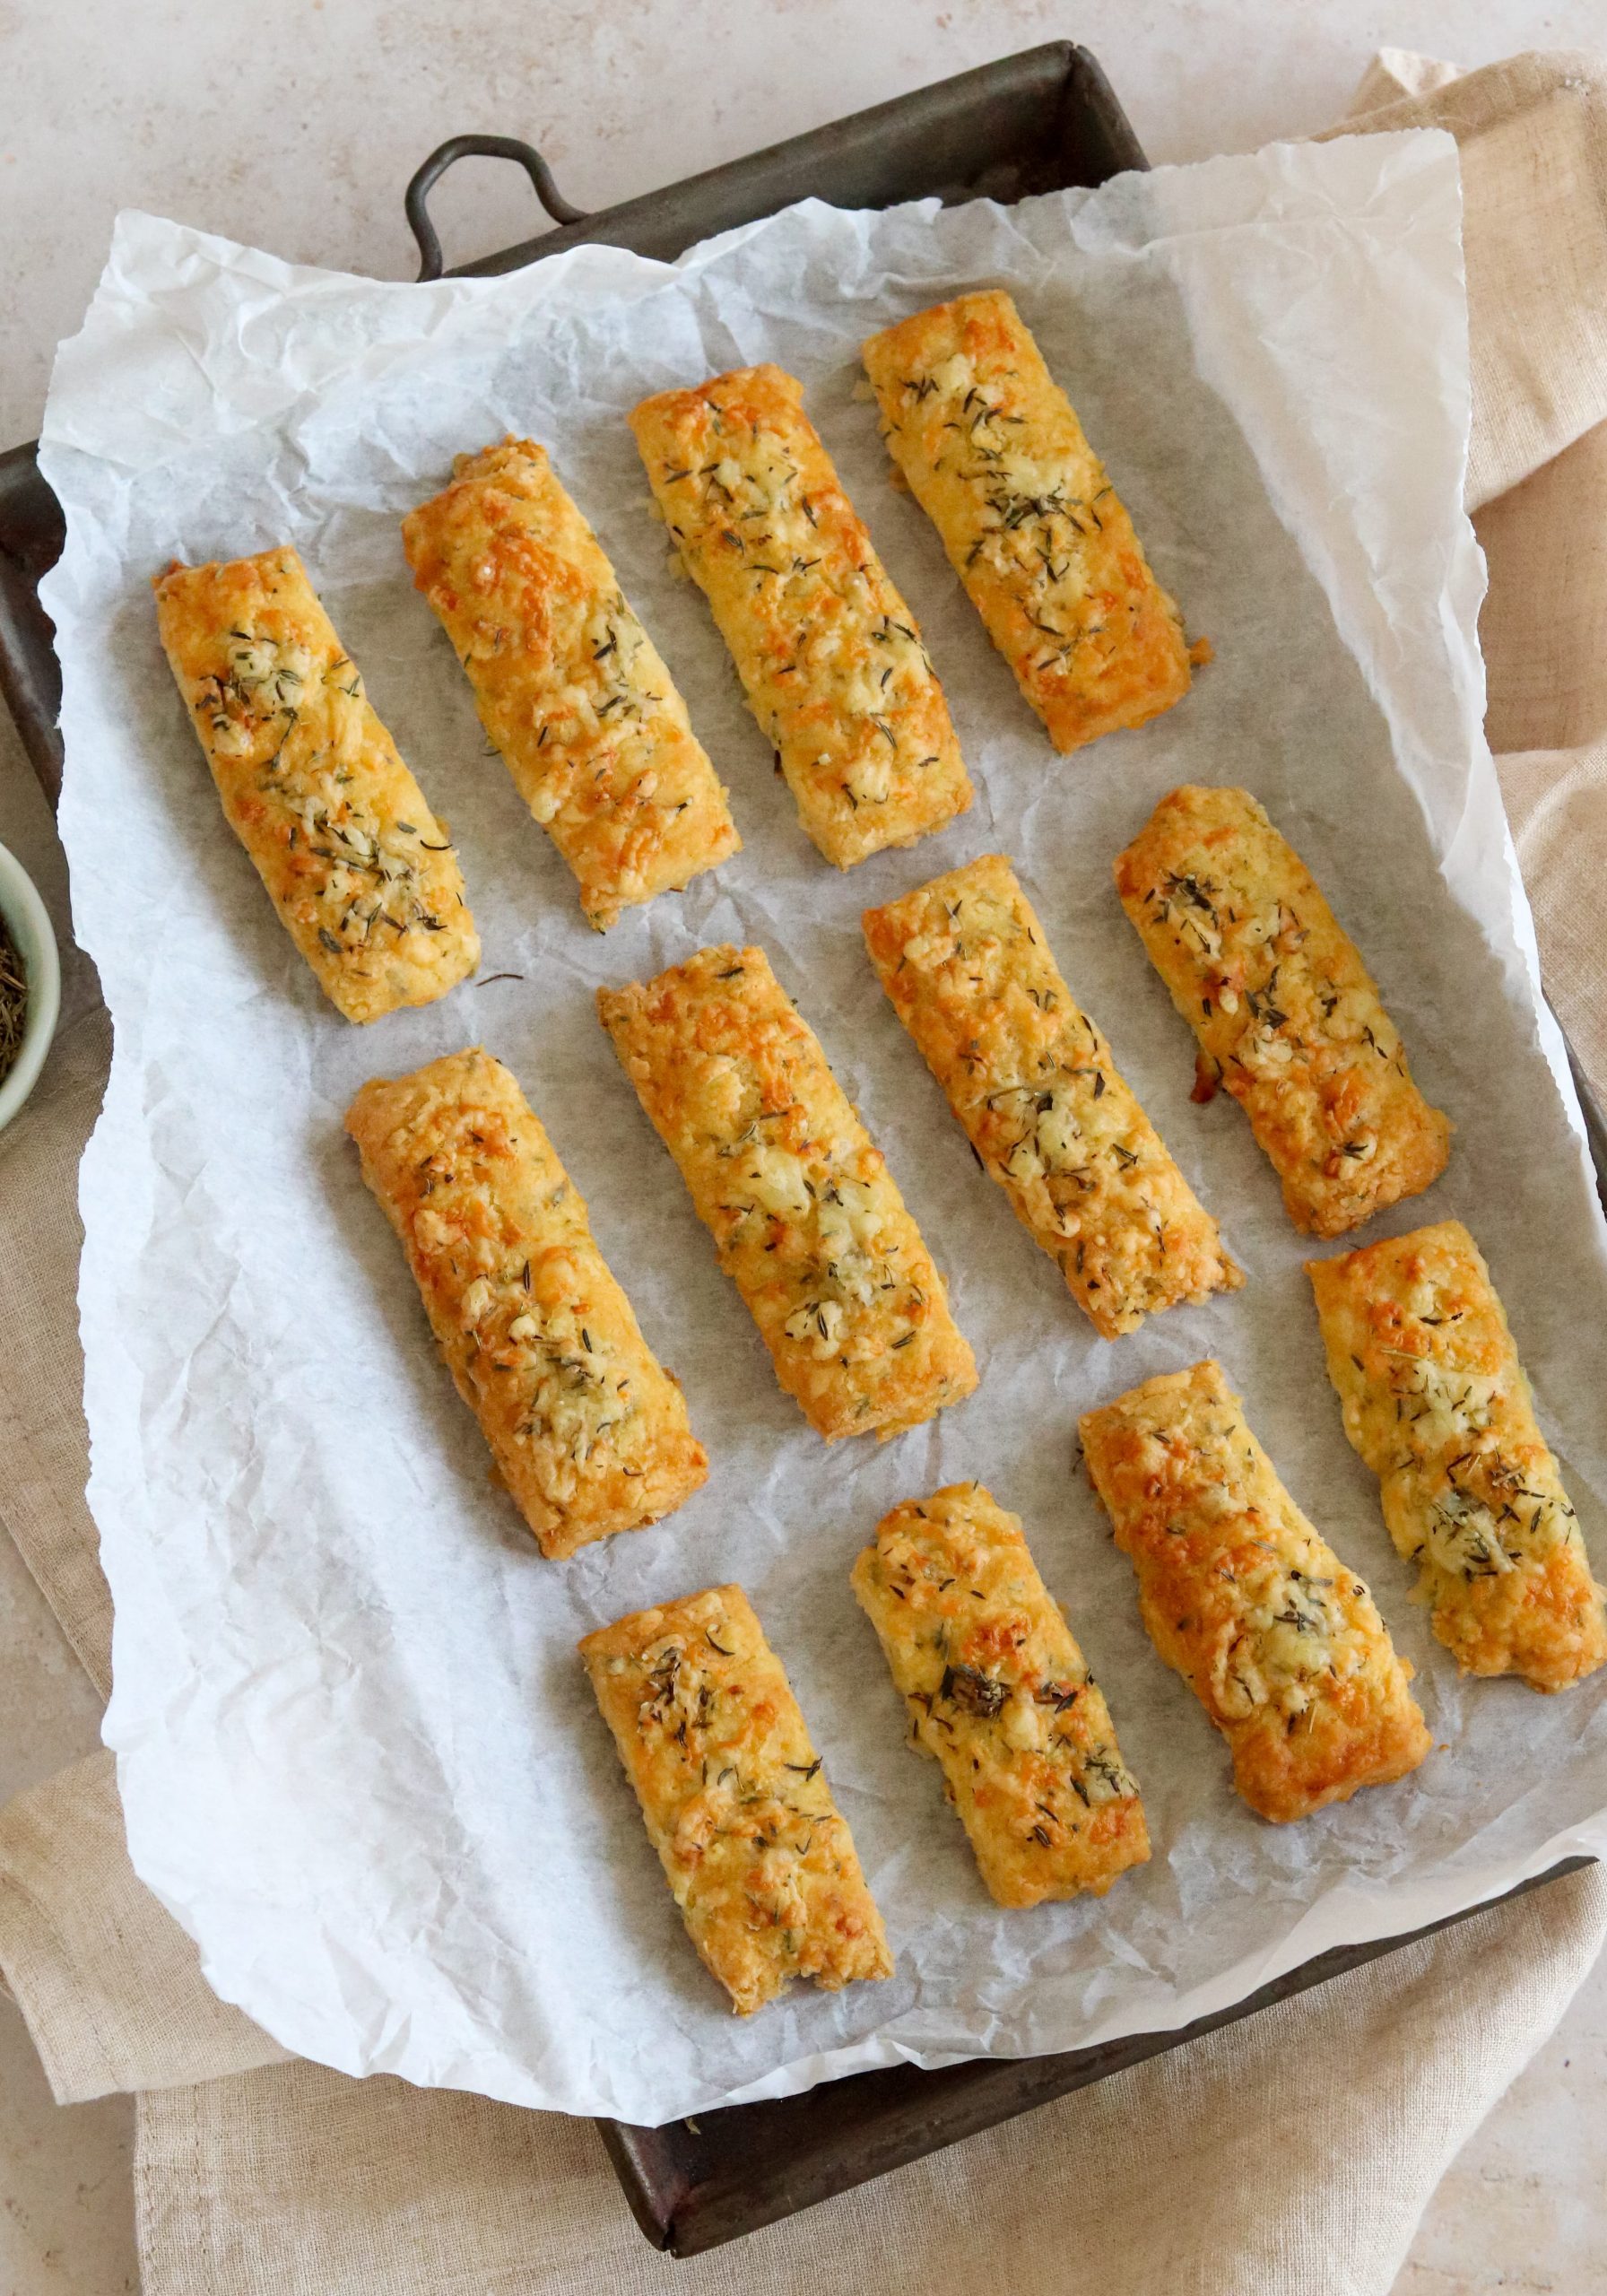
Can you freeze cheese straws?
Yes you can freeze these before or after they have been baked. Although freezing them is an option, I prefer to make them from scratch; especially when they take so little time to make.
If you want to freeze them unbaked, line them on a baking tray and put it in the freezer. After one hour or so they will be firm enough to pack into a container to freeze. You can freeze them for up to 3 months.
When you want to eat them, you can either defrost them before baking or bake them straight from the freezer. If you are baking them from frozen, they will take approximately 5 minutes longer to bake.
You can also freeze them when they are baked for up to three months. Just make sure they are defrosted before tucking in.
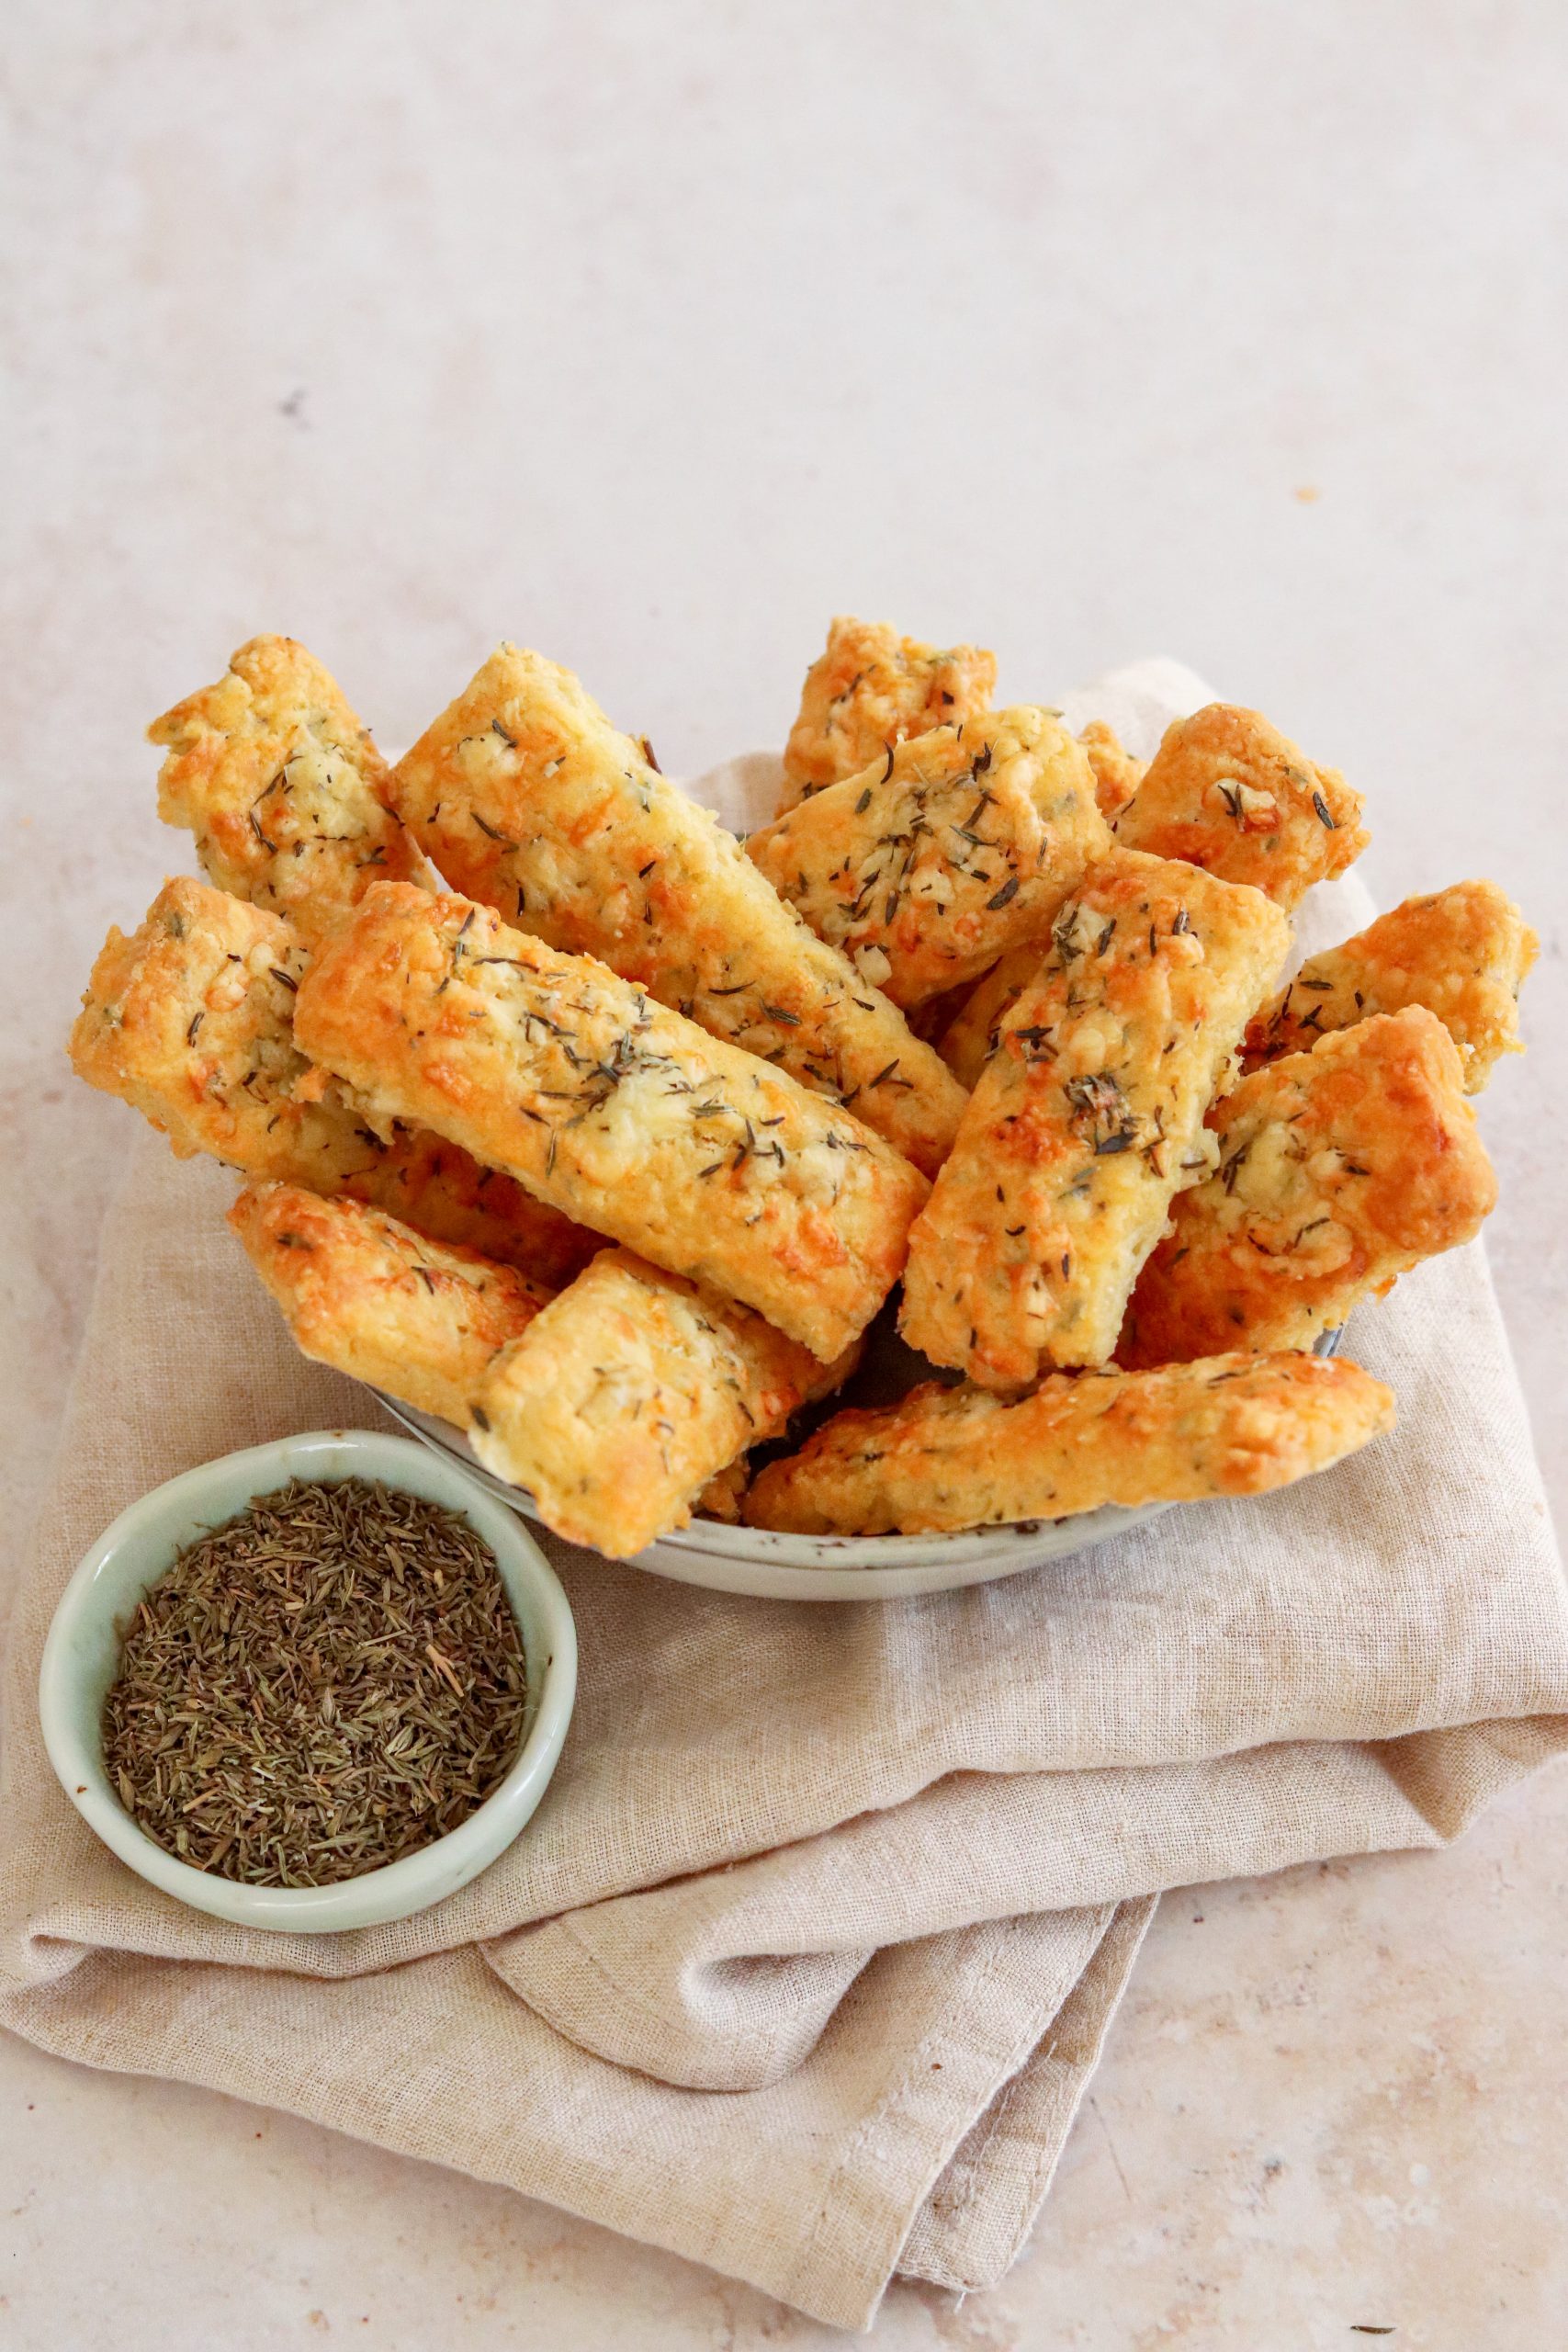
How to serve Cheese & Thyme Straws
Not going to lie, I usually eat them as soon as they have cooled enough straight from the oven. But add these to your lunch box or take them along to a picnic and you won’t be disappointed.
I also think they would make a great addition to a cheeseboard even though they have cheese in them. Is there such a thing as too much cheese?!
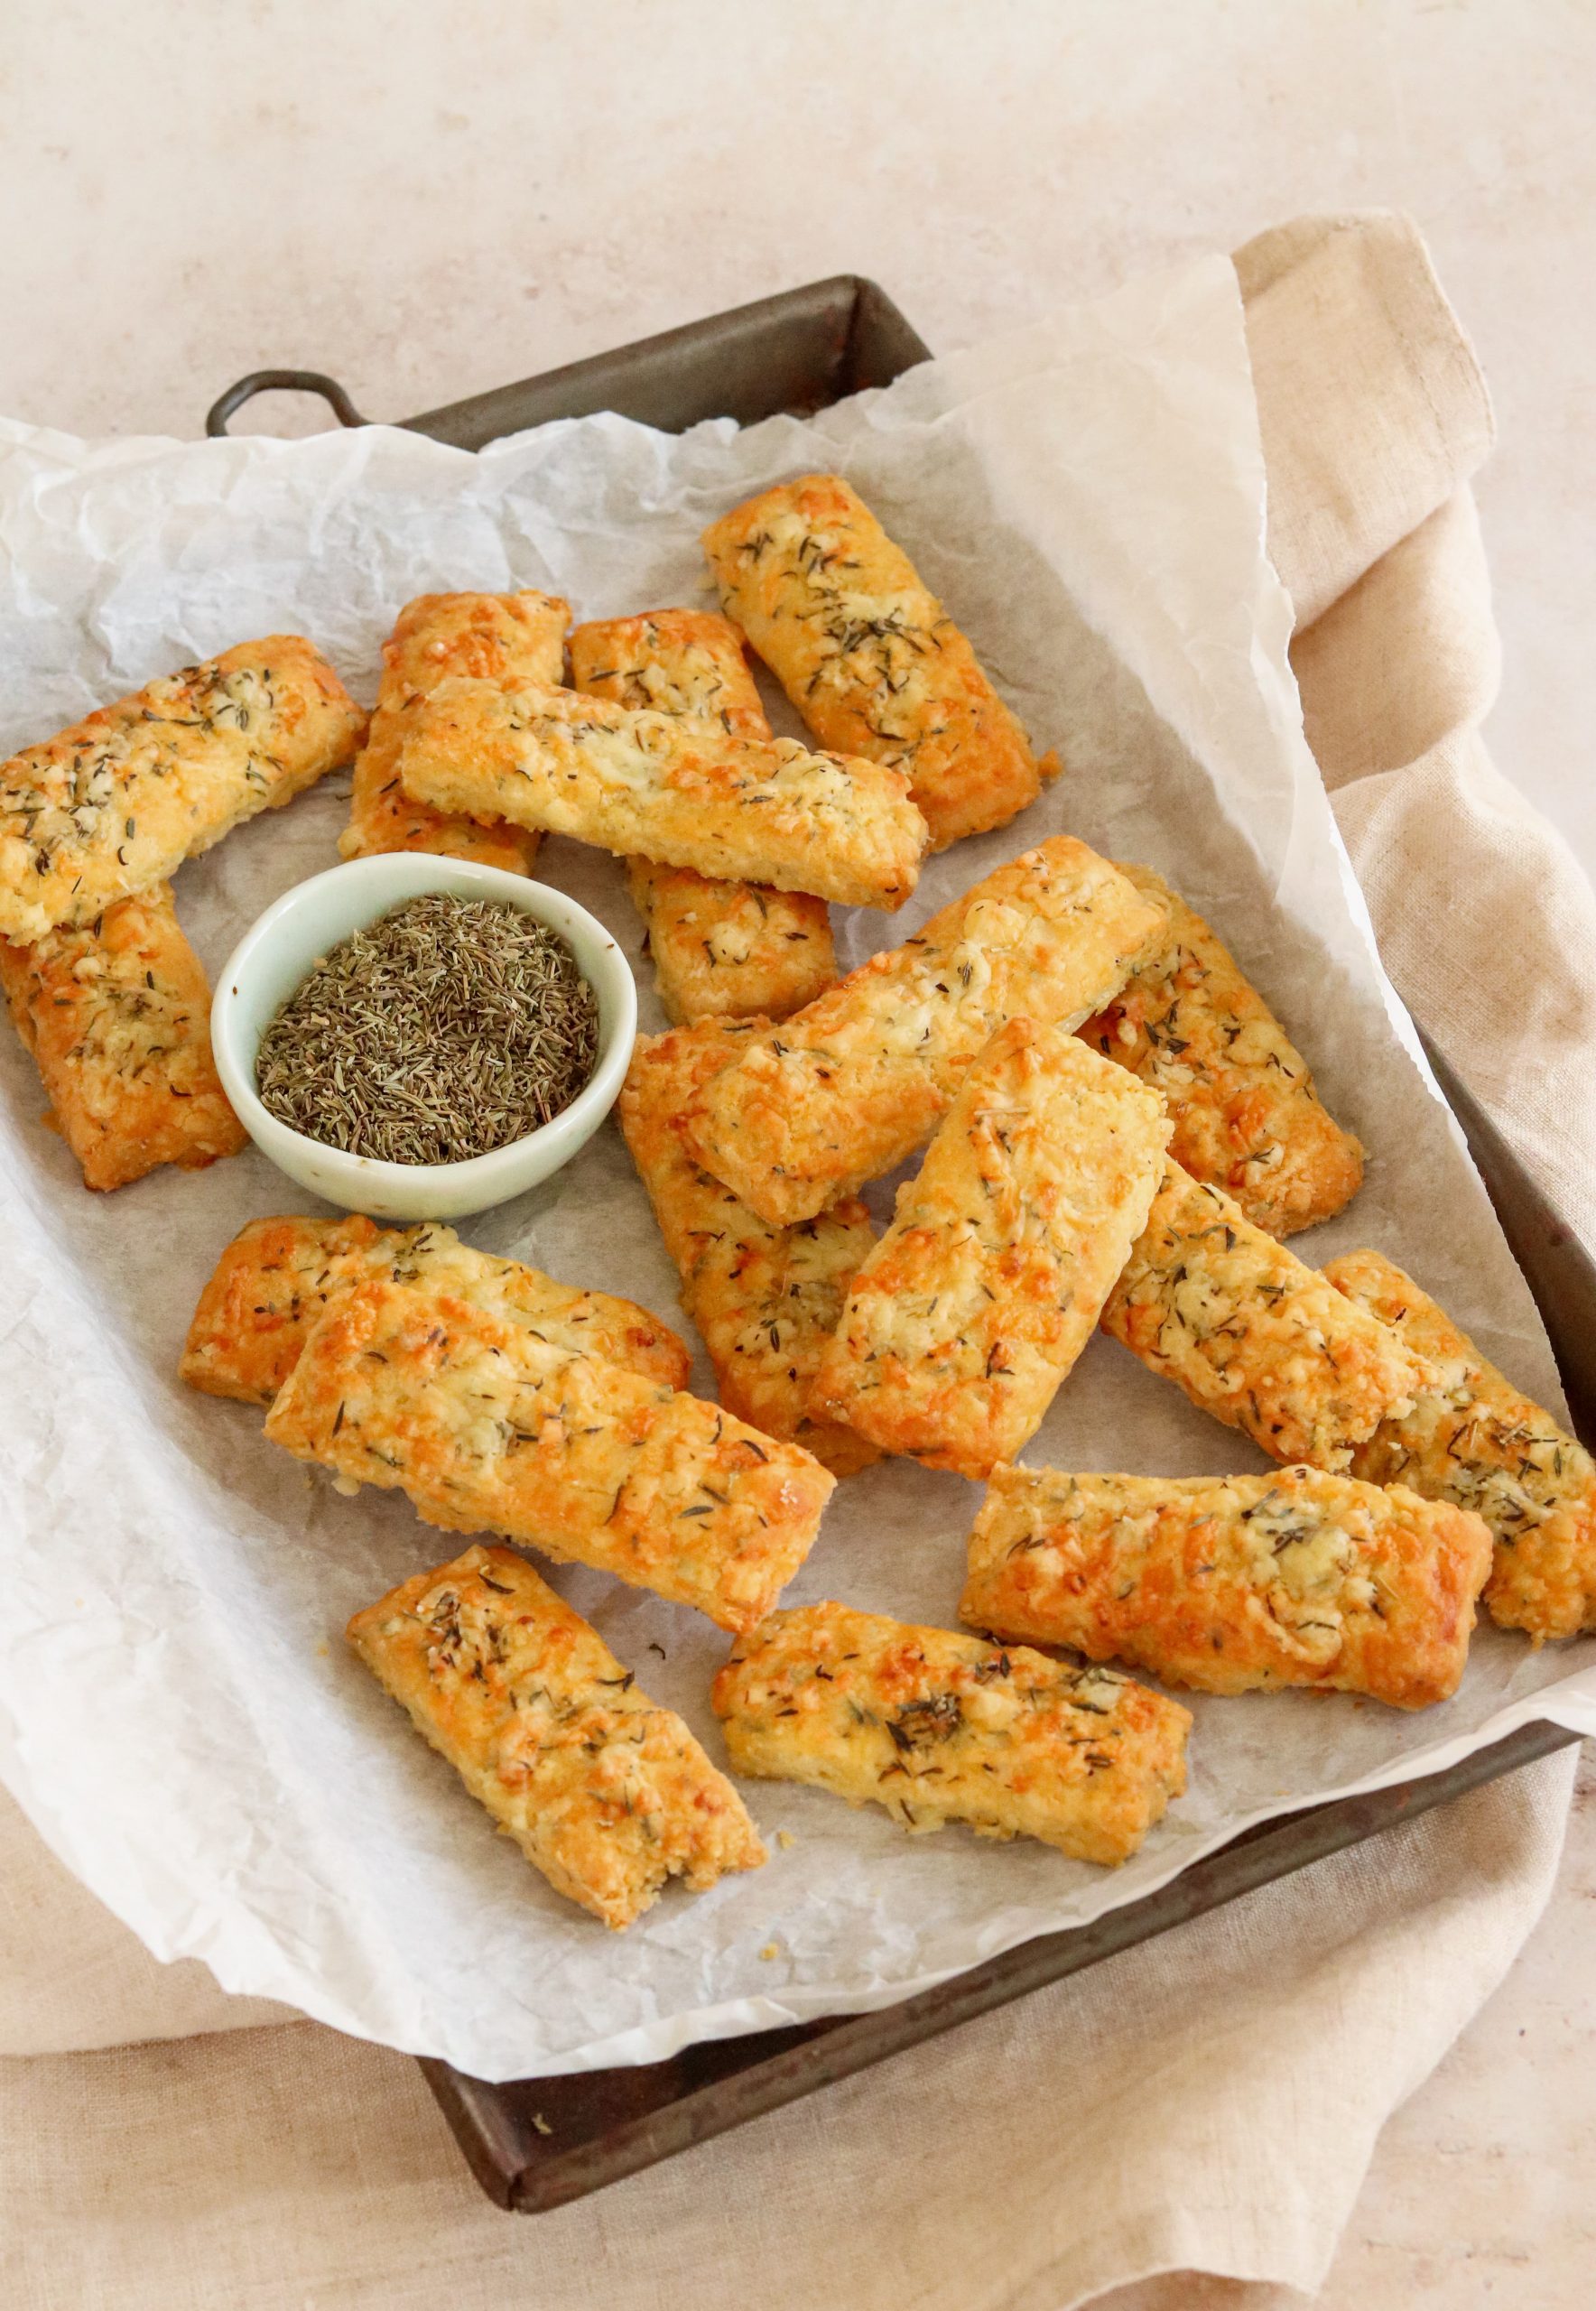
Serve these Cheese & Thyme Straws with some Caramelised Onion Chutney and Sweet Chilli Jam for dipping. And possibly some Bacon Wrapped Pineapple and Mustard & Sage Sausage Rolls.
Other recipes you might like
- Cheese, Bacon & Mustard Twists
- Cheese Scones
- Cheese & Onion Chutney Muffins
- Puff Pastry Goat’s Cheese & Onion Tarts
- Cheese & Mango Chutney Muffins
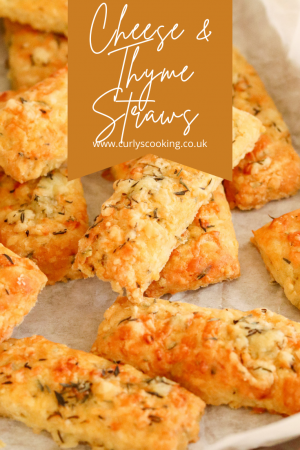
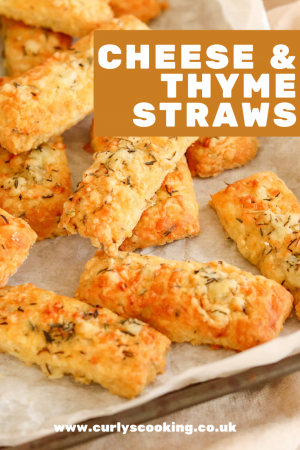
Pin for later


Cheese & Thyme Straws
These Cheese & Thyme Straws are a twist on a delicious classic. Dried thyme compliments the cheese in these simple and tasty treats. You might want to make a double batch!
Ingredients
- 100 g self raising flour
- ¼ tsp salt
- ¼ tsp mustard powder
- 1 tsp dried thyme
- 50 g margarine
- 70 g cheese grated
- 1 egg
to finish
- 1 tbsp semi skimmed milk
- ½ tsp dried thyme
- 15 g cheese grated
Instructions
-
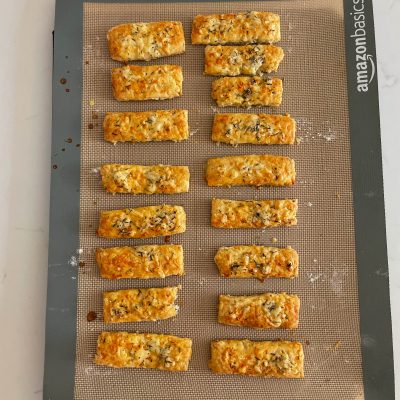
Heat the oven to 180ºC (fan assisted, 200°C non fan) and spray two baking trays with oil or line with silicone mats
-
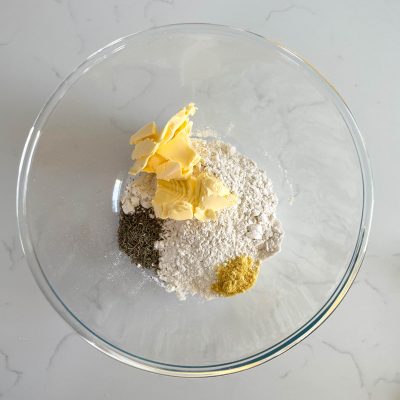
In a large bowl add 100g self raising flour, ¼ tsp salt, ¼ tsp mustard powder, 1 tsp dried thyme and 50g margarine
-
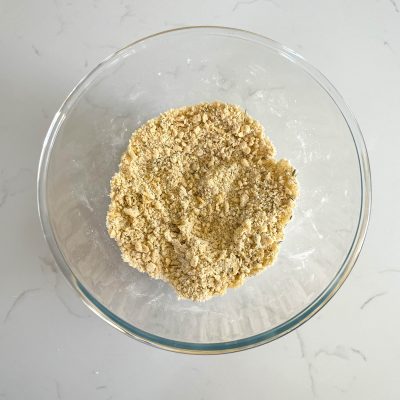
Rub the margarine into the flour using your finger tips until it resembles breadcrumbs
-
Add 70g cheese and 1 egg and mix until the dough has just started to form a ball
-
Lightly dust your surface and roll the dough until it is approximately 5mm thick
-
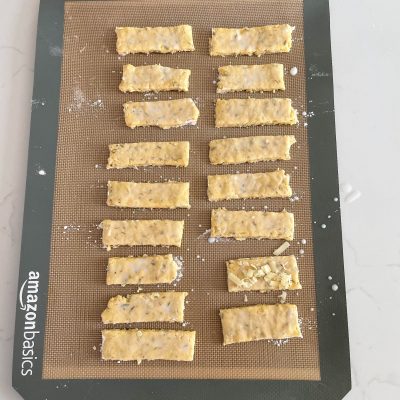
Cut the dough into strips, as big or as small as you like and then put them on the baking tray
-
Mix together 15g cheese and ½ tsp dried thyme in a bowl
-
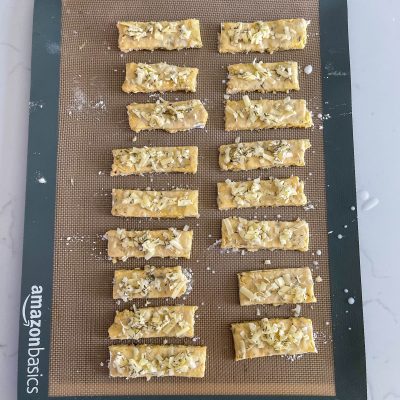
Brush each straw with 1 tbsp milk and sprinkle with the cheese & thyme mixture
-
Bake in the oven for 10-12 minutes until golden
Recipe Notes
Nutritional information is given as a guide only and may vary.



Choclette says
Ooh these do look like the most perfect cheese straws. You’ve given me a real craving now and I love the addition of thyme.
Kacie Morgan says
I’ve always enjoyed nibbling on cheese straws (especially on a cheese board!) I like the idea of adding thyme for extra flavour.
Lesley says
I love cheese straws and these look perfection and perfect for any party.
nancy says
omg i want to snack on these all day long! so yummy
Carrie says
Oh my goodness, flaky and buttery cheese straws are my ultimate weakness and I love the addition of thyme. I’m scared to make these because I know I’ll polish off the whole batch myself!
Kate - Gluten Free Alchemist says
I always enjoy a cheese straw, although I usually make them with the scraps that are cut off from pie bases. Loving the herby addition… Not sure they’d last long here!
Chloe Edges says
Oooh yes please! I especially love thyme with cheese although I am that person that grows my own so I always have fresh on hand!
Curly says
Oh you’re one of thooooose people haha. You can definitely add fresh too 🙂
Sisley White - Sew White says
These are so dangerous to make. I eat them all in one sitting and I can’t share.
Making these again tomorrow.
Curly says
So so dangerous! Enjoy!